Free Shipping on Domestic Orders $75+

Logic Board Disconnection

Prerequisite Only
This is a prerequisite-only guide! This guide is part of another procedure and isn’t meant to be used alone.

What you need

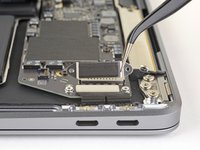
    1. Logic Board Disconnection, Disconnect the logic board: step 1, image 1 of 2 Logic Board Disconnection, Disconnect the logic board: step 1, image 2 of 2
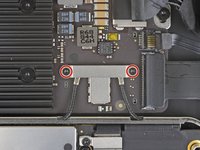
      • Use a T3 Torx driver to remove the two 1.4 mm screws securing the trackpad connector bracket.

      • Depending on the condition of your bits, a T4 Torx driver may fit better.

      • Remove the trackpad connector bracket.

      Ask FixBot

      Add Comment

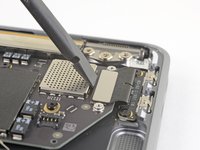
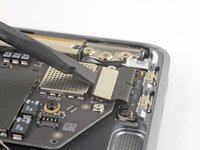
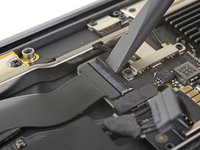
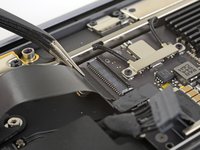
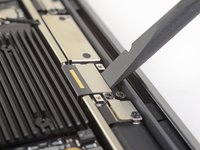
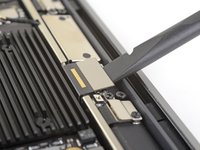
    2. Logic Board Disconnection: step 2, image 1 of 2 Logic Board Disconnection: step 2, image 2 of 2
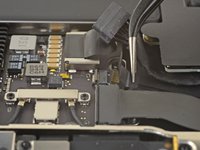
      • Use the flat end of a spudger to pry the trackpad cable connector up and out of its socket.

      Ask FixBot

      Add Comment

    3. Logic Board Disconnection: step 3, image 1 of 3 Logic Board Disconnection: step 3, image 2 of 3 Logic Board Disconnection: step 3, image 3 of 3
      • If the left speaker is already disconnected, skip this step.

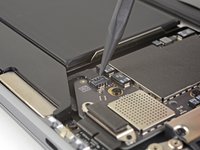
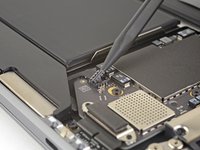
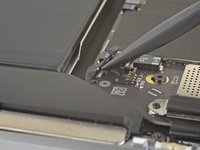
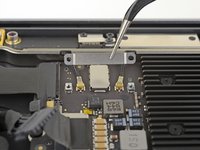
      • Slide the tip of a spudger underneath the left speaker cable and pry straight up to disconnect the speaker.

      • With the connector disconnected, slide the flat end of a spudger under the cable to separate the adhesive securing the cable to the logic board.

      Ask FixBot

      Add Comment

    4. Logic Board Disconnection: step 4, image 1 of 2 Logic Board Disconnection: step 4, image 2 of 2
      • If you're replacing the battery, see the comments for an alternative procedure that doesn't require removing the logic board.

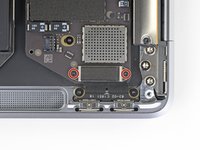
      • Use a T3 Torx driver to remove the two 1.3 mm screws securing the USB-C port connector bracket.

      • Remove the USB-C connector bracket.

      Ask FixBot

      Add Comment

    5. Logic Board Disconnection: step 5, image 1 of 2 Logic Board Disconnection: step 5, image 2 of 2
      • Use the flat end of a spudger to pry the USB-C cable connector up and out of its socket on the logic board.

      Ask FixBot

      Add Comment

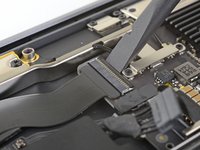
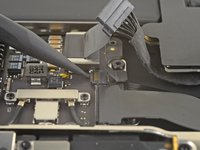
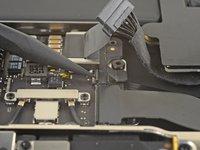
    6. Logic Board Disconnection: step 6, image 1 of 3 Logic Board Disconnection: step 6, image 2 of 3 Logic Board Disconnection: step 6, image 3 of 3
      • Use a spudger to lift up the small locking flap on the sound board cable's ZIF connector.

      • Slide the sound board cable out of the ZIF connector.

      Ask FixBot

      Add Comment

    7. Logic Board Disconnection: step 7, image 1 of 1
      • Peel back the black tape covering the fan cable connector.

      Ask FixBot

      Add Comment

    8. Logic Board Disconnection: step 8, image 1 of 3 Logic Board Disconnection: step 8, image 2 of 3 Logic Board Disconnection: step 8, image 3 of 3
      • Use the tip of a spudger to lift up the locking flap on the fan cable's ZIF connector.

      • Slide the fan cable out of the ZIF connector.

      Ask FixBot

      Add Comment

    9. Logic Board Disconnection: step 9, image 1 of 2 Logic Board Disconnection: step 9, image 2 of 2
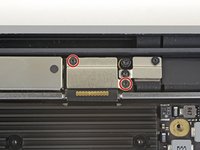
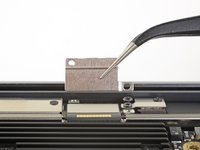
      • Use a T3 Torx driver to remove the two 1.4 mm screws securing the antenna cable bracket.

      • Remove the antenna cable bracket.

      Ask FixBot

      Add Comment

    10. Logic Board Disconnection: step 10, image 1 of 3 Logic Board Disconnection: step 10, image 2 of 3 Logic Board Disconnection: step 10, image 3 of 3
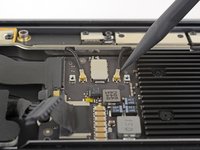
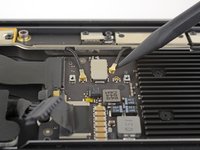
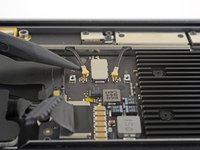
      • Insert the point of a spudger under one of the antenna cables close to the connector. Pry straight up to disconnect the cable.

      • Repeat for the other antenna cable.

      Ask FixBot

      Add Comment

    11. Logic Board Disconnection: step 11, image 1 of 2 Logic Board Disconnection: step 11, image 2 of 2
      • Use a T3 Torx driver to remove the two 1.5 mm screws securing the display cable connector bracket.

      • Remove the display cable connector bracket.

      Ask FixBot

      Add Comment

    12. Logic Board Disconnection: step 12, image 1 of 2 Logic Board Disconnection: step 12, image 2 of 2
      • Use the flat end of a spudger to pry up the display cable connector.

      Ask FixBot

      Add Comment

Conclusion

To reassemble your device, follow these instructions in reverse order.

Cancel: I did not complete this guide.

Adam O'Camb

Member since: 04/11/15

225,650 Reputation

415 Guides authored

0 Guide Comments

Add Comment

View Statistics:

Past 24 Hours: 1

Past 7 Days: 21

Past 30 Days: 34

All Time: 622