
Linsay Model F-7HD2CORE Screen Replacement

Lindsay Byrnes and 3 other contributors
Last updated on Jun 19, 2015
Views: 1.8K
View statistics:
- Past 24 Hours:
- 1
- Past 7 Days:
- 19
- Past 30 Days:
- 95
- All Time:
- 1,823
Comments: 1
1 guide comment.
Go to guide commentsCompleted: 3 4
3 people have marked this guide "completed." Will you be next?
4 people have marked this guide "completed." Including you — great job!
Favorites: 2 3
2 people have favorited (and subscribed to) this guide. Will you be next?
3 people have favorited (and subscribed to) this guide — including you!
Introduction
Go to step 1 ↓Replacing the screen necessary when it is cracked or shattered. Replacement screens for Linsay tablets can easily be found online. Be sure to use caution when handling broken glass fragments as they can be sharp and cut you.
What you need
Parts
Tools


-
-
-
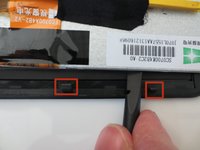
Insert your plastic opening tool in between the black and white portions of your device.
-
Gently pry the top screen from the base of the tablet.
-
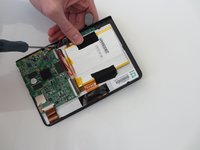
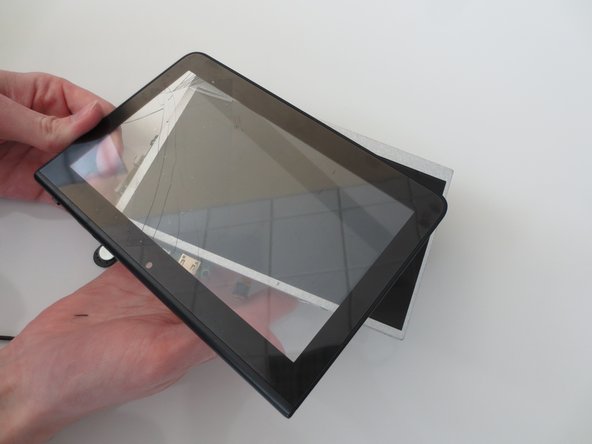
Your tablet should now look like the third photo.
 Ask FixBot
-
-
-
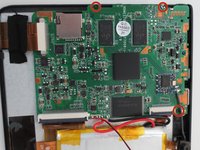
Use your 00 phillips head screwdriver to remove the three 4mm phillips screws circled in red.
-
-
-
-
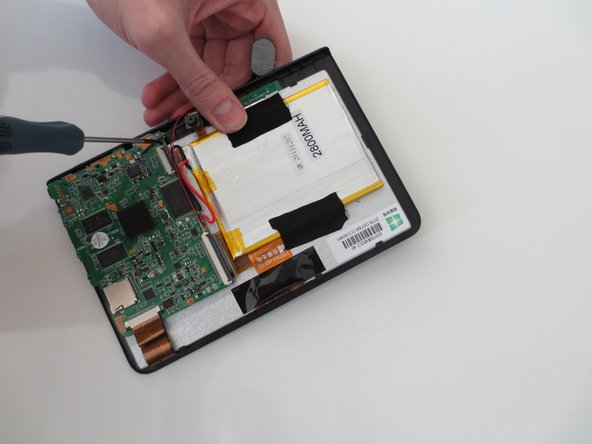
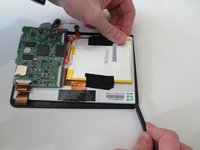
Use the blunt end of the spudger to remove the circuit panel and battery from the glass screen portion of the device.
-
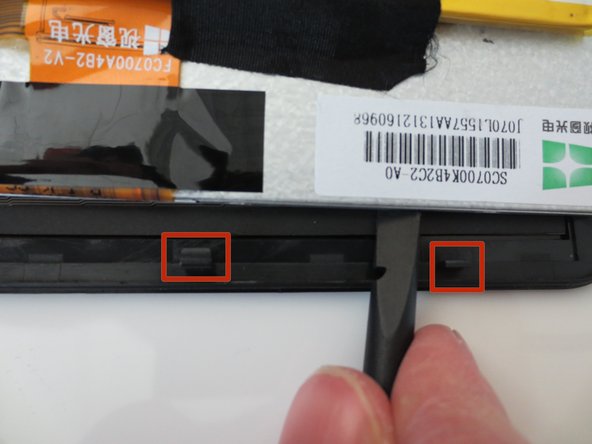
There will be several small hooks holding the screen onto the back panel.
-
-
-
Gently pull the two pieces of the tablet apart.
-
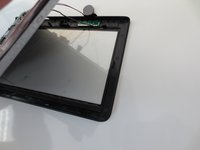
Your tablet should now look like image two.
-
You are now ready to attach your new screen!
-
-





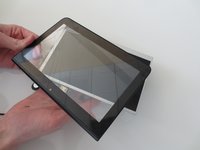
To reassemble your device, follow these instructions in reverse order.
Cancel: I did not complete this guide.
3 other people completed this guide.

Team

Penn State, Team 1-5, Kaschak Winter 2015 Member of Penn State, Team 1-5, Kaschak Winter 2015
PSU-KASCHAK-W15S1G5
3 Members
24 Guides authored
