
Linksys WRT54G Casing Replacement

  1. Linksys WRT54G Casing Replacement, Antennas: step 1, image 1 of 1
    • Unfold the antennas straight away from the device.

  2. Linksys WRT54G Casing Replacement: step 2, image 1 of 3 Linksys WRT54G Casing Replacement: step 2, image 2 of 3 Linksys WRT54G Casing Replacement: step 2, image 3 of 3
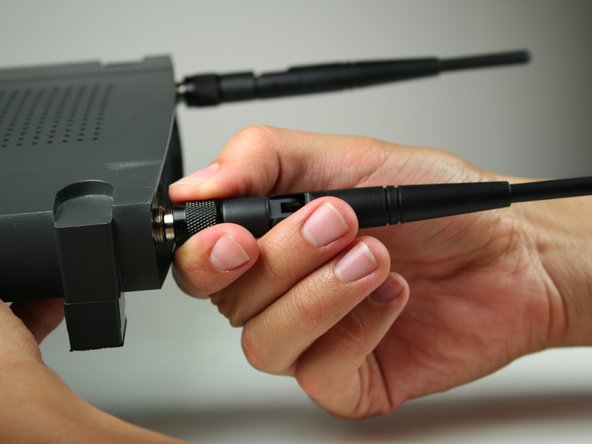
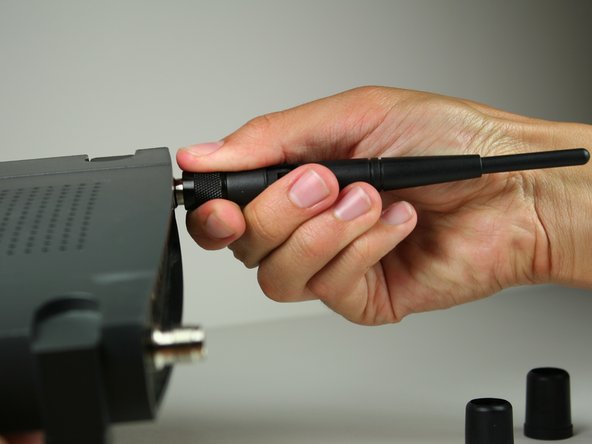
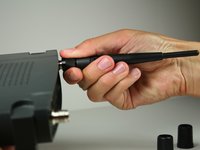
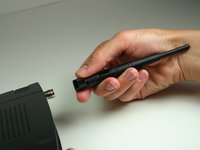
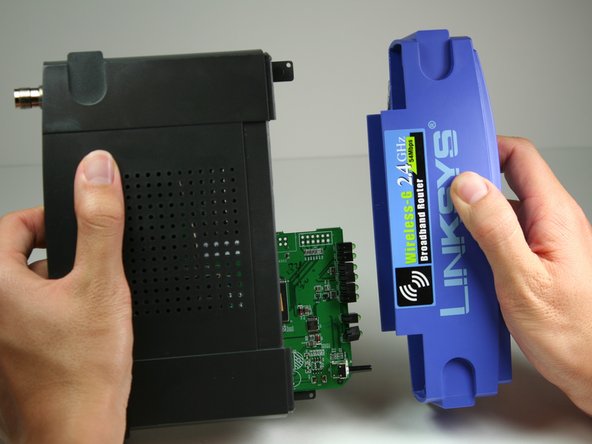
    • Remove the black caps from the antennas by pulling them away from the device.

  3. Linksys WRT54G Casing Replacement: step 3, image 1 of 3 Linksys WRT54G Casing Replacement: step 3, image 2 of 3 Linksys WRT54G Casing Replacement: step 3, image 3 of 3
    • Unscrew each of the antennas from the wireless device.

  4. Linksys WRT54G Casing Replacement, Casing: step 4, image 1 of 2 Linksys WRT54G Casing Replacement, Casing: step 4, image 2 of 2
    • Using a bit of force, remove the blue plastic case.

Conclusion

To reassemble your device, follow these instructions in reverse order.

4 other people completed this guide.

Nina Levine

Member since: 10/12/11

90 Reputation

1 Guide authored

Team

Cal Poly, Team 17-7, Regan Fall 2011 Member of Cal Poly, Team 17-7, Regan Fall 2011

CPSU-REGAN-F11S17G7

4 Members

4 Guides authored

0 Comments

Add Comment

View Statistics:

Past 24 Hours: 0

Past 7 Days: 2

Past 30 Days: 14

All Time: 2,323