Introduction
Without a working reset button, users will not be able to default the router to factory settings. Resetting the router allows users to access the router in case they forget the password to the router administrator settings page or Wi-Fi network.
This guide will show users step by step instructions on accessing the router motherboard to replace the router reset button.
What you need
-
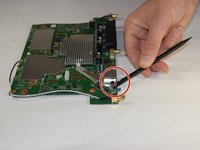
Tool used on this step:Tweezers$4.99
-
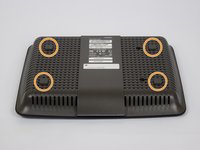
Remove the antennas by unscrewing them from the base.
-
Flip over the device and locate the four rubber feet on the bottom.
-
Remove the rubber feet with tweezers
-
-
-
-
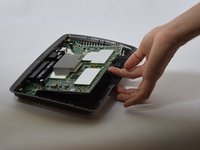
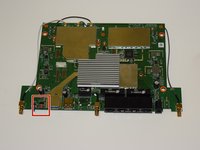
Make sure to correctly identify the red router reset button.
-
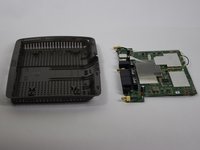
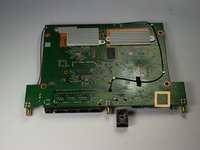
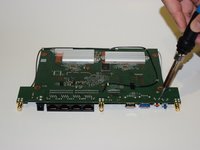
Locate the four solder points on the other side of the motherboard.
-


To reassemble your device, follow these instructions in reverse order.
Cancel: I did not complete this guide.
4 other people completed this guide.
Team

USF Tampa, Team 11-1, Blackwell Fall 2016 Member of USF Tampa, Team 11-1, Blackwell Fall 2016
USFT-BLACKWELL-F16S11G1
4 Members
12 Guides authored