
Levoit LV-H132 LED Replacement

Joshua Lopez and 4 other contributors
Last updated on Dec 19, 2023
Views: 667
View statistics:
- Past 24 Hours:
- 1
- Past 7 Days:
- 11
- Past 30 Days:
- 63
- All Time:
- 667
Comments: 0
No one has left comments on this guide. Will you be first?
Go to guide commentsCompleted: 1 2
1 person has marked this guide "completed." Will you be next?
2 people have marked this guide "completed." Including you — great job!
Favorites: 0 1
No one has favorited (and subscribed to) this guide. Will you be the first?
1 person has favorited (and subscribed to) this guide — and that's you!
Needs More Images
A few more images would make this guide's procedures crystal clear.
Introduction
Go to step 1 ↓Are the LED lights on your Levoit LV-H132 not lighting up, flickering, or dimming? If so, use this guide to replace the LED lights. This repair is required to enable the user to determine the status of their device.
What you need
Tools


-
-
-
-
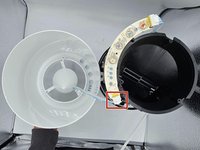
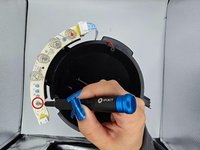
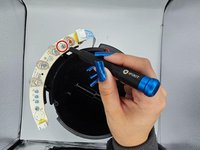
Desolder the joints holding the faulty LED and switch to the PCB.
-
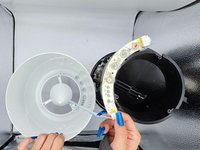
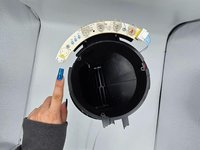
Slide the faulty LED out and replace it with the functional one.
-


 Ask FixBot









To reassemble your device, follow these instructions in reverse order.
Cancel: I did not complete this guide.
One other person completed this guide.

Team

University of North Texas, Team 2-3, Harold Fall 2023 Member of University of North Texas, Team 2-3, Harold Fall 2023
UNT-HAROLD-F23S2G3
4 Members
60 Guides authored
