Introduction
Confidently Restore Your Lenovo Yoga C930-13IKB Display
Is your Lenovo Yoga C930-13IKB screen acting up, from a cracked screen to flickering or unresponsive pixels? Take a deep breath and proceed with this step-by-step guide on how to replace the display of your Lenovo Yoga C930-13IKB.
Replacing the display may seem daunting at first, but with the right tools, parts, and guidance, even first-time repairers can succeed. Taking on this repair yourself not only saves on expensive professional services but also provides a sense of accomplishment and valuable technical experience.
Safety and Preparation Tips:
- Power Off: Shut down the laptop and unplug all power sources.
- Anti-Static Workspace: Work on a static-free surface and ground yourself if possible.
- Handle with Care: Be gentle with delicate components to avoid damage.
- Stay Organized: Use a container to track screws and parts during disassembly.
What you need
-
Tool used on this step:Halberd Spudger$2.99
-
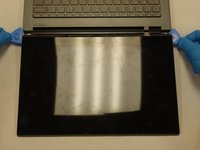
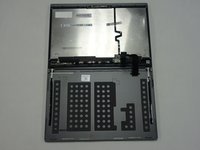
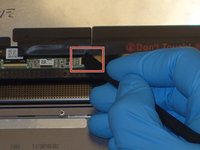
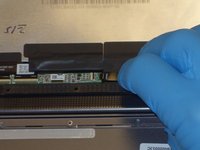
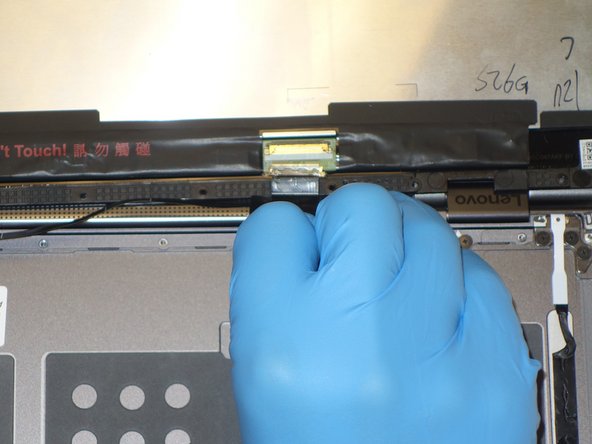
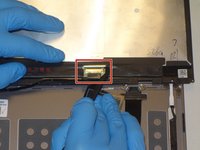
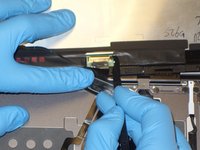
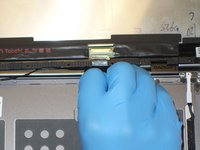
Using a halberd spudger, gently lift up the metal bezel that lines the lower edge of the display.
-
-
Tool used on this step:iFixit Opening Picks (Set of 6)$4.99
-
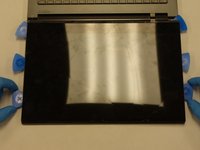
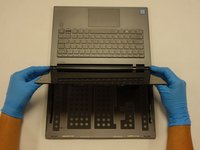
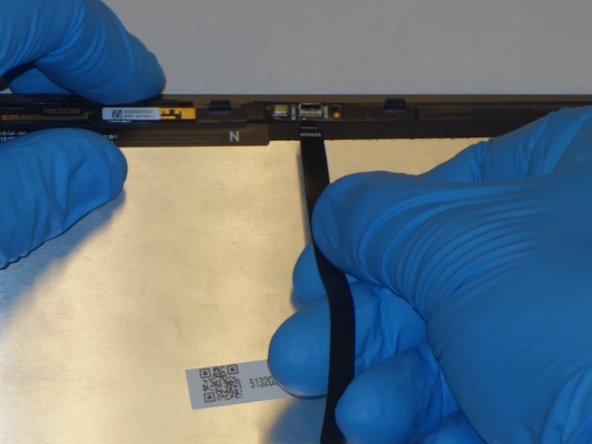
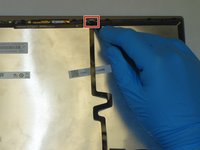
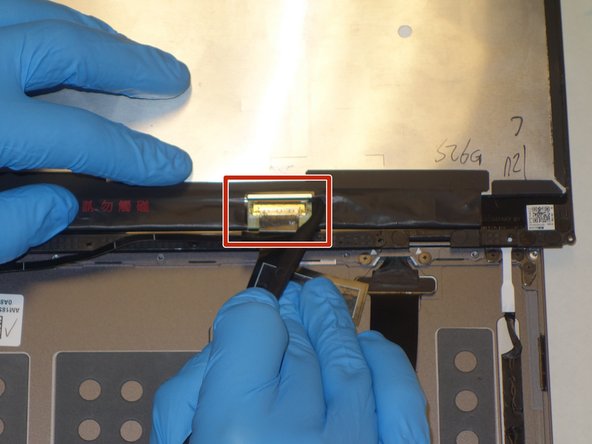
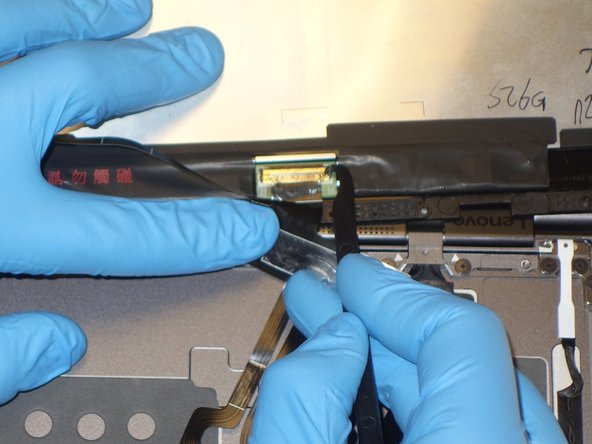
Gently wedge two opening picks underneath the display.
-
Slowly work the opening picks around the display.
-
Add opening picks as needed to keep display separated from the frame.
-
-


To reassemble your device, follow these instructions in reverse order.
Cancel: I did not complete this guide.
One other person completed this guide.

Team

The Citadel Military College of South Carolina, Team S3-G23, Eggleston Fall 2020 Member of The Citadel Military College of South Carolina, Team S3-G23, Eggleston Fall 2020
CMCSC-EGGLESTON-F20S3G23
3 Members
3 Guides authored
1 Guide Comment
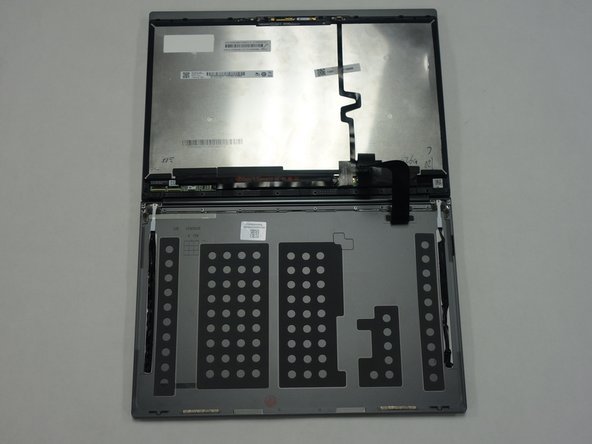
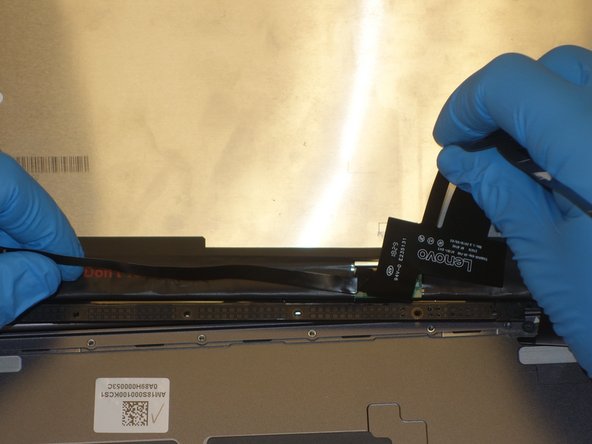
The screen is glued with iphone battery tape so you have to pull the white tabs at the bottom of the screen to release the tape as like almost all the last generation screens.