Free Shipping on Domestic Orders $75+

Lenovo Yoga 720-15IKB Keyboard Replacement

What you need

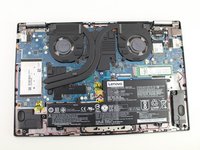
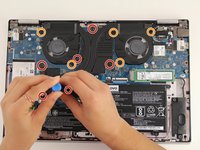
  1. Lenovo Yoga 720-15IKB Keyboard Replacement, Bottom Cover: step 1, image 1 of 3 Lenovo Yoga 720-15IKB Keyboard Replacement, Bottom Cover: step 1, image 2 of 3 Lenovo Yoga 720-15IKB Keyboard Replacement, Bottom Cover: step 1, image 3 of 3
    • Power off the device before starting.

    • Flip the device over with the hinges facing away from you.

    • Remove seven 5.0 mm Torx T5 screws.

    • Remove three 9.5 mm Torx T5 screws.

    Ask FixBot

    Add Comment

  2. Lenovo Yoga 720-15IKB Keyboard Replacement: step 2, image 1 of 2 Lenovo Yoga 720-15IKB Keyboard Replacement: step 2, image 2 of 2
    • Pry around the edges from one side to another with a plastic opening tool.

    • Do not pry on the side with the hinges because this can break the cover.

    • Lift the case from the front until you feel resistance.

    • Do not keep lifting after you feel resistance, or the bottom cover can break.

    • Pull the cover towards you, away from the hinges.

    • Completely lift off the cover.

    Ask FixBot

    Add Comment

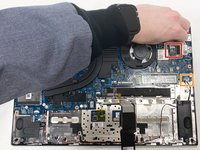
  3. Lenovo Yoga 720-15IKB Keyboard Replacement, Fan: step 3, image 1 of 2 Lenovo Yoga 720-15IKB Keyboard Replacement, Fan: step 3, image 2 of 2
    • Remove the six 5.2mm Torx T5 screws holding the fan in place.

    • Remove the five 5.0mm Torx T5 screws holding the fan in place.

    Ask FixBot

    Add Comment

  4. Lenovo Yoga 720-15IKB Keyboard Replacement: step 4, image 1 of 3 Lenovo Yoga 720-15IKB Keyboard Replacement: step 4, image 2 of 3 Lenovo Yoga 720-15IKB Keyboard Replacement: step 4, image 3 of 3
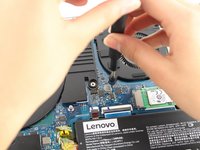
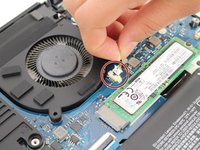
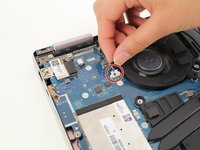
    • Disconnect the two fan wire connectors.

    • Firmly pull the connector out horizontally away from the socket.

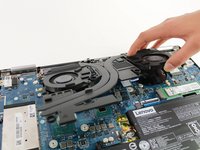
    • Carefully lift the fan up and out.

    Ask FixBot

    Add Comment

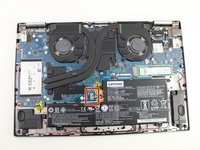
  5. Lenovo Yoga 720-15IKB Keyboard Replacement, Battery: step 5, image 1 of 2 Lenovo Yoga 720-15IKB Keyboard Replacement, Battery: step 5, image 2 of 2
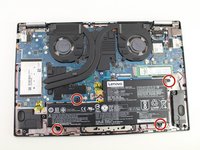
    • Remove the four 4mm screws surrounding the battery with a Phillips #0 screwdriver.

    • Each is marked by "M2x5" with a small white arrow pointing to the screw itself.

    Ask FixBot

    Add Comment

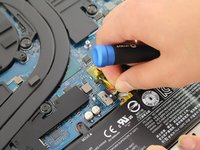
  6. Lenovo Yoga 720-15IKB Keyboard Replacement: step 6, image 1 of 2 Lenovo Yoga 720-15IKB Keyboard Replacement: step 6, image 2 of 2
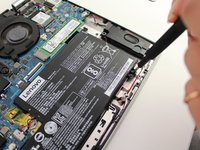
    • Pull firmly on the battery connector to disconnect it.

    Ask FixBot

    Add Comment

  7. Lenovo Yoga 720-15IKB Keyboard Replacement: step 7, image 1 of 1
    • Lift the battery out of the case to remove it.

    Ask FixBot

    Add Comment

  8. Lenovo Yoga 720-15IKB Keyboard Replacement, Motherboard: step 8, image 1 of 1
    • Using the Phillips #000 screwdriver, remove the five screws.

    Ask FixBot

    Add Comment

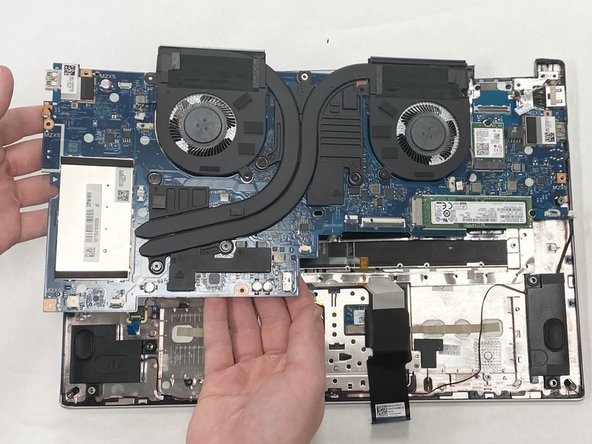
  9. Lenovo Yoga 720-15IKB Keyboard Replacement: step 9, image 1 of 2 Lenovo Yoga 720-15IKB Keyboard Replacement: step 9, image 2 of 2
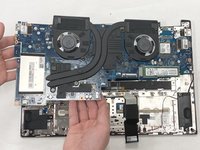
    • Disconnect the power outlet connector.

    • Disconnect the speaker wire connector.

    • Carefully lift the motherboard up and out of the device.

    Ask FixBot

    Add Comment

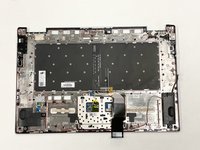
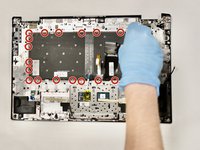
  10. Lenovo Yoga 720-15IKB Keyboard Replacement, Keyboard: step 10, image 1 of 2 Lenovo Yoga 720-15IKB Keyboard Replacement, Keyboard: step 10, image 2 of 2
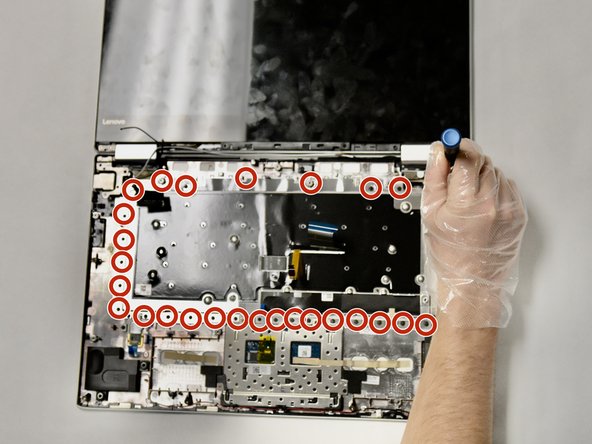
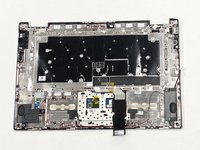
    • Using the Phillips #000 screwdriver, remove the 39 welded screws holding the keyboard cover in place.

    • Gently lift to remove the keyboard cover.

    Ask FixBot

    Add Comment

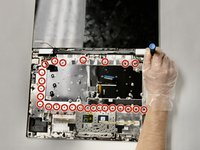
  11. Lenovo Yoga 720-15IKB Keyboard Replacement: step 11, image 1 of 2 Lenovo Yoga 720-15IKB Keyboard Replacement: step 11, image 2 of 2
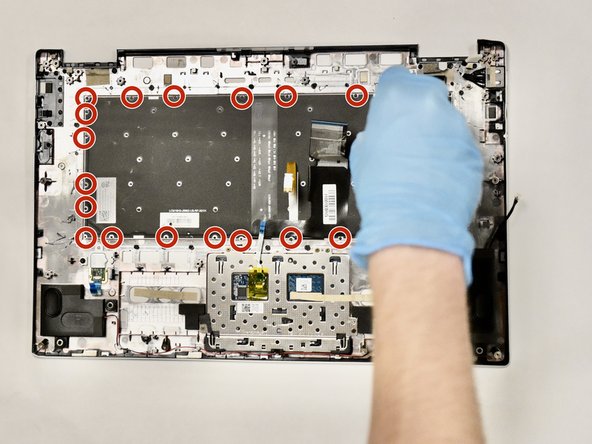
    • Using the same Phillips #000 screwdriver, remove the 27 welded screws holding the keyboard in place.

    • Gently lift to remove the keyboard.

    Ask FixBot

    Add Comment

Conclusion

To reassemble your device, follow these instructions in reverse order.

Cancel: I did not complete this guide.

3 other people completed this guide.

5 Guide Comments

Hi, how did you remove the welded screws from the keyboard?

John Brown - Reply Share
I agree with john brown, how did you manage to remove the welded screws from the keyboard?

Kareem Azzouz - Reply Share

Yes, how did you remove the welded screws?

Florian - Reply Share

This model of laptop is not designed to allow the keyboard to be removed. A very handy (or very lucky) person might be able to get the welded screws out, but they are not designed to be removed. Additionally, DO NOT REMOVE THE FAN! There are a couple of screws at the back of the fans that need to removed to remove the motherboard, but it is not necessary to remove the whole fan in order to remove the motherboard (and if you do, you would then need to re-seat the fan and mess with applying new thermal paste when doing so).

Stephen Engelhardt - Reply Share

True that the "welded screws" are...... not really screws at all. We broke off the capped bits that hold the keyboard and cover in place. We then replaced the keyboard and used a glue-gun on each of the "screws" to keep them in place, effectively "repairing" each of the screws we had broken off (/ had "un-capped)".
This works like a charm. It was a few years ago, and I am using it still, including right now :)
Never saw such an insane design in a laptop before. It seemed a bit scary to break off dozens of bits in a laptop, but it wasn't in the end. Don't let this hold you back from repairing your (otherwise) awesome laptop!

RobL - Reply Share

Add Comment

View Statistics:

Past 24 Hours: 1

Past 7 Days: 18

Past 30 Days: 93

All Time: 6,437