Introduction
To replace the motherboard of the Lenovo Yoga 3 14, you need a PH0 screwdriver, a spudger, and tweezers. Some parts require you to use your hands to disconnect some components from the motherboard.
What you need
-
-
Remove the two 3mm screws using the PH#0 screwdriver head.
-
Unscrew the three 4mm screws using PH#1 (the larger screws do not come off the are attached to the housing unit of the cooling fan).
-
-
-
-
Gently lift the fan out of the laptop.
On reassemble I guess you need to clean up the heatsink and processor, and renew the heatsink paste, otherwise you could well be making things a lot worse.
-
-
-
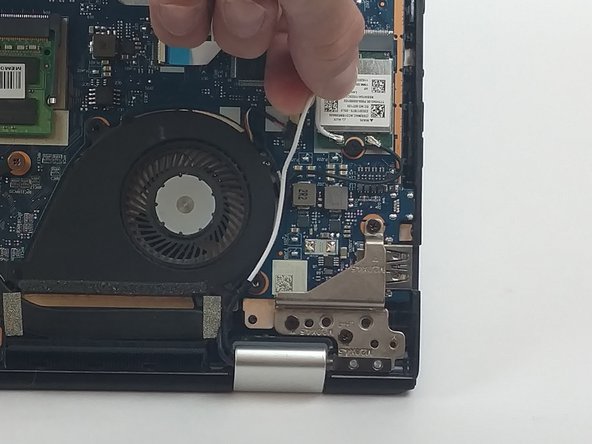
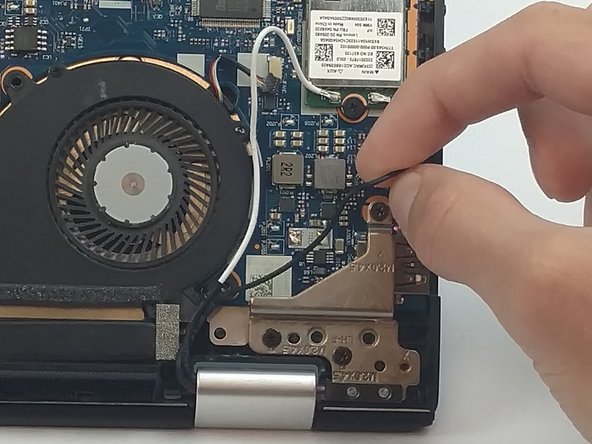
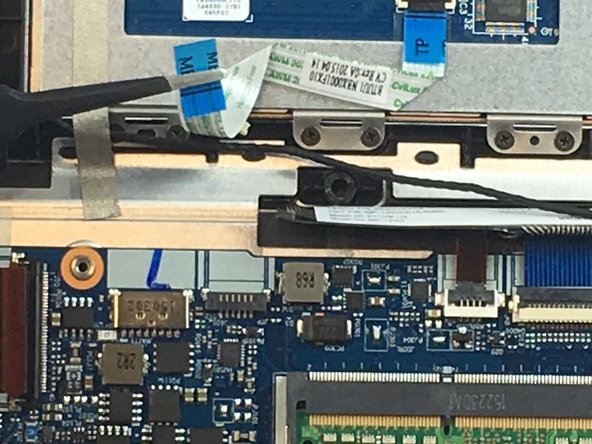
Unscrew the three 3mm screws from the bottom right hinge using a PH0 screwdriver.
-
Remove the one 4mm screw that connects the hinge to the motherboard.
Step 8a: photo shows location of three 3mm screws. However, only 2 screws are present. The hole in the lower right of the image receives one of the housing cover screws.
-
-
-
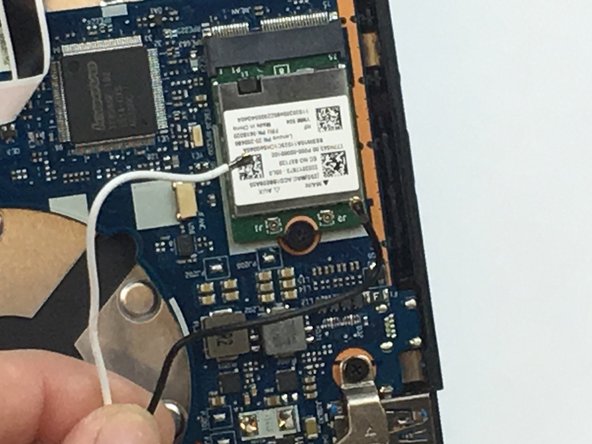
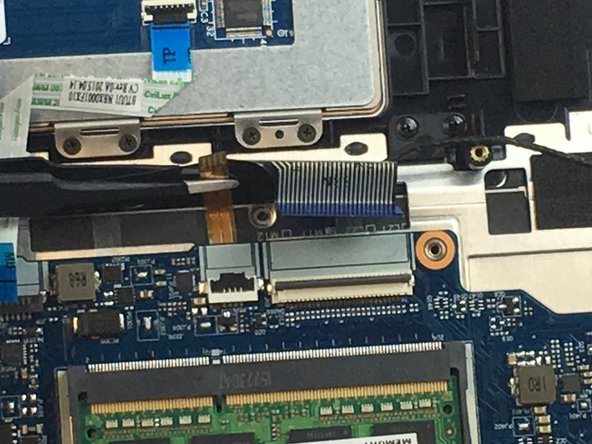
Using tweezers, disconnect the second cable connecting the screen to the motherboard.
-
-
-
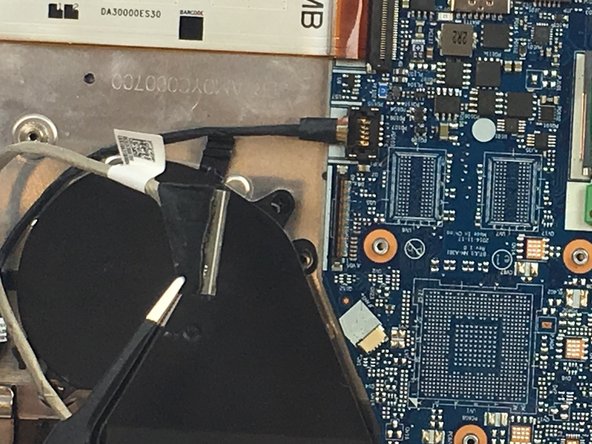
Undo the clips holding the blue and brown ribbon to the motherboard. Use tweezers to gently remove both ribbons.
does anybody know the name of the connector of the brown cable? in my case it broke
-
-
-
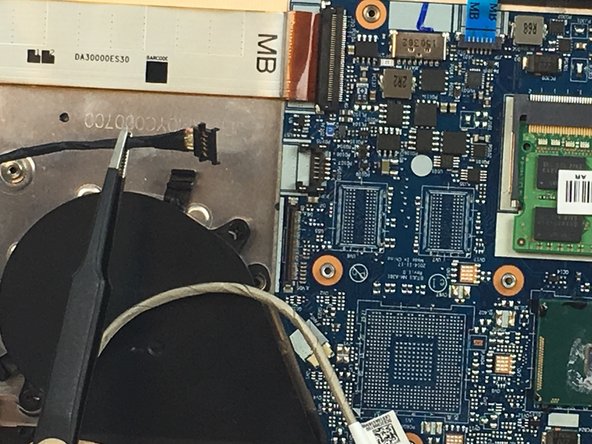
Place one hand on the hard drive and gently gripping the black connector, pull it away from the hard drive to disconnect.
Seems like it might be better to slide out the blue ribbon connector.
Agreed, with hard drive fitted it is easier to remove the blue end.
-


To reassemble your device, follow these instructions in reverse order.
To reassemble your device, follow these instructions in reverse order.
Cancel: I did not complete this guide.
4 other people completed this guide.
Team

USF Tampa, Team 3-2, Passmore Fall 2016 Member of USF Tampa, Team 3-2, Passmore Fall 2016
USFT-PASSMORE-F16S3G2
4 Members
7 Guides authored
7 Comments
Hi, Is the i7 motherboard version is the same size ,ports and screws as i5 ??
Is there any issue if i replace my old i5 with i7 ? ignoring battery performance.
please advice.
Did you replace your i5 motherboard for an i7? Was everything ok?
I’m thinking about doing the same…
rsoares -
One assumes new thermal paste is required when re-attach the van?
Do you mean the fan? If I remember correctly, there was no thermal paste attaching the fan to the motherboard or the surrounding components. It was just housed within the casing attached via screws as shown in the images.
Ryan,
Thank you for your reply.
Yes I mean the fan, sorry. Step 5 you remove the 3 screws for what I assume is the heat sink. I was asking about that as it looks like the the processor is under there and seems to have thermal paste on the top.
Chris,
I see what you mean. It's on that left side of the housing. It does appear there is thermal paste there.
I'm going to be honest with you. We did this in class with non-functional devices, as you could probably tell since we had no hard drive in ours. We did not have access to thermal paste nor was it necessary for us to reapply any since the laptop didn't work from the start. I'm sorry if we provide no guide on how to reapply the thermal paste and I wish you the best of luck in doing it! I am sure there are some other guides on here that include working with thermal paste, if you are not already familiar with it.
Ryan,
Thank you for your reply. All makes sense. Not used thermal paste for years, never had to remove a heat sink for ages.
I can work that out based on the originally paste. Shame it has to be removed though as I’m actually replacing the keyboard\palm rest. The machine is not overheating so I’d prefer to leave well alone if I don’t have to disturb it. Actually, looking at the pictures, it looks like I could just remove the fan screws and leave the heat sink in place,
Thank you for the guide though, good to see it in pictures.
Chris