
Lenovo Yoga 3 14 Cooling Fan Replacement

What you need

  1. Lenovo Yoga 3 14 Cooling Fan Replacement, Back Case: step 1, image 1 of 1
    • Remove the eleven 6mm T5 Torx screws from the back case.

  2. Lenovo Yoga 3 14 Cooling Fan Replacement: step 2, image 1 of 3 Lenovo Yoga 3 14 Cooling Fan Replacement: step 2, image 2 of 3 Lenovo Yoga 3 14 Cooling Fan Replacement: step 2, image 3 of 3
    • Insert the plastic opening tool into the long side of the case backing and slide it the entire length of the laptop.

    • Gently lift the backing off the laptop.

  3. Lenovo Yoga 3 14 Cooling Fan Replacement, Cooling Fan: step 3, image 1 of 2 Lenovo Yoga 3 14 Cooling Fan Replacement, Cooling Fan: step 3, image 2 of 2
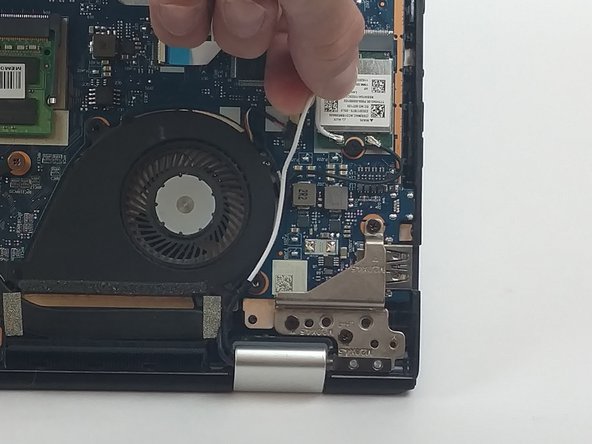
    • Remove the two 3mm screws using the PH#0 screwdriver head.

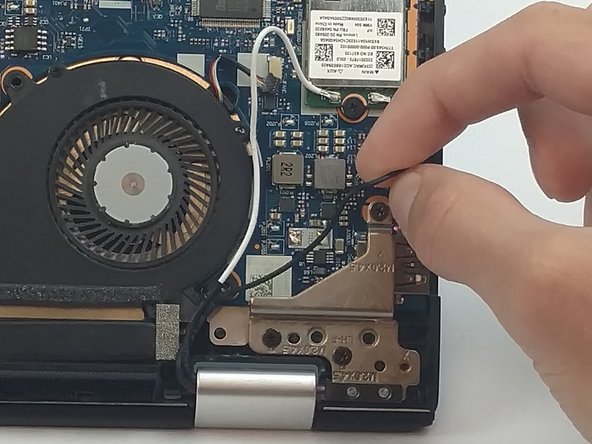
    • Unscrew the three 4mm screws using PH#1 (the larger screws do not come off the are attached to the housing unit of the cooling fan).

  4. Lenovo Yoga 3 14 Cooling Fan Replacement: step 4, image 1 of 3 Lenovo Yoga 3 14 Cooling Fan Replacement: step 4, image 2 of 3 Lenovo Yoga 3 14 Cooling Fan Replacement: step 4, image 3 of 3
    • Use tweezers to disconnect the fan.

    • Unwrap the white and black wires from around the fan case.

  5. Lenovo Yoga 3 14 Cooling Fan Replacement: step 5, image 1 of 1
    • Gently lift the fan out of the laptop.

Conclusion

To reassemble your device, follow these instructions in reverse order.

One other person completed this guide.

Matthew Victores

Member since: 09/28/16

602 Reputation

5 Guides authored

Team

USF Tampa, Team 3-2, Passmore Fall 2016 Member of USF Tampa, Team 3-2, Passmore Fall 2016

USFT-PASSMORE-F16S3G2

4 Members

7 Guides authored

0 Comments

Add Comment

View Statistics:

Past 24 Hours: 0

Past 7 Days: 1

Past 30 Days: 4

All Time: 3,152