This translation was generated by a machine and has not been reviewed by a person yet. Speak this language? Review it.
Introduction
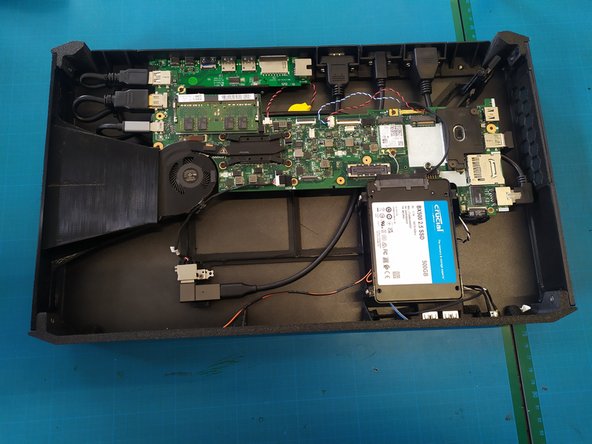
This guide explains how to assemble a Restart PC using a Lenovo X270 motherboard: wiring and gluing the power button and LED, installing the rear connector blocks, and mounting the motherboard and SSD into the housing.
What you need
-
-
-
Replace the BIOS battery.
-
Add a RAM stick.
-
Start the board with the Windows disk already installed (it has a sticky note).
 Ask FixBot
-
-
-
Install the button on the front panel.
-
Add solder to the button terminals.
-
Tin the black and white wires.
-
Solder the wires to the button terminals.
-
-
-
Use the heat gun to install the heat shrink tubing.
-
Insert the seal, then tighten the nut.
-
-
-
Insert a long USB extension.
-
Ensure the "blue USB bars" on the extension are facing upward (see photo).
-
Secure the connector with 2 Phillips M3 screws.
-
-
-
Drive the 4 M2 screws (see location in photo).
-
Also install the speaker onto its bracket using 2 screws (see photo).
-
-
-
Drive the 2 short M3 top screws WITHOUT TIGHTENING.
-
-
-
Flip the assembly over.
-
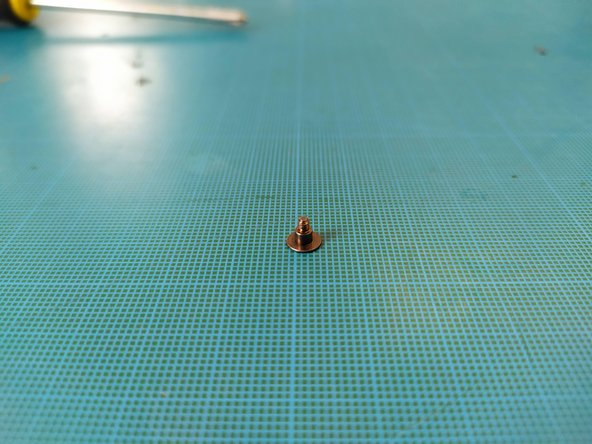
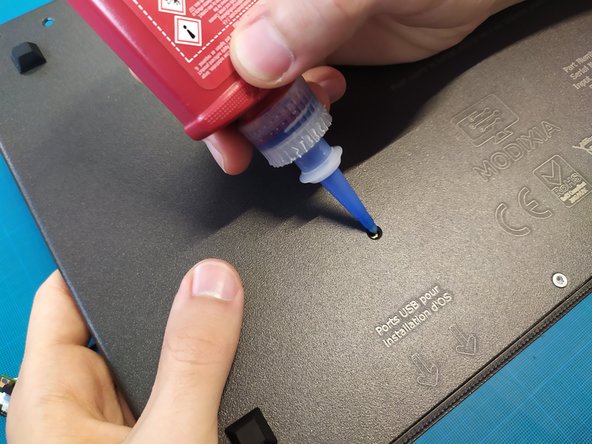
Insert a drop of threadlocker into the 2 free holes.
-
Drive the 2 remaining screws in without overtightening at the end.
-
Remove the 2 top screws and reinstall them after applying threadlocker.
-
Tighten the 2 top screws firmly.
-
-
-
-
For the left-hand connection, you must use a U-turn USB adapter (180° black).
-
Route the cables under the motherboard.
-
-
-
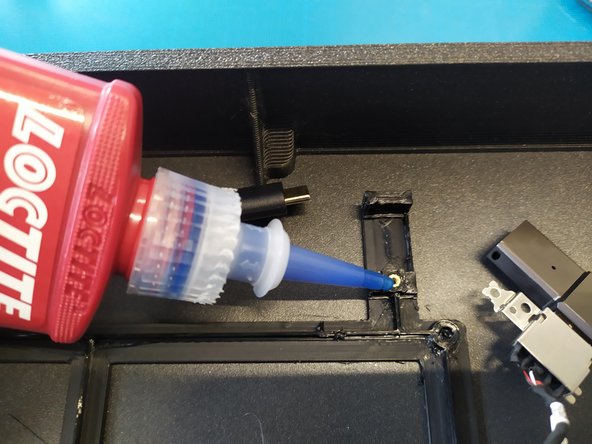
Apply a drop of threadlocker.
-
Install one short M3 Torx screw per block WITHOUT TIGHTENING.
-
Once all the blocks are installed, tighten the screws one by one.
-
2x solid block.
-
1x hub block.
-
1x HDMI block.
-
1x USB-C power block.
-
1x RJ45 block.
-
-
-
Add a drop of threadlocker into the M2 insert. This is located at the front of the PC, on the side opposite the USB port.
-
Drive an M2 screw.
-
Connect the USB extension socket.
-
-
-
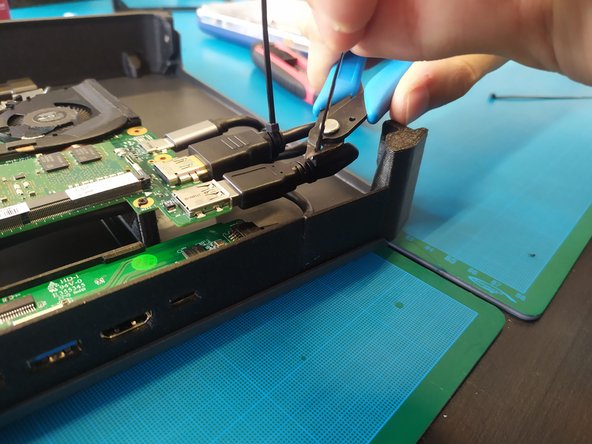
Add a zip tie to the HDMI cables and the adjacent USB-A cable.
-
Trim the excess with flush cutters.
-
Hide the "knot" under the cable.
-
-
-
Apply a drop of threadlocker.
-
Secure the air duct with 2 Phillips M2 screws.
-
Repeat the green points for the dust screen.
-
-
-
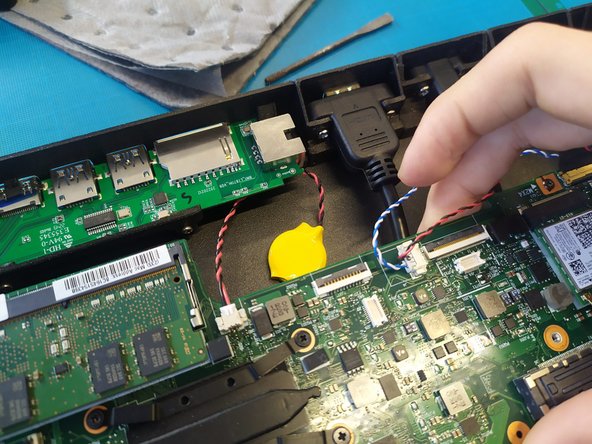
Connect the Wi-Fi antennas.
-
The blue antenna goes on the USB socket side.
-
The orange antenna goes on the air scoop side.
-
Use a cable tie to organize the cables.
-
-
-
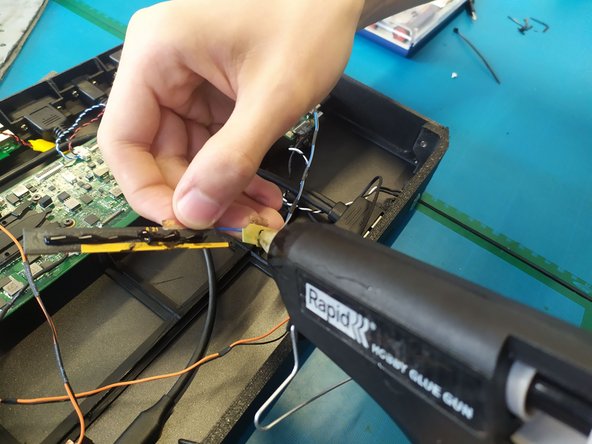
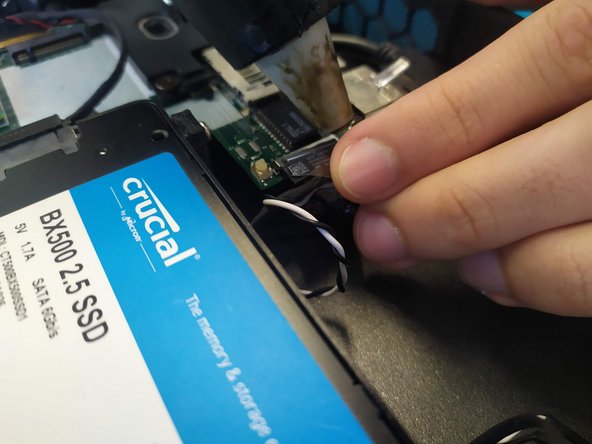
Apply a bead of hot glue to the power button board connector.
-
-
-
Use double-sided tape to secure the battery in the casing.
-
-
-
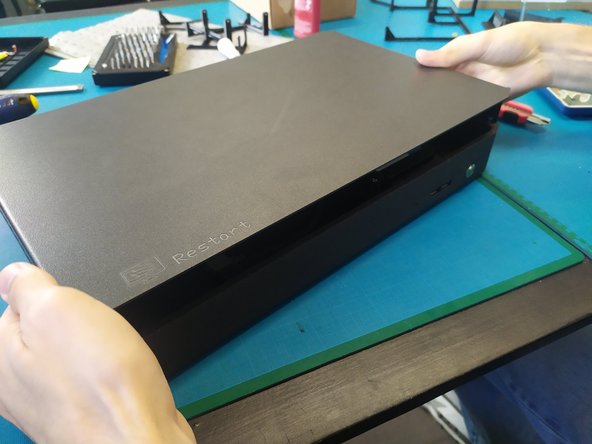
Install the upper plate.
-
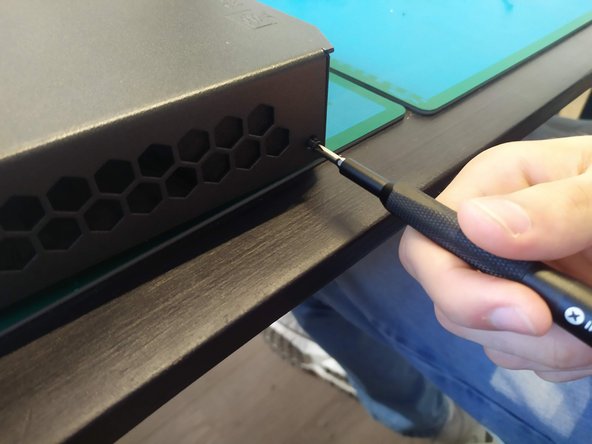
Secure with 4 black M3 Phillips flat-head screws (skip this step if parts are missing).
-
-





















Cancel: I did not complete this guide.
One other person completed this guide.

