Introduction
The memory (RAM) is a critical part of your computer, and if your workload becomes too demanding, it may be time to upgrade it. Thankfully, memory upgrades for this laptop are relatively simple.
You can check your current memory usage in Task Manager (Ctrl + Shift + Esc).
Some models of this laptop were configured with just 4GB of memory, and if you're updating to Windows 11, or have a heavier workload, such as having many tabs open at once, you'll need to upgrade your memory to ensure a smooth experience.
What you need
-
-
-
Unscrew the 8 screws holding the back panel in place.
-
Use a plastic prying tool to release all the clips holding the panel in place.
 Ask FixBot
-
-
-
-
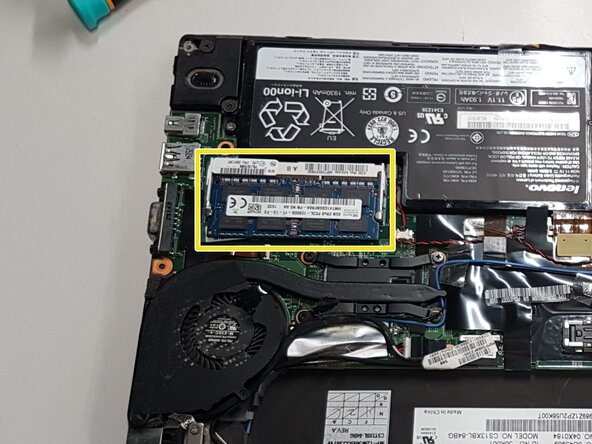
Push the metal latches outward on both sides of the memory slot to let the existing stick loose.
-
Pull the old module straight out of the socket.
-
Align the notch on your new RAM stick with the one inside the slot, and insert it at a 45-degree angle.
-
Press down on the top edge of the RAM module until the side latches click and lock it flat into place.
-
-


To reassemble your device, follow these instructions in reverse order.
Cancel: I did not complete this guide.
One other person completed this guide.

