
Lenovo N22 Chromebook Battery Replacement

What you need

  1. Lenovo N22 Chromebook Battery Replacement, Keyboard: step 1, image 1 of 3 Lenovo N22 Chromebook Battery Replacement, Keyboard: step 1, image 2 of 3 Lenovo N22 Chromebook Battery Replacement, Keyboard: step 1, image 3 of 3
    • Power down the Chromebook before starting the repair.

    • Opening the Chromebook voids the manufacturer warranty.

    • Flip the Chromebook so that the bottom is facing up.

    • Use a Phillips #1 screwdriver to remove the six 6.6 mm screws on the bottom.

    • Use a spudger to remove each of the 4 rubber feet.

    • Use a Phillips #1 screwdriver to remove the four additional screws under the rubber feet.

  2. Lenovo N22 Chromebook Battery Replacement: step 2, image 1 of 3 Lenovo N22 Chromebook Battery Replacement: step 2, image 2 of 3 Lenovo N22 Chromebook Battery Replacement: step 2, image 3 of 3
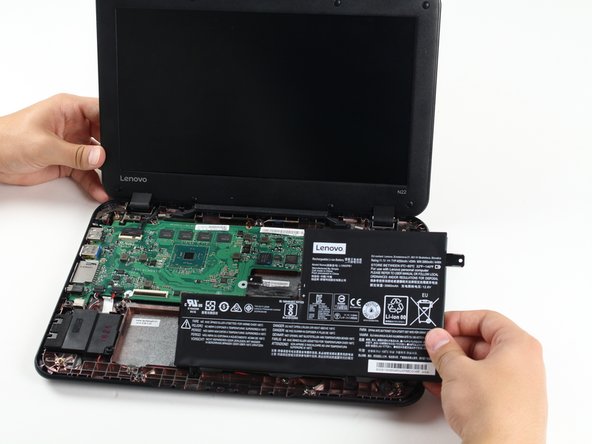
    • Flip the Chromebook back over and open the screen.

    • Wedge the plastic opening tool between the keyboard and the bottom of the Chromebook.

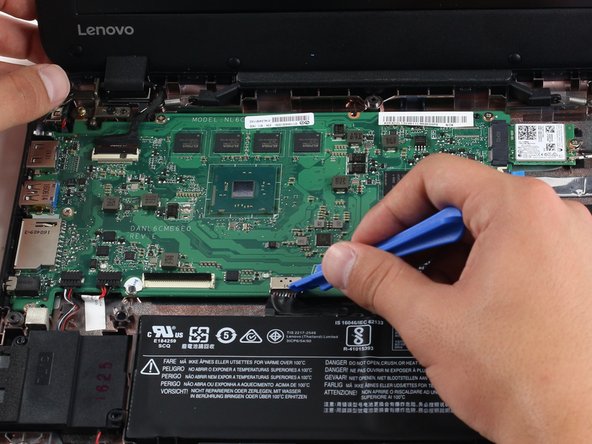
    • Run the plastic opening tool along the seam between the keyboard and the bottom of the Chromebook until the keyboard moves freely. Several tabs will pop out.

    • It is normal for the tabs to make a loud click when released. The corner tabs will be harder to release than the others and will make a louder click.

  3. Lenovo N22 Chromebook Battery Replacement: step 3, image 1 of 2 Lenovo N22 Chromebook Battery Replacement: step 3, image 2 of 2
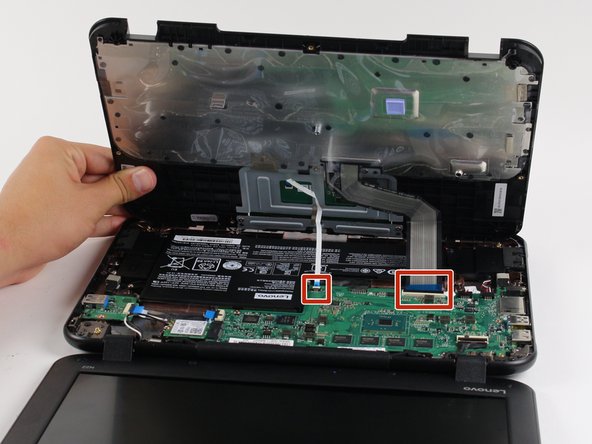
    • Once the keyboard is released, grab the two top corners closest to the screen and slowly lift the keyboard up.

    • Do not lift the keyboard quickly or you might break the two cables that connect the keyboard to the motherboard.

    • Disconnect the cables by lifting up the retaining flaps on the black ZIF connectors.

    • Slowly pull the cables up and out of the connectors.

  4. Lenovo N22 Chromebook Battery Replacement: step 4, image 1 of 1
    • Lift the keyboard up and off the back panel, exposing the motherboard and battery.

  5. Lenovo N22 Chromebook Battery Replacement, Battery: step 5, image 1 of 2 Lenovo N22 Chromebook Battery Replacement, Battery: step 5, image 2 of 2
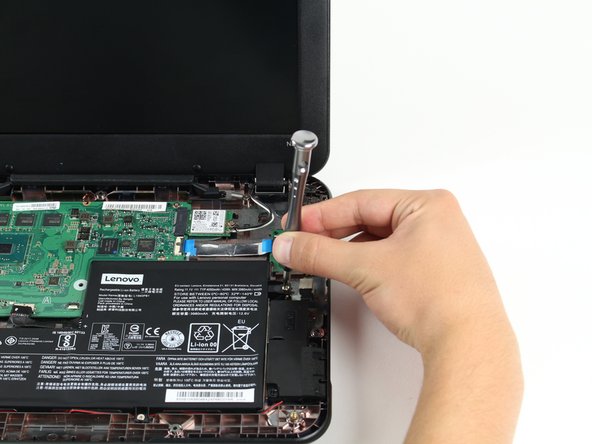
    • Separate the battery cable from the motherboard by wedging the edge of a plastic opening tool between the black cable connector and the silver socket on the motherboard.

    • Pull the battery cable straight towards you, away from the silver socket.

  6. Lenovo N22 Chromebook Battery Replacement: step 6, image 1 of 2 Lenovo N22 Chromebook Battery Replacement: step 6, image 2 of 2
    • Use a Philips #1 screwdriver to remove the three 4.3 mm screws securing the battery.

  7. Lenovo N22 Chromebook Battery Replacement: step 7, image 1 of 2 Lenovo N22 Chromebook Battery Replacement: step 7, image 2 of 2
    • Lift up on the tabs that were held down by the screws to remove the battery.

Kevin Yerina

Member since: 04/26/17

453 Reputation

2 Guides authored

Team

Cal Poly, Team S21-G1, Livingston Spring 2017 Member of Cal Poly, Team S21-G1, Livingston Spring 2017

CPSU-LIVINGSTON-S17S21G1

4 Members

14 Guides authored

View Statistics:

Past 24 Hours: 2

Past 7 Days: 5

Past 30 Days: 48

All Time: 16,655