Introduction
If you notice your Lenovo Legion Y530-15ICH overheating and crashing, even when processing small tasks, it might be time to replace the old thermal paste in your laptop. Over time, thermal paste can dry out and lose its effectiveness, leading to improper heat conduction and causing your laptop to overheat and under perform. On average the idle temperature of your laptop should be around 60-65 degrees Celsius, and the temperature of your laptop under heavy workload should be around 80-85 degrees Celsius. If your CPU and GPU temperatures are exceeding over 90-95, it may be due to the thermal paste.
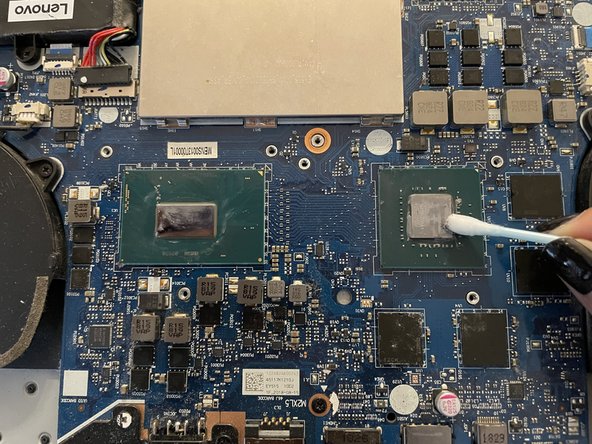
In this guide, I will show you how to replace the old thermal paste on your laptop, allowing it to perform optimally. It is important to use good quality thermal paste, as low quality ones may degrade faster, requiring another replacement in the near future. Usually a thermal paste replacement should last you about 5-7 years.
Before starting, make sure to power off your device completely and disconnect it from any external power source.
What you need
-
-
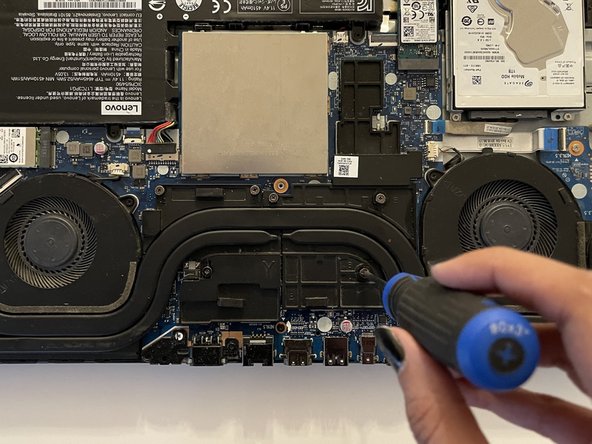
Use a Phillips #1 screwdriver to loosen the 11 screws on the back cover by turning them counterclockwise.
-
Remove the five 7mm screws.
-
Remove the six 4mm screws.
-
-


Start up your computer and ensure everything is functioning as normal.
Start up your computer and ensure everything is functioning as normal.
Team

York University, Team 1-1, O'Regan Winter 2024 Member of York University, Team 1-1, O'Regan Winter 2024
YORK-O'REGAN-W24S1G1
1 Member
1 Guide authored