Free Shipping on Domestic Orders $75+

Lenovo IdeaPad FLEX 4-1580 Circuit Board Replacement

Views: 1.3K

View statistics:

Past 24 Hours:
3
Past 7 Days:
13
Past 30 Days:
73
All Time:
1,272
Comments: 1

1 comment on steps.

Completed: 0

No one has marked this guide "completed." Will you be the first?

Favorites: 0

No one has favorited (and subscribed to) this guide. Will you be the first?

Time Required: 20 minutes
Difficulty: Moderate
Incorrect Tools

Help make this guide better by using the correct tools in images and/or text.

Lenovo IdeaPad FLEX 4-1580 Circuit Board Replacement

Introduction

Go to step 1 ↓

If your computer becomes unresponsive during use, then it is probably due to your circuit board.

What you need

Tools

  • Spudger
    4.9
  • iFixit Opening Tool
    4.8
    1. Lenovo IdeaPad FLEX 4-1580 Circuit Board Replacement, Battery: step 1, image 1 of 1
      • Flip laptop over so the model sticker is showing, and begin to unscrew all of the screws.

      Ask FixBot

      Add Comment

    2. Lenovo IdeaPad FLEX 4-1580 Circuit Board Replacement: step 2, image 1 of 1
      • Pop off the back panel using a plastic opening tool once all screws are removed.

      Ask FixBot

      Add Comment

    3. Lenovo IdeaPad FLEX 4-1580 Circuit Board Replacement: step 3, image 1 of 1
      • Once the panel is fully removed, begin to unscrew the battery.

      Ask FixBot

      Add Comment

    4. Lenovo IdeaPad FLEX 4-1580 Circuit Board Replacement: step 4, image 1 of 2 Lenovo IdeaPad FLEX 4-1580 Circuit Board Replacement: step 4, image 2 of 2
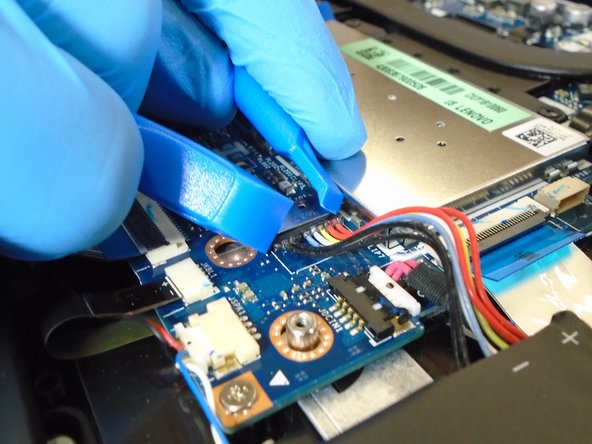
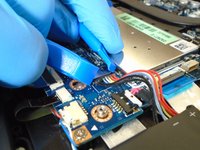
      • Use the iFixit Opening tool to disconnect the battery from the circuit board.

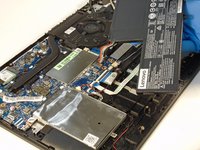
      • When all screws are removed from the battery, carefully lift the battery up.

      Ask FixBot

      Add Comment

    5. Lenovo IdeaPad FLEX 4-1580 Circuit Board Replacement: step 5, image 1 of 1
      • The battery is completely removed, and can be replaced with a new battery.

      Ask FixBot

      Add Comment

    1. Lenovo IdeaPad FLEX 4-1580 Circuit Board Replacement, Fan: step 6, image 1 of 1
      • Remove all screws securing the fan to the laptop.

      Ask FixBot

      Add Comment

    2. Lenovo IdeaPad FLEX 4-1580 Circuit Board Replacement: step 7, image 1 of 1
      • Unhook the wire from the fan component using a spudger.

      Ask FixBot

      Add Comment

    3. Lenovo IdeaPad FLEX 4-1580 Circuit Board Replacement: step 8, image 1 of 1
      • Now the fan is completely removed.

      Ask FixBot

      Add Comment

    1. Lenovo IdeaPad FLEX 4-1580 Circuit Board Replacement, Touchpad: step 9, image 1 of 1
      • After battery is removed, you will move to the touchpad.

      Ask FixBot

      Add Comment

    2. Lenovo IdeaPad FLEX 4-1580 Circuit Board Replacement: step 10, image 1 of 1
      • Before removing touchpad you will have to disconnect it from the circuit board using a nylon spudger.

      Ask FixBot

      Add Comment

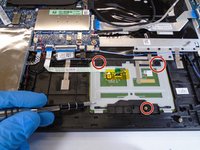
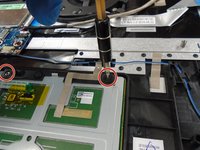
    3. Lenovo IdeaPad FLEX 4-1580 Circuit Board Replacement: step 11, image 1 of 2 Lenovo IdeaPad FLEX 4-1580 Circuit Board Replacement: step 11, image 2 of 2
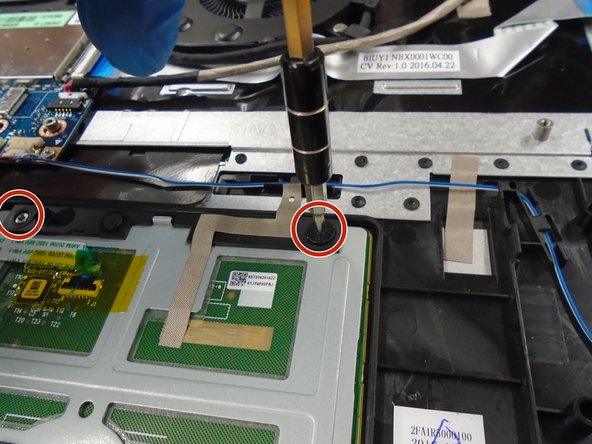
      • Remove all the screws holding the touchpad down.

      Ask FixBot

      Add Comment

    1. Lenovo IdeaPad FLEX 4-1580 Circuit Board Replacement, Circut Board: step 12, image 1 of 1
      • Once fan and battery are removed, you are finally able to fully access the circuit board.

      Ask FixBot

      Add Comment

    2. Lenovo IdeaPad FLEX 4-1580 Circuit Board Replacement: step 13, image 1 of 2 Lenovo IdeaPad FLEX 4-1580 Circuit Board Replacement: step 13, image 2 of 2
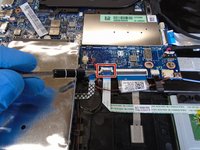
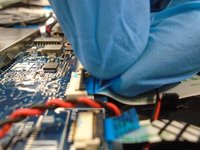
      • Disconnect the touchpad cord from the circuit board using a nylon spudger.

      Ask FixBot

      Add Comment

    3. Lenovo IdeaPad FLEX 4-1580 Circuit Board Replacement: step 14, image 1 of 1
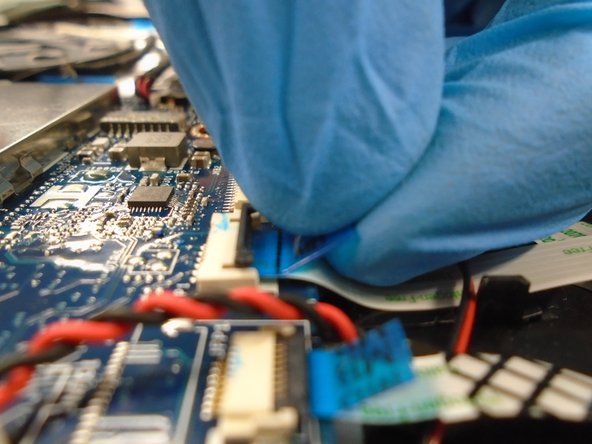
      • Then you will lift up the flap that holds these wires down.

      Ask FixBot

      Add Comment

    4. Lenovo IdeaPad FLEX 4-1580 Circuit Board Replacement: step 15, image 1 of 3 Lenovo IdeaPad FLEX 4-1580 Circuit Board Replacement: step 15, image 2 of 3 Lenovo IdeaPad FLEX 4-1580 Circuit Board Replacement: step 15, image 3 of 3
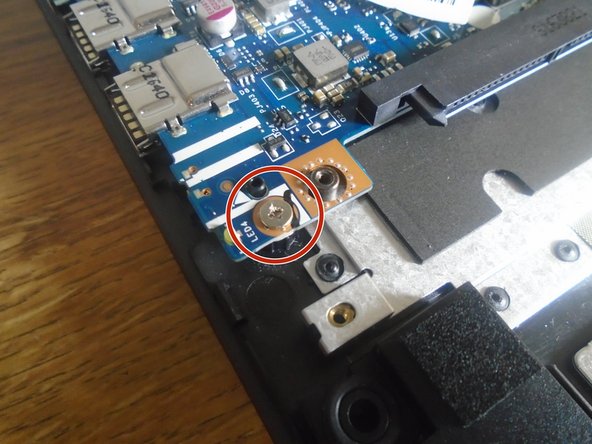
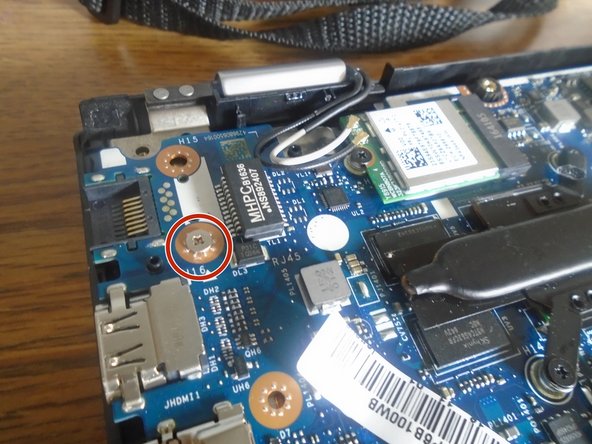
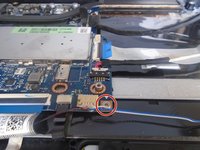
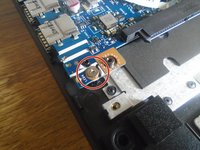
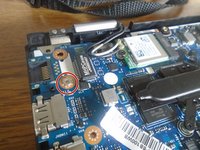
      • After the flap is opened then you will have to go and remove all the screws holding the circuit board to the computer.

      Ask FixBot

      Add Comment

    5. Lenovo IdeaPad FLEX 4-1580 Circuit Board Replacement: step 16, image 1 of 1
      • After the screws are removed from the circuit board, you will have to remove these last screws to remove it completely.

      Ask FixBot

      Add Comment

    6. Lenovo IdeaPad FLEX 4-1580 Circuit Board Replacement: step 17, image 1 of 1
      • The circuit board is completely removed.

      Ask FixBot

      Add Comment

Conclusion

To reassemble your device, follow these instructions in reverse order.

Cancel: I did not complete this guide.

0 Guide Comments

Add Comment

View Statistics:

Past 24 Hours: 3

Past 7 Days: 13

Past 30 Days: 73

All Time: 1,272