Introduction
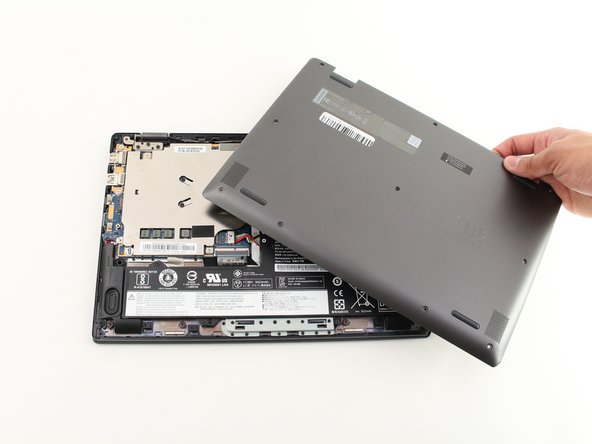
This guide shows how to remove the motherboard from the Lenovo Flex 6-11IGM laptop. The motherboard is necessary for the laptop's functions, as it contains the central processor. It is important to make sure the battery is unplugged to ensure that no electricity shocks you or short circuits the component.
What you need
-
-
Step 5 RAM
Careful: steps 5-7 are sourced from a guide that's marked as in-progress.
-
Insert a plastic opening pick in the ribbon cable housing, flip the black part up, and pull the cable out with your fingers.
-
-
-
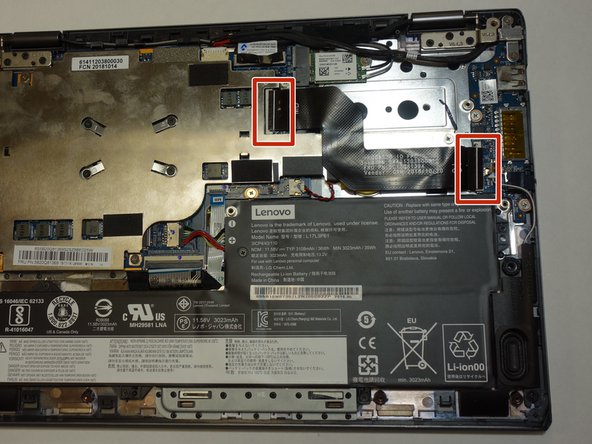
Disengage the cable located above the left speaker.
-
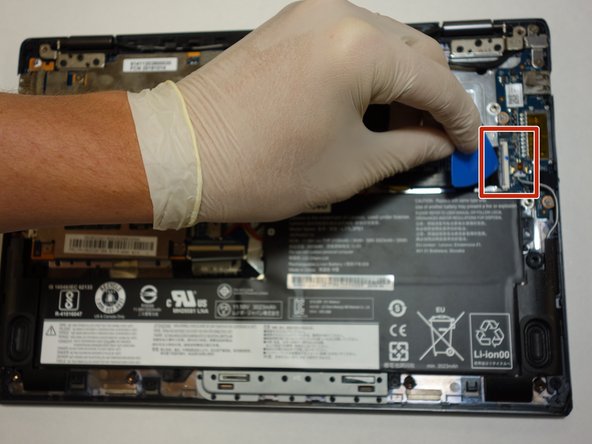
Disengage the ribbon cable located directly above the battery using the blue pick.
-
Disengage the battery cable directly above the ribbon cable housing.
-
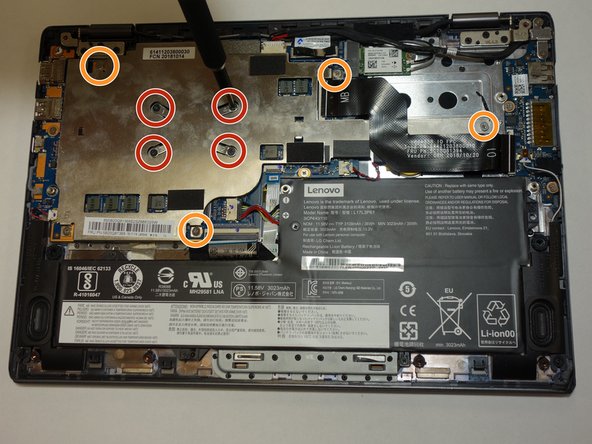
Disengage the CMOS battery cable located to the right of the battery cable.
-
Remove the display cable located directly above the button battery.
-
Disengage the secondary display cable located directly to the left of the display cable.
-


To reassemble your device, follow these instructions in reverse order.
To reassemble your device, follow these instructions in reverse order.
Cancel: I did not complete this guide.
One other person completed this guide.
Team

The Citadel Military College of South Carolina, Team S2-G14, Eggleston Fall 2020 Member of The Citadel Military College of South Carolina, Team S2-G14, Eggleston Fall 2020
CMCSC-EGGLESTON-F20S2G14
3 Members
2 Guides authored