Introduction
If your Lenovo Flex 6-11IGM (model #: 81A70005US) is getting too hot from the bottom, the heat sink may be broken. In that case, use this guide to replace the heat sink.
The heat sink helps to regulate the temperature of the laptop to make sure that it doesn’t overheat or damage any of the other components of the laptop.
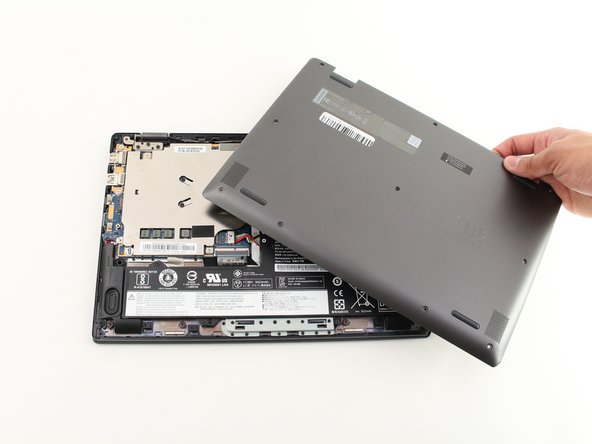
Before beginning, make sure you power off the device and make sure the laptop is closed for an easier and safer replacement.
What you need
-
-
-
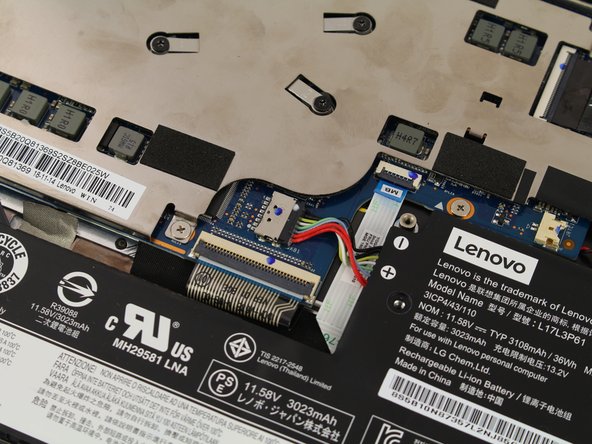
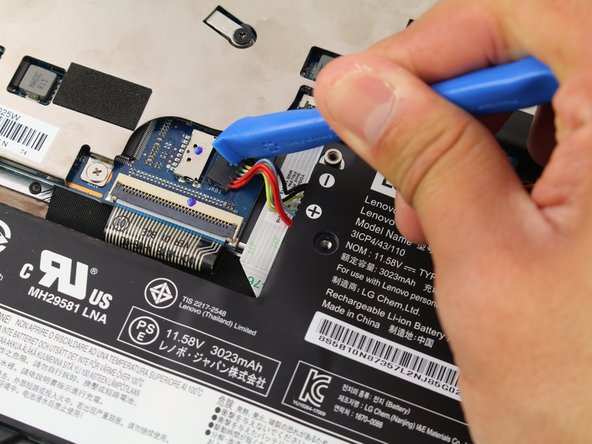
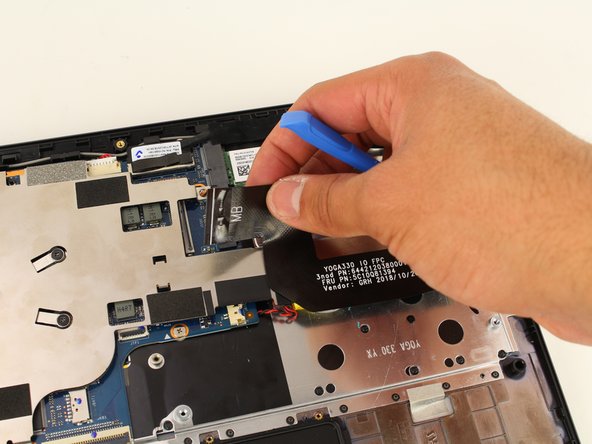
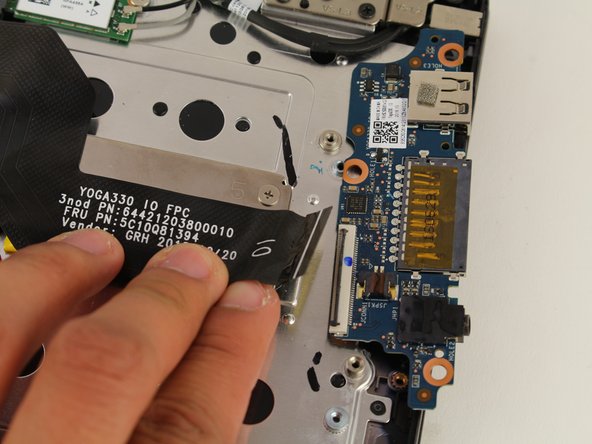
Disconnect the ribbon connector from both ends by disengaging the black latch and pulling it directly from its port.
-


To reassemble your device, follow these instructions in reverse order.
To reassemble your device, follow these instructions in reverse order.
Team

Cal Poly, Team S7-G10, Paton Spring 2020 Member of Cal Poly, Team S7-G10, Paton Spring 2020
CPSU-PATON-S20S7G10
2 Members
9 Guides authored