Free Shipping on Domestic Orders $75+

Lenovo Essential G560 Optical Drive Replacement

What you need

  1. Lenovo Essential G560 Optical Drive Replacement, Battery: step 1, image 1 of 1
    • Turn off the computer.

    • Disconnect the charging cable from the computer.

    • Failure to unplug the cable could result in electric shock.

    • Flip the computer upside down.

    Ask FixBot
  2. Lenovo Essential G560 Optical Drive Replacement: step 2, image 1 of 2 Lenovo Essential G560 Optical Drive Replacement: step 2, image 2 of 2
    • Locate the two switches that lock the battery. Push the right-hand switch outward into the "unlocked" position.

    Ask FixBot
  3. Lenovo Essential G560 Optical Drive Replacement: step 3, image 1 of 1
    • Push and hold the left hand switch outward in the "unlocked" position, then gently slide the battery away from the computer.

    Ask FixBot
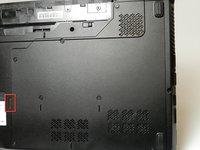
  4. Lenovo Essential G560 Optical Drive Replacement, Back Panel: step 4, image 1 of 1
    • Remove the seven 5.3 mm Phillips #1 screws holding the back panel in place.

    Ask FixBot
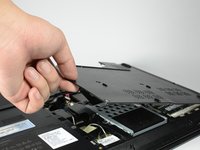
  5. Lenovo Essential G560 Optical Drive Replacement: step 5, image 1 of 2 Lenovo Essential G560 Optical Drive Replacement: step 5, image 2 of 2
    • Pull the back panel off using the highlighted tab. The tab should give you enough leverage to pull the panel off smoothly.

    • If the back panel is difficult to remove and feels like it is going to break, DO NOT force it. Check to confirm that all the screws are removed before attempting again.

    Ask FixBot
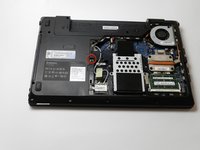
  6. Lenovo Essential G560 Optical Drive Replacement: step 6, image 1 of 1
    • The computer should be open with many of the internal components shown. You can now access the hard drive, the RAM, and the keyboard.

    Ask FixBot
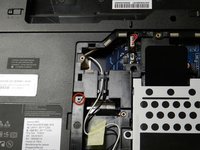
  7. Lenovo Essential G560 Optical Drive Replacement, Optical Drive: step 7, image 1 of 2 Lenovo Essential G560 Optical Drive Replacement, Optical Drive: step 7, image 2 of 2
    • Locate the Optical Drive 4.7 mm Philips #1 screw, which secures the Optical Drive into the body of the laptop.

    Ask FixBot
  8. Lenovo Essential G560 Optical Drive Replacement: step 8, image 1 of 1
    • Using the Philips #1 Screwdriver, remove the Optical Drive 4.7 mm Philips #1 screw. Once you remove the screw, locate the metal tab beneath the screw and push it outwards.

    • It may be useful to use the spudger to push the metal tab, as there is not enough space for your finger or plastic opening tool.

    • Be firm, yet gentle to avoid damaging the electronic connections.

    Ask FixBot
  9. Lenovo Essential G560 Optical Drive Replacement: step 9, image 1 of 2 Lenovo Essential G560 Optical Drive Replacement: step 9, image 2 of 2
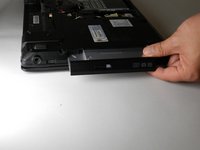
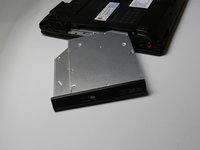
    • Slide the Optical Drive smoothly out of its slot.

    Ask FixBot
Conclusion

To reassemble your device, follow these instructions in reverse order.

7 other people completed this guide.

Dennis Wong

Member since: 01/11/13

618 Reputation

5 Guides authored

Team

Cal Poly, Team 18-40, Regan Winter 2013 Member of Cal Poly, Team 18-40, Regan Winter 2013

CPSU-REGAN-W13S18G40

5 Members

13 Guides authored

0 Guide Comments

Add Comment

View Statistics:

Past 24 Hours: 1

Past 7 Days: 11

Past 30 Days: 77

All Time: 5,789