Free Shipping on Domestic Orders $75+

Leg and Crankcase Separation

Prerequisite Only
This is a prerequisite-only guide! This guide is part of another procedure and isn’t meant to be used alone.

What you need

    1. Leg and Crankcase Separation, Disconnect the spark plug wire: step 1, image 1 of 2 Leg and Crankcase Separation, Disconnect the spark plug wire: step 1, image 2 of 2
      • Ensure the device is powered down and cool to the touch before starting your repair.

      • Firmly grip the base of the spark plug wire's connector and pull it away from the spark plug to disconnect it.

      Ask FixBot

      Add Comment

    1. Leg and Crankcase Separation, Loosen the sight gauge: step 2, image 1 of 1
      • Use a 1-1/16 inch socket to break loose the oil sight gauge near the bottom of the device.

      • Do not fully remove the oil sight gauge yet with the device in this upright position.

      • The oil sight gauge doubles as the oil drain and fill plug.

      Ask FixBot

      Add Comment

    2. Leg and Crankcase Separation, Prepare a drain pan: step 3, image 1 of 1
      • Lay the device down horizontally with the oil sight gauge facing down.

      • Position a shallow oil drain pan underneath the sight gauge.

      Ask FixBot

      Add Comment

    3. Leg and Crankcase Separation, Drain the oil: step 4, image 1 of 1
      • Remove the oil sight gauge.

      • Let the oil drain until drips are infrequent.

      • Replace and retighten the oil sight gauge.

      • This model requires 0.7 liters of SAE 10W-40 oil.

      Ask FixBot

      Add Comment

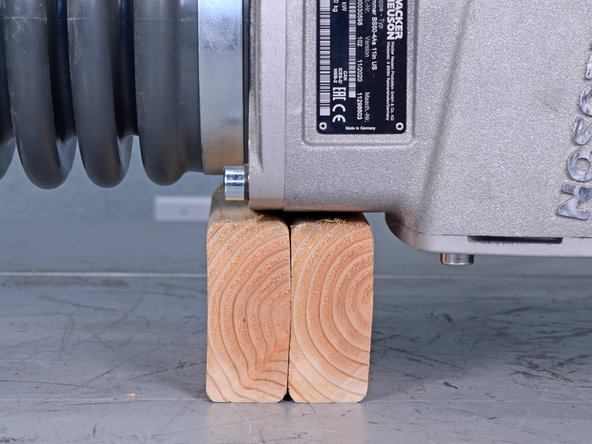
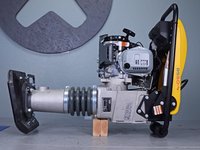
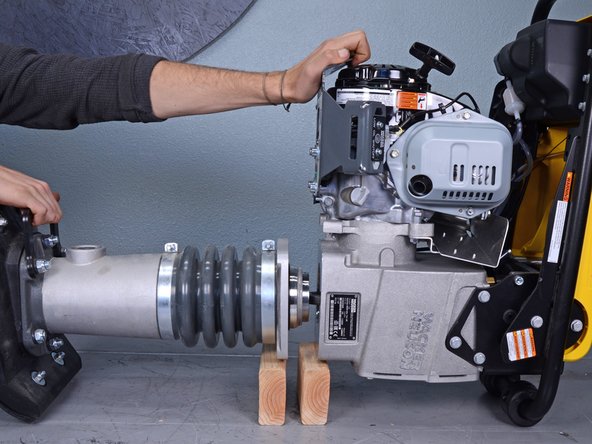
    1. Leg and Crankcase Separation, Support the device: step 5, image 1 of 2 Leg and Crankcase Separation, Support the device: step 5, image 2 of 2
      • Flip the device onto the work surface such that the motor and handles face up.

      • Place two separate blocks of wood underneath the seam between the leg assembly and crankcase.

      • Once the two halves separate, each side will need to be supported.

      Ask FixBot

      Add Comment

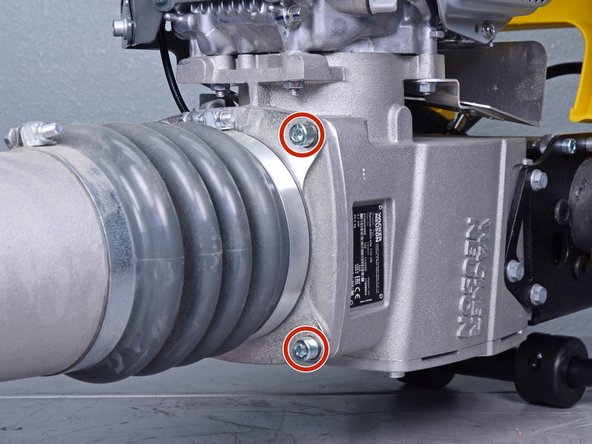
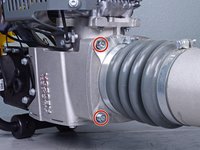
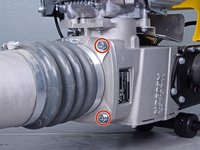
    2. Leg and Crankcase Separation, Remove the leg assembly bolts: step 6, image 1 of 2 Leg and Crankcase Separation, Remove the leg assembly bolts: step 6, image 2 of 2
      • Use an 8 mm hex key socket to remove the four bolts securing the leg's guiding cylinder to the crankcase.

      • You may need to use an impact driver or breaker bar to break these bolts loose.

      • During reassembly, ensure each bolt has its accompanying lock washer.

      Ask FixBot

      Add Comment

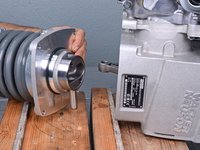
    3. Leg and Crankcase Separation, Begin to separate the halves: step 7, image 1 of 2 Leg and Crankcase Separation, Begin to separate the halves: step 7, image 2 of 2
      • Pull the leg assembly away from the rest of the device.

      • Ensure each half stays adequately supported.

      Ask FixBot

      Add Comment

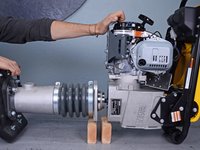
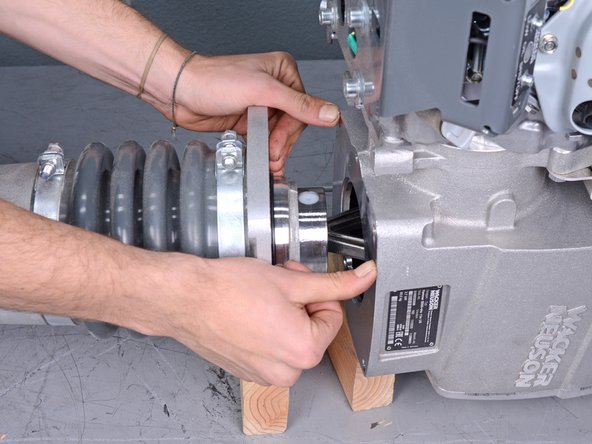
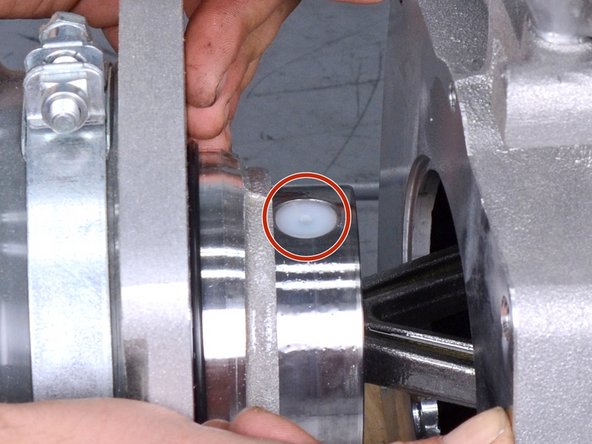
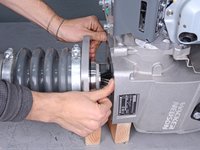
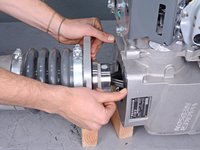
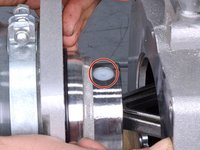
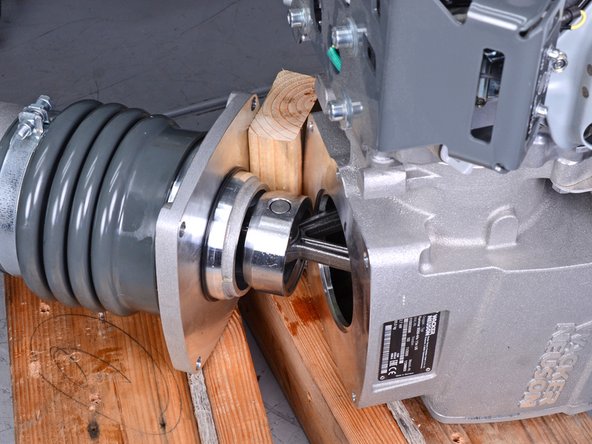
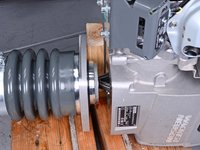
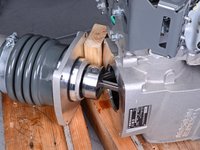
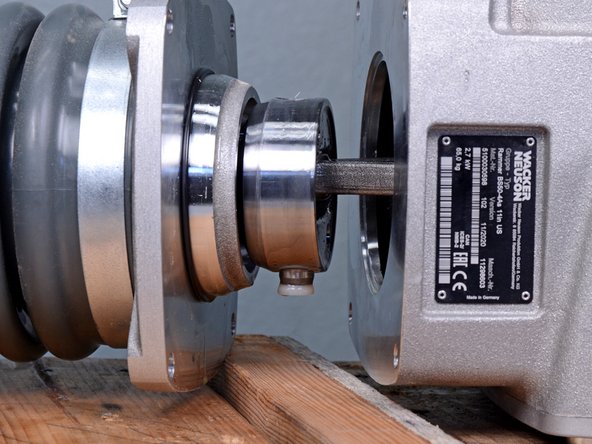
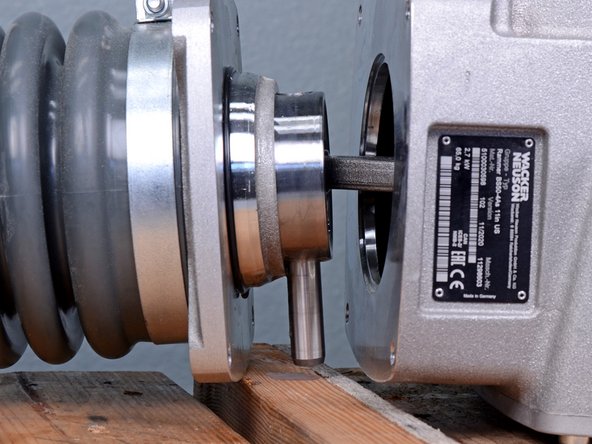
    4. Leg and Crankcase Separation, Reveal the pin: step 8, image 1 of 3 Leg and Crankcase Separation, Reveal the pin: step 8, image 2 of 3 Leg and Crankcase Separation, Reveal the pin: step 8, image 3 of 3
      • Continue to separate the two halves by compressing the bellows until the nylon plug covering the piston pin is visible.

      Ask FixBot

      Add Comment

    5. Leg and Crankcase Separation, Procedure tip: step 9, image 1 of 2 Leg and Crankcase Separation, Procedure tip: step 9, image 2 of 2
      • Tip: To compress the bellows, insert a block of wood between the two halves and pivot the leg assembly off of the crankcase to compress the guide cylinder, revealing the pin.

      Ask FixBot

      Add Comment

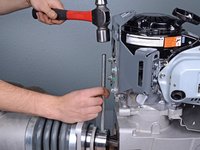
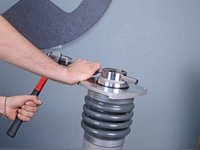
    6. Leg and Crankcase Separation, Remove the pin: step 10, image 1 of 3 Leg and Crankcase Separation, Remove the pin: step 10, image 2 of 3 Leg and Crankcase Separation, Remove the pin: step 10, image 3 of 3
      • Use an appropriately-sized punch and a ball-peen hammer to tap the pin out of its hole on the guide piston until it is no longer securing the connecting rod.

      • Once the piston and connecting rod are separated, the two halves become completely disconnected and will need to be adequately supported.

      • During reassembly, ensure that both nylon plugs are reinstalled and are flush with the surface of the guide piston.

      Ask FixBot

      Add Comment

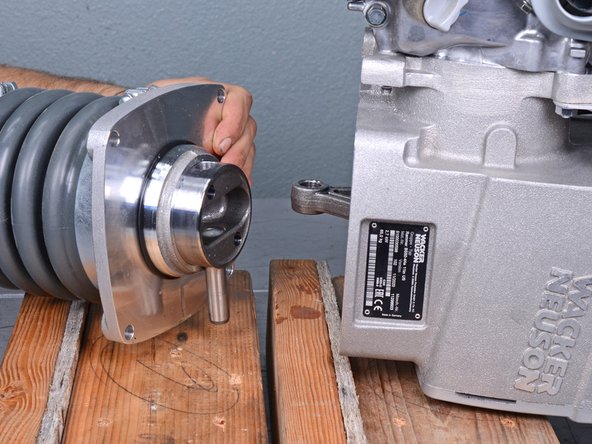
    7. Leg and Crankcase Separation, Remove the leg assembly: step 11, image 1 of 2 Leg and Crankcase Separation, Remove the leg assembly: step 11, image 2 of 2
      • Remove the leg assembly from the crankcase.

      Ask FixBot

      Add Comment

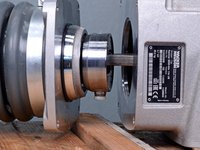
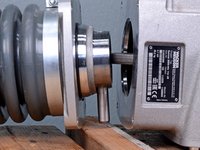
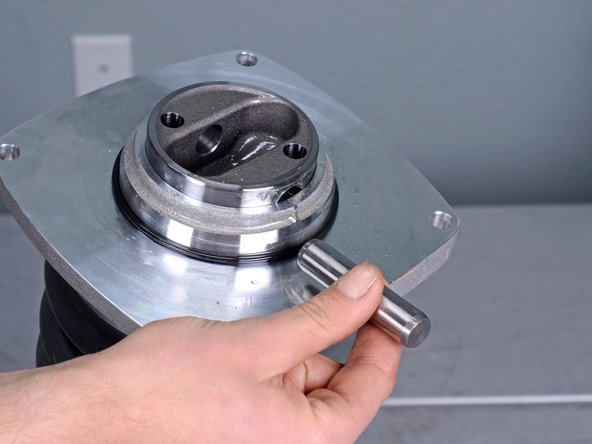
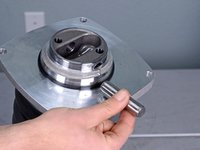
    8. Leg and Crankcase Separation, Completely remove the pin: step 12, image 1 of 2 Leg and Crankcase Separation, Completely remove the pin: step 12, image 2 of 2
      • Use a punch and hammer to tap the pin out of the guide piston.

      • Once the pin is removed, the guide cylinder may spring up due to the compression of the bellows.

      • During reassembly, the bellows will need to be compressed to uncover the pin hole on the guide piston.

      Ask FixBot

      Add Comment

Conclusion

To reassemble your device, follow these instructions in reverse order.

Cancel: I did not complete this guide.

Carsten Frauenheim

Member since: 03/10/20

171,409 Reputation

442 Guides authored

Team

iFixit Member of iFixit

Staff

122 Members

72,401 Guides authored

0 Guide Comments

Add Comment

View Statistics:

Past 24 Hours: 1

Past 7 Days: 2

Past 30 Days: 12

All Time: 137