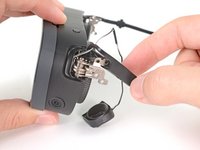
Left Temple

Prerequisite Only
This guide is only intended to be used as a prerequisite for other guides. It's incomplete by itself.

What you need

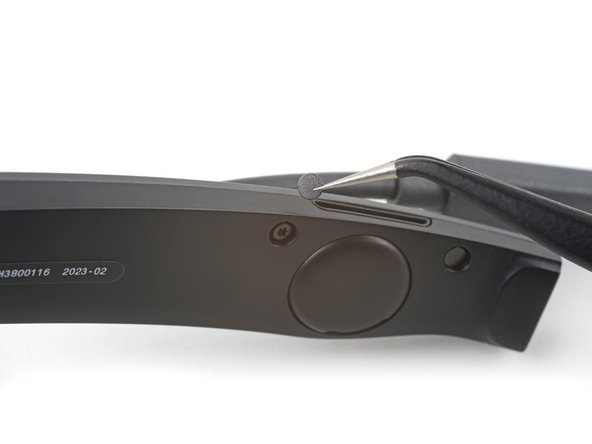
  1. Left Temple, Remove the screw covers: step 1, image 1 of 2 Left Temple, Remove the screw covers: step 1, image 2 of 2
    Tool used on this step:
    Tweezers
    $4.99
    Buy
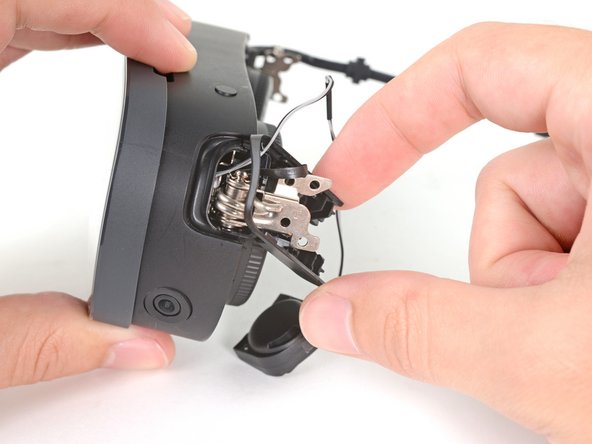
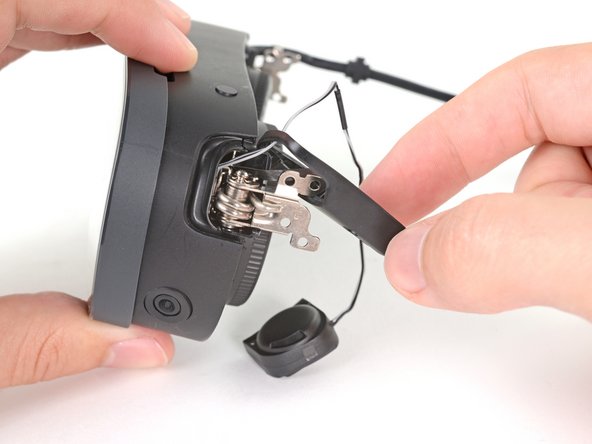
    • Use tweezers to remove the six screw covers from the left temple.

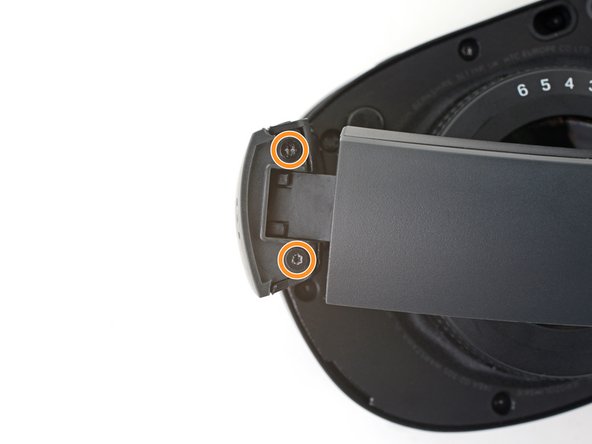
  2. Left Temple, Unfasten the left temple: step 2, image 1 of 2 Left Temple, Unfasten the left temple: step 2, image 2 of 2
    • Use a T5 Torx screwdriver to remove the six 4.9 mm‑long screws securing the two left temple halves.

    • Use a T5 Torx screwdriver to remove the two 3.5 mm‑long screws securing the left hinge cover.

  3. Left Temple, Remove the outer hinge cover: step 3, image 1 of 3 Left Temple, Remove the outer hinge cover: step 3, image 2 of 3 Left Temple, Remove the outer hinge cover: step 3, image 3 of 3
    • Insert the flat end of a spudger in the gap between the left outer and inner hinge covers.

    • Slide the spudger along the gap to separate the clips securing the outer hinge cover.

    • Remove the outer hinge cover.

  4. Left Temple, Remove the left temple: step 4, image 1 of 2 Left Temple, Remove the left temple: step 4, image 2 of 2
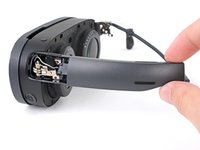
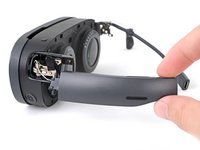
    • Pull the left temple out of its slot in the hinge.

    • Don't try to fully remove it yet, as it's still connected by a cable.

  5. Left Temple: step 5, image 1 of 2 Left Temple: step 5, image 2 of 2
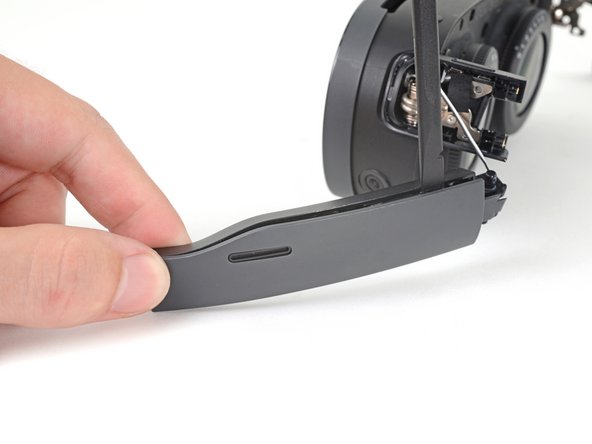
    • Insert the flat end of a spudger in the gap between the outer and inner temple.

    • Slide the spudger along the gap to separate the plastic clips securing the outer temple.

  6. Left Temple: step 6, image 1 of 2 Left Temple: step 6, image 2 of 2
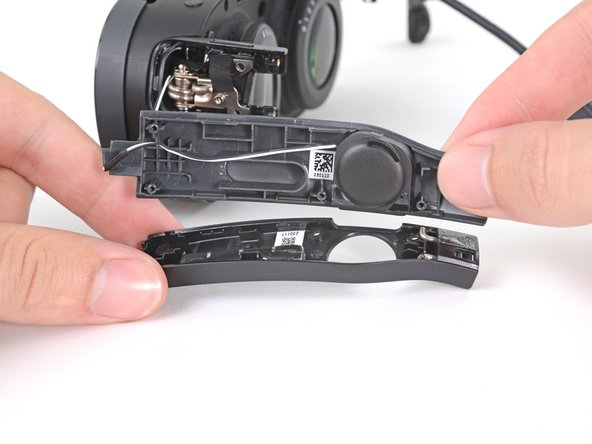
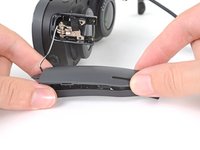
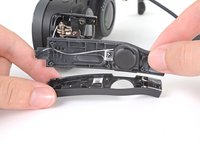
    • Pull the outer temple off of its inner half to completely release its plastic clips.

  7. Left Temple: step 7, image 1 of 2 Left Temple: step 7, image 2 of 2
    Tool used on this step:
    Tesa 61395 Tape
    $6.99
    Buy
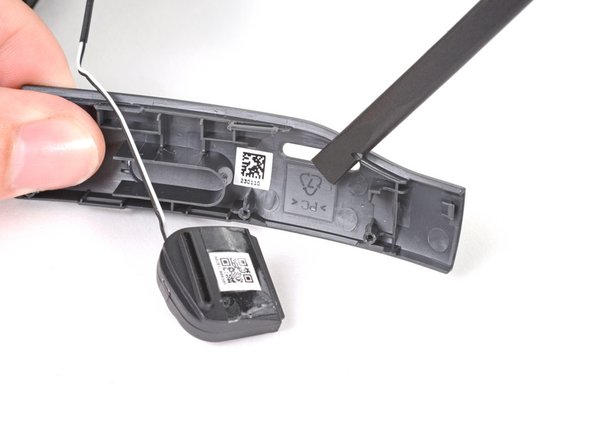
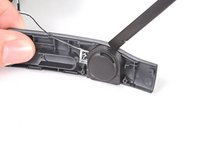
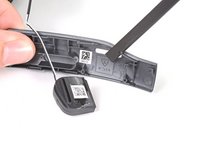
    • The speaker is lightly adhered to the outer temple.

    • Slide the flat end of a spudger under the speaker to separate its adhesive.

    • Let the speaker rest next to the headset before continuing.

    • During reassembly, if your speaker adhesive isn't sticky, use Tesa 61395 Tape to re-adhere the speaker to the outer temple.

  8. Left Temple, Peel the hinge tape: step 8, image 1 of 2 Left Temple, Peel the hinge tape: step 8, image 2 of 2
    • Use tweezers to peel back the black tape covering one of the inner hinge cover screws.

  9. Left Temple, Unfasten the inner hinge cover: step 9, image 1 of 1
    • Use a T5 Torx screwdriver to remove the two screws securing the inner hinge cover:

    • One 3.5 mm‑long screw

    • One 4.9 mm‑long screw

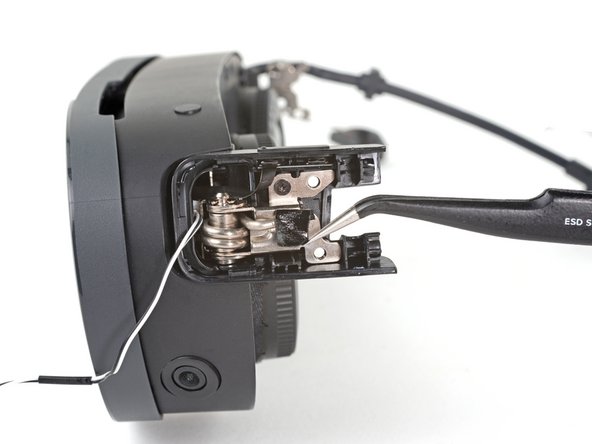
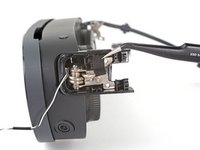
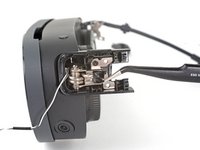
  10. Left Temple, Reposition the inner hinge cover: step 10, image 1 of 3 Left Temple, Reposition the inner hinge cover: step 10, image 2 of 3 Left Temple, Reposition the inner hinge cover: step 10, image 3 of 3
    • Don't fully remove the inner hinge cover, as it's connected by the volume button cable.

    • Rotate the inner hinge cover off its groove in the frame.

    • Let the cover hang off its volume button cable for now.

Conclusion

To reassemble your device, follow these instructions in reverse order.

Alex Diaz-Kokaisl

Member since: 01/16/22

173,560 Reputation

798 Guides authored

Team

iFixit Member of iFixit

Staff

119 Members

21,686 Guides authored

0 Guide Comments

Add Comment

View Statistics:

Past 24 Hours: 0

Past 7 Days: 0

Past 30 Days: 2

All Time: 64