Free Shipping on Domestic Orders $75+

Left Joy-Con 2 Battery Removal

Prerequisite Only
This is a prerequisite-only guide! This guide is part of another procedure and isn’t meant to be used alone.
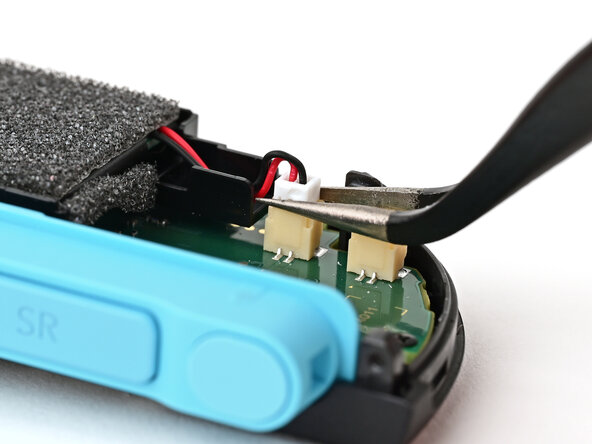
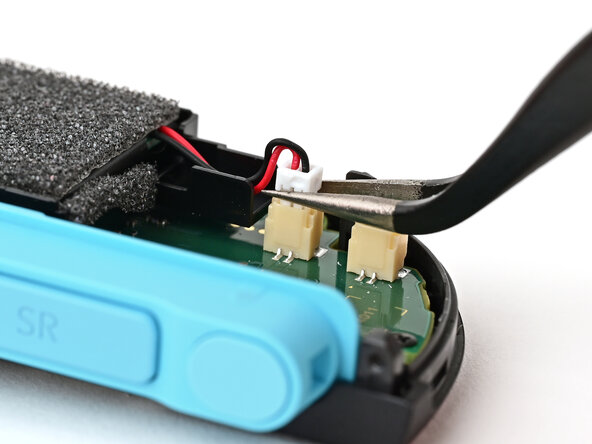
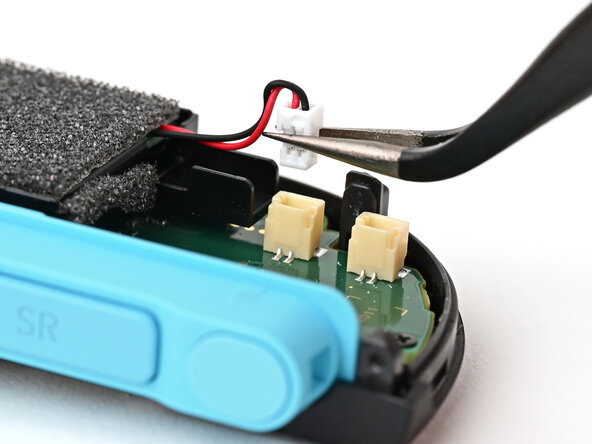
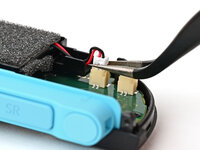
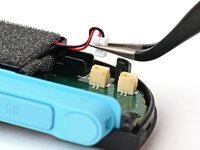
    1. Left Joy-Con 2 Battery Removal, Disconnect the battery: step 1, image 1 of 3 Left Joy-Con 2 Battery Removal, Disconnect the battery: step 1, image 2 of 3 Left Joy-Con 2 Battery Removal, Disconnect the battery: step 1, image 3 of 3
      • Use tweezers or your fingers to firmly grip the battery cable's white JST connector and pull straight away from its socket to disconnect it.

      • Once partially lifted, reposition your fingers/tweezers to beneath the connector's upper lip to increase your grip.

      Ask FixBot

      Add Comment

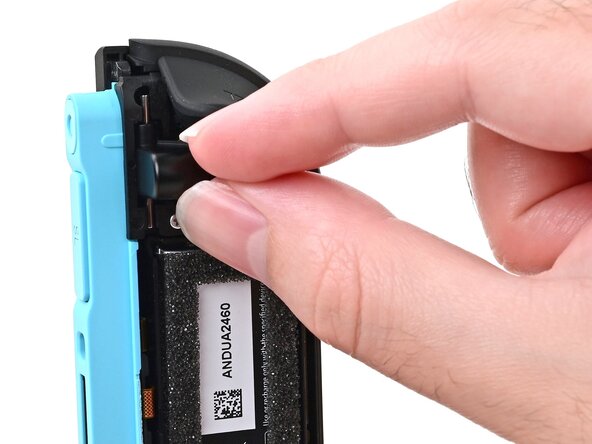
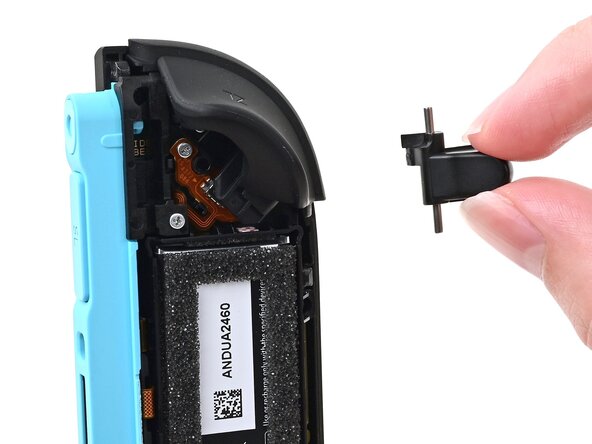
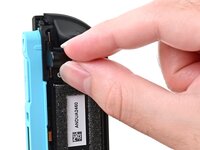
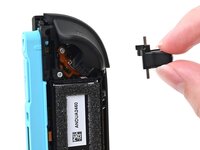
    2. Left Joy-Con 2 Battery Removal, Remove the release button: step 2, image 1 of 2 Left Joy-Con 2 Battery Removal, Remove the release button: step 2, image 2 of 2
      • Pick up the release button and remove it.

      Ask FixBot

      Add Comment

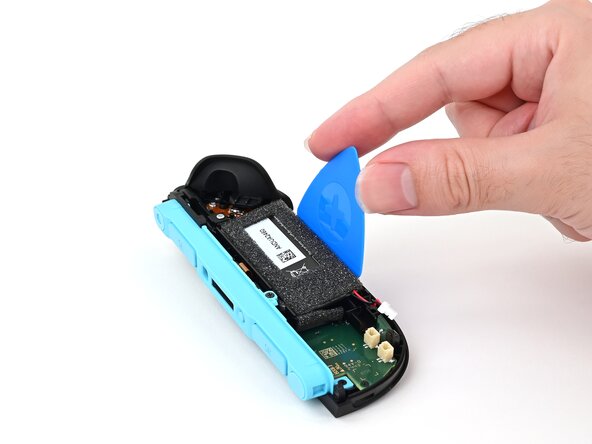
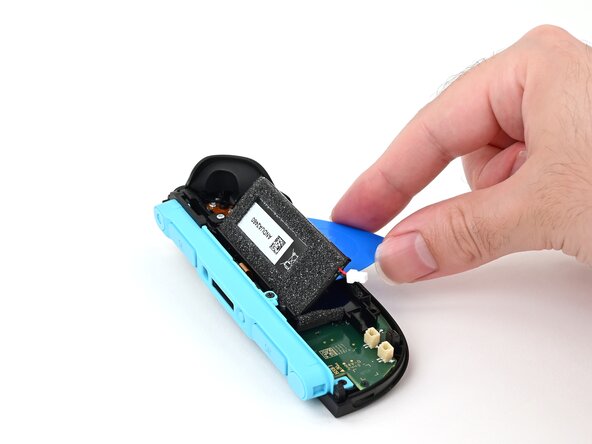
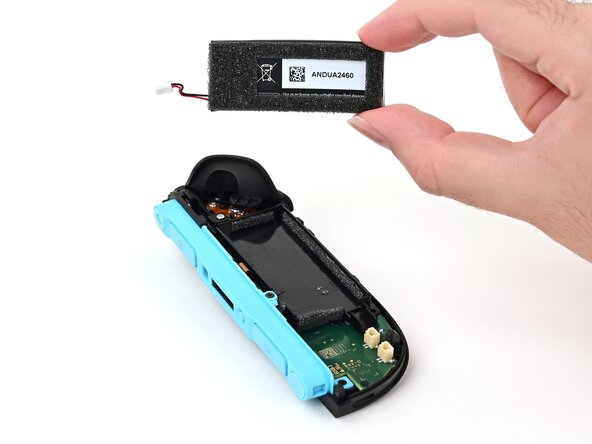
    3. Left Joy-Con 2 Battery Removal, Remove the battery: step 3, image 1 of 3 Left Joy-Con 2 Battery Removal, Remove the battery: step 3, image 2 of 3 Left Joy-Con 2 Battery Removal, Remove the battery: step 3, image 3 of 3
      Tool used on this step:
      iFixit Adhesive Remover
      $19.99
      Buy
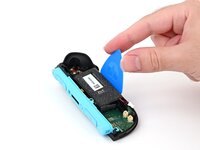
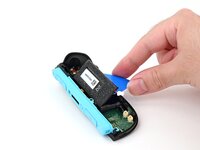
      • Insert a flat edge of an opening pick into the gap between the battery and the battery well.

      • Pry the battery up slowly with steady force to release the adhesive.

      • Don't bend or crease the battery—apply steady force and give the adhesive time to release.

      • If it feels stubborn, apply a few drops of adhesive remover or high-concentration (90% or higher) isopropyl alcohol to the battery side of the pick while it's inserted and allow it to run under the battery. Be careful not to spill it elsewhere in the controller.

      • If you're using adhesive remover, follow these preparation steps first.

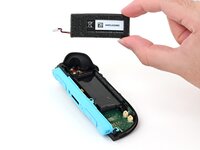
      • Remove the battery.

      Ask FixBot

      Add Comment

Conclusion

To reassemble your device, follow these instructions in reverse order.

Cancel: I did not complete this guide.

Nick Schultz

Member since: 03/24/24

65,446 Reputation

343 Guides authored

0 Guide Comments

Add Comment

View Statistics:

Past 24 Hours: 0

Past 7 Days: 3

Past 30 Days: 13

All Time: 113