Introduction
Here I describe how to build a slatted frame for a Citroen Spacetourer M. By aligning the slats in the bus from front to back, the entire area behind the driver's seat becomes a lying surface. The slats can be easily removed individually. Hinges in the middle allow the slats to be folded and placed crosswise in the trunk. Stowed away like this, the slatted frame takes up virtually no space, can be assembled in about 10 minutes, and the resulting lying surface is significantly larger than any commercially available bed frame.
It fulfills the purposes I set for it:
- Easy to store
- All seats can remain in the bus
- Maximum lying surface
-
-
10 hinges, each 10 cm wide. And screws for fixing the hinges.
-
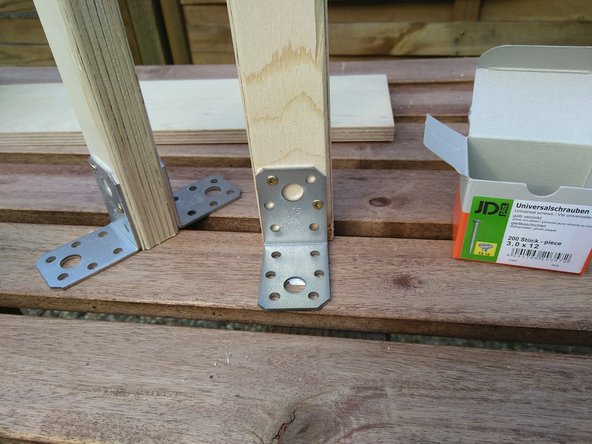
12 iron angles for 4 cm timbers. And screws for fixing the iron angles.
-
Wood for 6 legs. Each is 55cm long, 2.5 cm high, and 4 cm wide.
-
Wood for 3 cross braces. Again, each one is 2.5 cm high and 4cm wide. The front cross brace is 149 cm long, the one in the middle is 134 cm long, and the rear one is 115 cm long.
-
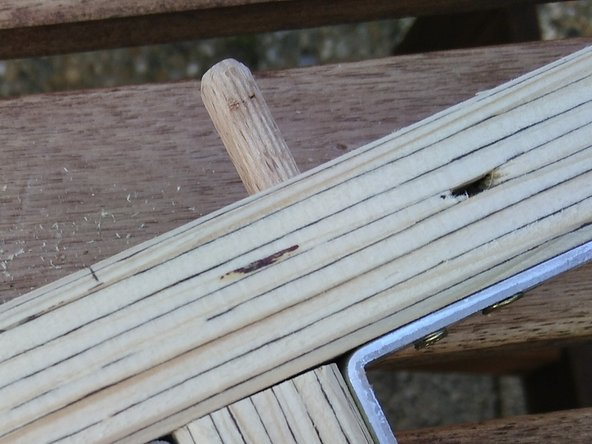
20 dowels. If not available: The appropriate drill. There are sets that make it easy to drill the holes for the dowels at right angles
-
Glue to anchor the dowels.
-
Wood for the 10 slats. Each 10 cm wide, 230 cm long, 1-1.2 cm high/thick. I have a multi-layer board sawed.
-
-
-
Saw the legs to a length of 55 cm.
-
Saw the crossbar to size.
-
Saw the crossbar behind the driver's seat to 149 cm.
-
Saw the middle crossbar to 134 cm.
-
Saw the crossbar at the trunk lid to 115 cm.
-
Place two legs each in the rails of the bus, place a crossbar on top, mark where the legs need to be tied down.
-
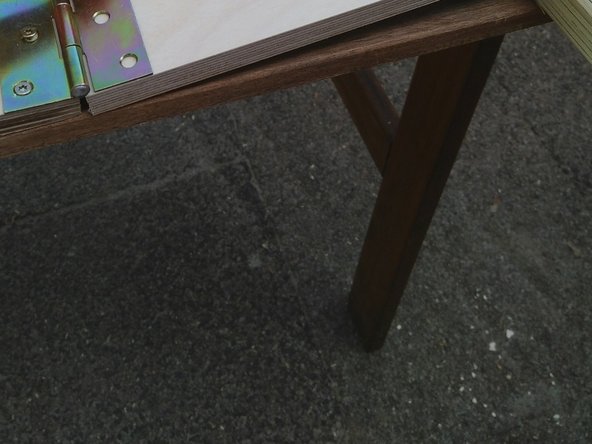
Attach the legs to the crossbars using iron angles.
-
-
-
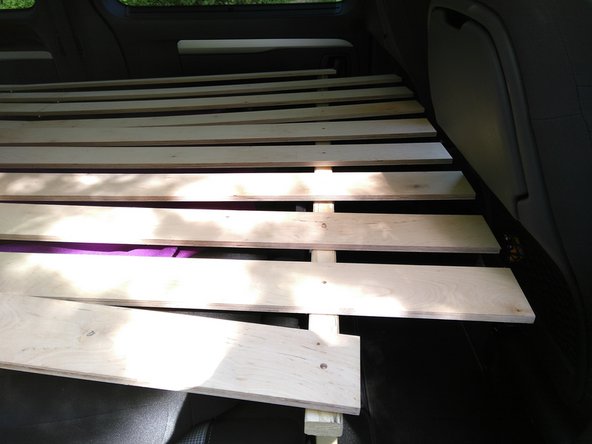
Place the 3 crossbars in the bus (front, middle, back) and place the 10 slats on them as they should ultimately be.
-
Use a pencil to mark where you will saw them, and then saw them.
-
-
-
-
Place the crossbars exactly where they should ultimately be. Put the 10 sawn slats back on the cross braces.
-
Mark a spot on each of the 10 slats where a hole is to be drilled for a dowel. I created dowel attachments for all 10 slats only on the front and rear cross braces and for two slats on the far right and left on the middle cross brace.
-
Drill these (22) holes
-
-
-
Put the 10 slats back on the cross braces.
-
Mark the places on the crossbars where the dowels are to be countersunk.
-
At these points, drill approx. 1.5-2 cm deep holes for the dowels.
-
Pour glue into the holes.
-
Insert the dowels.
-
Saw off the dowels so short that they do not protrude when the slats are placed on top.
-
-
-
Hang the 10 slats in the dowels on the cross braces.
-
Mark on the slats where they should get hinges. For example, in the middle of each one.
-
Split/saw each of the 10 slats at these marks.
-
Screw each slat back together with a hinge.
-
It has proven useful to place one part of the slat horizontally and the second part against it so that it points upwards at a slight angle, and thus will screw the hinge tight. If both parts are horizontal while the hinge is screwed on, the board will sag a little later, which is not a bad thing.
-


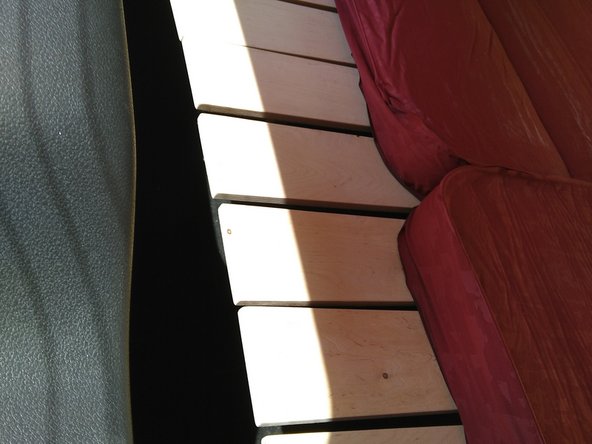


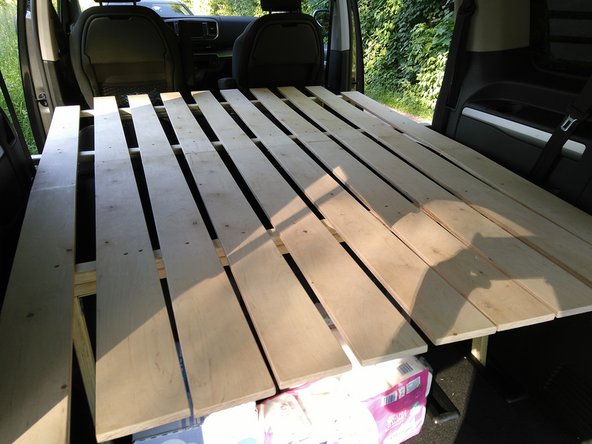
As a mattress I use two isomats from Vaude called "Dream" - they fit perfectly next to each other. The slatted frame is thereby not completely covered in front or behind because they are only 2 m long.
Instead of the full length, you can of course make the slats shorter, e.g. for the driver and passenger seat only up to the crossbar. Then you have a little more space at the front and it's easier to climb onto the bed.
To prevent the whole thing from wobbling, it is sufficient to clamp the middle grate between the two rows of seats or to press the grate against the driver's seat by moving one row forward.
For the horizontal alignment of the bus, I use a circular level.
For ventilation despite gnats and rain, I bought two ventilation grilles that can be inserted into the windows by the driver and passenger.
Special thanks to these translators:
100%

shingle is helping us fix the world! Want to contribute?
Start translating ›
2 Comments
Das weiß ich nicht mehr genau. Ich hatte im Baumarkt ca. 150 € ausgegeben, da waren aber neben dem Material auch Werkzeuge dabei.