
Repairing Black and Decker 9074 Screwdriver Battery

oldturkey03 and 5 other contributors
Last updated on May 8, 2019
Views: 10K
View statistics:
- Past 24 Hours:
- 3
- Past 7 Days:
- 25
- Past 30 Days:
- 125
- All Time:
- 10,465
Comments: 4
1 comment on steps, 3 guide comments.
Go to guide commentsCompleted: 7 8
7 people have marked this guide "completed." Will you be next?
8 people have marked this guide "completed." Including you — great job!
Favorites: 5 6
5 people have favorited (and subscribed to) this guide. Will you be next?
6 people have favorited (and subscribed to) this guide — including you!
Featured Guide
This guide has been found to be exceptionally cool by the iFixit staff.
Community-Contributed Guide
An awesome member of our community made this guide. It was not created by iFixit staff.
Introduction
Go to step 1 ↓Here I am rebuilding, actually more building, a battery of the electric screw driver. The original battery is no longer available so I decided to build my own i order to continue to use the screwdriver. The battery cell I am using are 4/5 SC (sub C) size. Meaning they are 4/5 the size of a C-Cell. They are 23 x 34 mm in size with a capacity of 2000mAh and 1.2 Volts.
What you need
Tools


-
-
-
Here is the original battery. Three cells surrounded by a soft plastic sheathing
-
Cut the plastic (I used a utility knife) away.
-
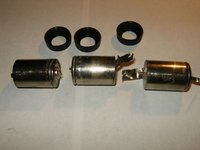
Now the three cells are clearly visible and the way they are connected in series. Meaning positive from one cell to negative on the next cell. Each cell separated by a rubber insulator
 Ask FixBot
-
-
-
Top to bottom on this image shows the insulator that is on the top portion of the cells. Next are the old three cells and bottom the new cells.
-
The contacts on the old cells appear to be spot welded to make the connection.
-
Separate the connections with either a pair of side cutters or a pair of scissor. This will allow you to remove the insulators.
-
-
-
Here all the cells are separated and the insulator removed
-
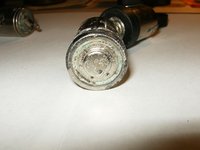
Plenty of corrosion visible on each of the old cells.
-
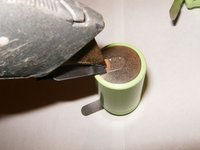
To prepare the new cells, the heatshrink insulation from the contacts need to be removed. I used a utility knife to remove that.
-
-
-
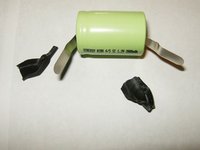
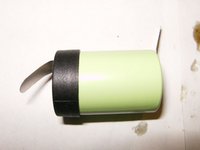
Here is the first cell, insulation removed. Prepare all cells like that.
-
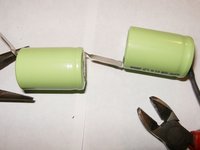
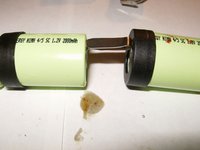
Align the positive contact of the first cell with the negative contact of the second cell.
-
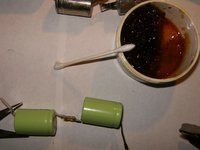
Since the contacts will be soldered to each other, I did use some flux on the contacts prior to soldering.
-
-
-
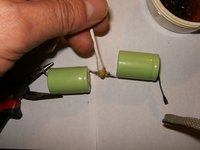
Apply the flux to the contacts, in my case I used a cotton swab.
-
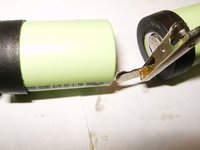
Once proper alignment is obtained, I use a alligator clip to hold them in position.
-
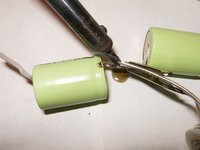
Now solder the contacts together. I used a 30watt soldering iron with a blunt tip.
-
-
-
Here is the first attempt. Luckily I noticed that I had forgotten to install the rubber insulator before going on to the next cell. Desolder the contacts to rectify this.
-
Here is the next cell properly prepared.
-
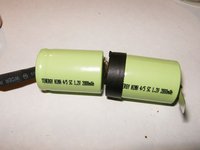
First two cells, separated by the insulator, soldered together.
-
-
-
2nd and 3rd cell prepared and being aligned.
-
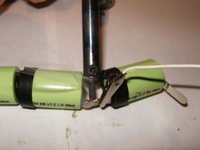
Applied flux and alligator clip to hold it in alignment.
-
Solder the contacts together
-
-
-
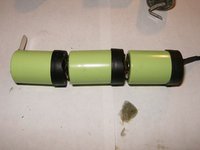
All three cells soldered together, positive to negative end, creating a series connection.
-
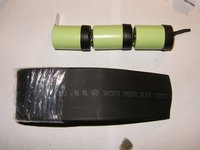
The original battery was wrapped in some soft plastic. I decided to use 1 1/4 inch heat shrink tubing. Black electric tape might work just as well, but I used what I had on hand.
-
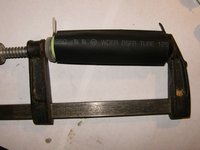
Heatshrink tubing placed over the cells
-
-
-
-
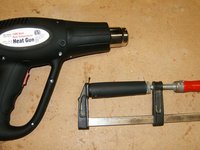
I placed a clamp from end to end. This will prevent any exposure to hot parts, will allow movement of the battery and still maintain alignment.
-
Here is the two speed heatgun I use for my projects.
-
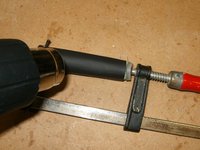
Simply apply constant heat to the tubing by moving the heatgun along the heatshrink tubing.
-
-
-
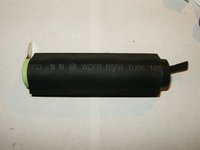
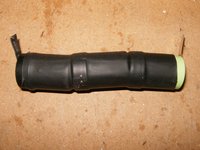
Here is the battery with the heatshrink tubing attached.
-
Obviously the contacts are being than the connector. (The corrosion visible on the connector was cleaned of during the installation)
-
Trim the contacts with either a pair of sidecutters, or like in my case, use a pair of scissors.
-
-
-
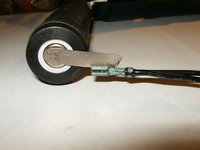
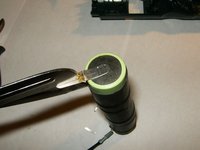
Once the contacts are trimmed to size, the battery is ready for installation into the screwdriver. There is a separate guide for that. Total cost for this was around $9.00 for the cells.
-
-



















To reassemble your device, follow these instructions in reverse order.
Cancel: I did not complete this guide.
7 other people completed this guide.

3 Guide Comments
What are the specs on the batteries, and where did you get them? I don’t see any on mine. Thanks!
eBay has the exact set the 4/5 sc sub c are the shorter ones easy to find with connecters already on each end of battery I'm rebuilding mine soon as they come in I'll post results
