Free Shipping on Domestic Orders $75+

LG Xenon LCD Replacement

What you need

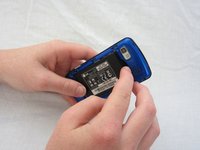
  1. LG Xenon LCD Replacement, Back Case: step 1, image 1 of 1
    • Turn the phone so the back side is face up.

    Ask FixBot
    Add Comment

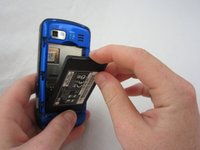
  2. LG Xenon LCD Replacement: step 2, image 1 of 2 LG Xenon LCD Replacement: step 2, image 2 of 2
    • Use your thumb to press on the small ridge at the bottom of the phone, then push upward to slide off the back casing.

    Ask FixBot

    Add Comment

  3. LG Xenon LCD Replacement, Battery: step 3, image 1 of 2 LG Xenon LCD Replacement, Battery: step 3, image 2 of 2
    • Use your index finger to pull the top of the battery out from the top center divot. Then pull the battery towards yourself to remove it from the compartment.

    Ask FixBot

    Add Comment

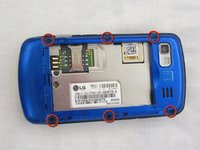
  4. LG Xenon LCD Replacement, Motherboard: step 4, image 1 of 2 LG Xenon LCD Replacement, Motherboard: step 4, image 2 of 2
    • Use a Phillips #00 screwdriver to remove the six 2.4mm screws, which secure the back panel.

    Ask FixBot
    Add Comment

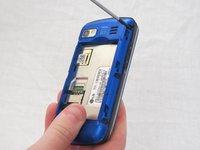
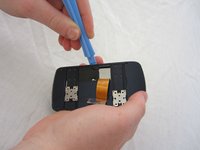
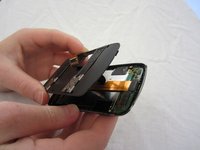
  5. LG Xenon LCD Replacement: step 5, image 1 of 1
    • Push a spudger or small tool under the inner edge of the back panel and gently pry upward to separate it from the main body.

    Ask FixBot
    Add Comment

  6. LG Xenon LCD Replacement: step 6, image 1 of 2 LG Xenon LCD Replacement: step 6, image 2 of 2
    • Pop off the camera, lock, and volume buttons from the side of the phone using tweezers.

    Ask FixBot

    Add Comment

  7. LG Xenon LCD Replacement: step 7, image 1 of 2 LG Xenon LCD Replacement: step 7, image 2 of 2
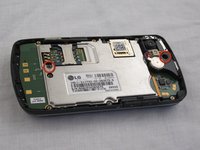
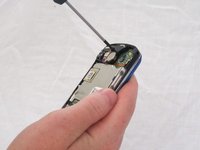
    • Use the Phillips #00 screwdriver to remove the two 3mm screws, which secure the motherboard.

    Ask FixBot

    Add Comment

  8. LG Xenon LCD Replacement: step 8, image 1 of 2 LG Xenon LCD Replacement: step 8, image 2 of 2
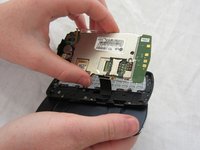
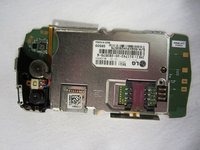
    • Carefully lift and remove the motherboard from the main body.

    • The connector cable will still be attached to the motherboard. Any damage to the connector cable may permanently disable the phone.

    Ask FixBot

    Add Comment

  9. LG Xenon LCD Replacement: step 9, image 1 of 2 LG Xenon LCD Replacement: step 9, image 2 of 2
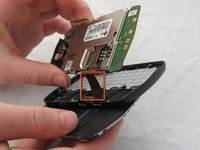
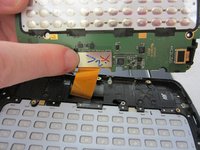
    • Carefully unclip the metal tab to separate the connector cable from the motherboard.

    Ask FixBot

    Add Comment

  10. LG Xenon LCD Replacement: step 10, image 1 of 2 LG Xenon LCD Replacement: step 10, image 2 of 2
    • Once the connector cable is detached from the motherboard, you have successfully removed the motherboard from the phone.

    Ask FixBot

    Add Comment
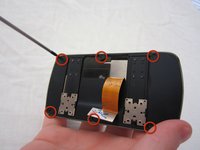
  11. LG Xenon LCD Replacement, Keyboard: step 11, image 1 of 1
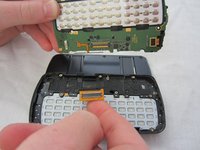
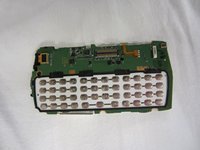
    • Turn the motherboard over and carefully remove the keypad from the motherboard.

    • The keyboard may be sitting loosely in the case (not attached to the motherboard). Carefully remove keyboard from case.

    Ask FixBot

    Add Comment

  12. LG Xenon LCD Replacement, LCD: step 12, image 1 of 1
    • After removing the motherboard and keyboard, unscrew eight 1.6mm Phillips #00 screws in the middle of the phone.

    Ask FixBot

    Add Comment

  13. LG Xenon LCD Replacement: step 13, image 1 of 1
    • Remove slider piece.

    • Pay close attention that you don’t lose the spring.

    • Carefully remove the spring.

    Ask FixBot

    Add Comment

  14. LG Xenon LCD Replacement: step 14, image 1 of 2 LG Xenon LCD Replacement: step 14, image 2 of 2
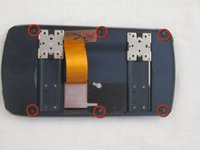
    • Remove six 2.25mm Phillips #00 screws along the outside of the case.

    Ask FixBot

    Add Comment

  15. LG Xenon LCD Replacement: step 15, image 1 of 2 LG Xenon LCD Replacement: step 15, image 2 of 2
    • Using the plastic opening tool, carefully open and remove the case. Slide the tool along the edge and pry upwards to open.

    Ask FixBot

    Add Comment

  16. LG Xenon LCD Replacement: step 16, image 1 of 1
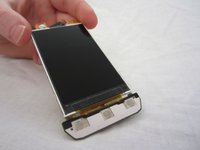
    • Remove the black electrical tape holding the LCD to the screen.

    Ask FixBot

    Add Comment

  17. LG Xenon LCD Replacement: step 17, image 1 of 1
    • Un-clasp the small tab in the top right corner.

    Ask FixBot

    Add Comment

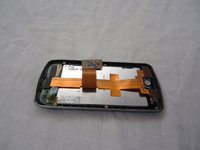
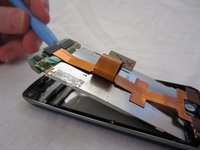
  18. LG Xenon LCD Replacement: step 18, image 1 of 3 LG Xenon LCD Replacement: step 18, image 2 of 3 LG Xenon LCD Replacement: step 18, image 3 of 3
    • Unhook the LCD from tabs on the bottom using the plastic opening tool.

    • Remove the LCD. Be careful, the LCD screen is fragile.

    Ask FixBot

    Add Comment

Conclusion

To reassemble your device, follow these instructions in reverse order.

Cancel: I did not complete this guide.

2 other people completed this guide.

Micaela Saqui

Member since: 04/19/12

78 Reputation

7 Guides authored

Team

Cal Poly, Team 9-41, Regan Spring 2012 Member of Cal Poly, Team 9-41, Regan Spring 2012

CPSU-REGAN-S12S9G41

5 Members

19 Guides authored

0 Guide Comments

Add Comment

View Statistics:

Past 24 Hours: 0

Past 7 Days: 4

Past 30 Days: 37

All Time: 2,876