Introduction
Use this guide to remove the front camera display on your LG device.
What you need
-
-
Power down the device and make sure that it is turned off.
-
Insert the plastic opening tool into the bracket space on the back bottom left of the phone.
-
Gently twist tool clockwise until the back case pops open [this will create a small gap].
-
Slide the tool along the gap around the entire device.
 Ask FixBot
-
-
-
Insert the plastic opening tool into the indent below the battery, and pry up to lift and remove the battery.
-
-
-
-
Create a gap with plastic opening tool by applying pressure between glass screen and plastic edge of device.
-
Slide prying tool around entire device beginning toward the top.
-
Lift off and remove the screen from the device.
-
-
-
Using a plastic opening tool, lift up display connection until disconnected from the lower right hand of the phone.
-
-
-
Gently lift the camera ribbon cable until the entire front camera housing is removed.
-
-
-
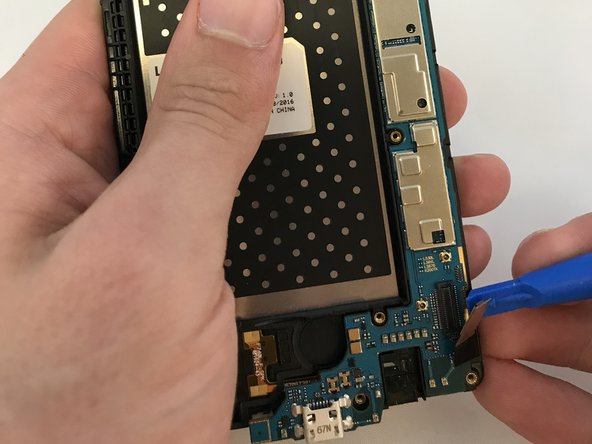
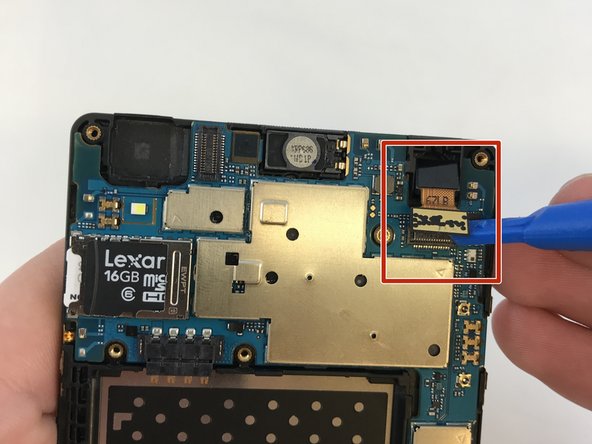
Use the opening tool, gently pry up along the edge of the motherboard.
-
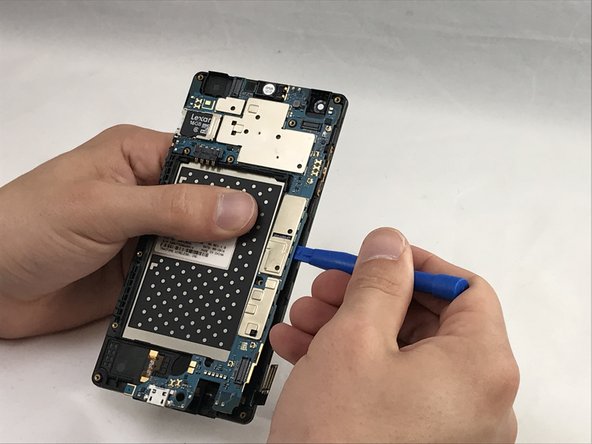
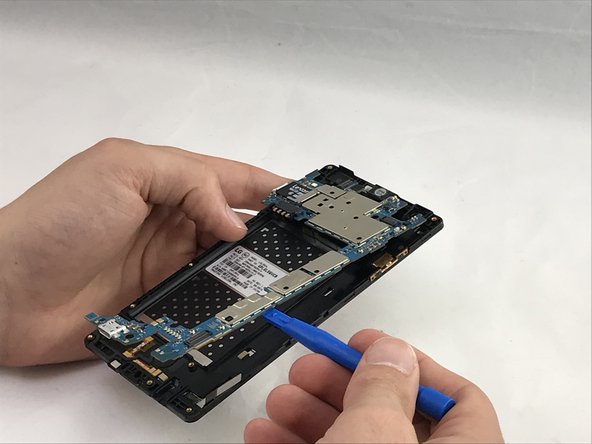
Gently pull up and remove the motherboard from the device.
-


To reassemble your device, follow these instructions in reverse order.

Team

Eastern Washington University, Team S1-G2, Carnegie Spring 2018 Member of Eastern Washington University, Team S1-G2, Carnegie Spring 2018
EWU-CARNEGIE-S18S1G2
4 Members
10 Guides authored