Introduction
When the screen is not responsive or it has been damaged by an accidentally dropping the phone, the screen will have to be replaced. In this guide you will learn how to replace the screen for the LG Volt.
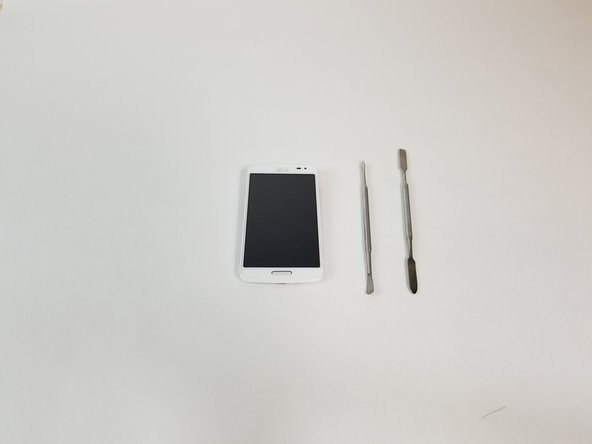
What you need
-
-
-
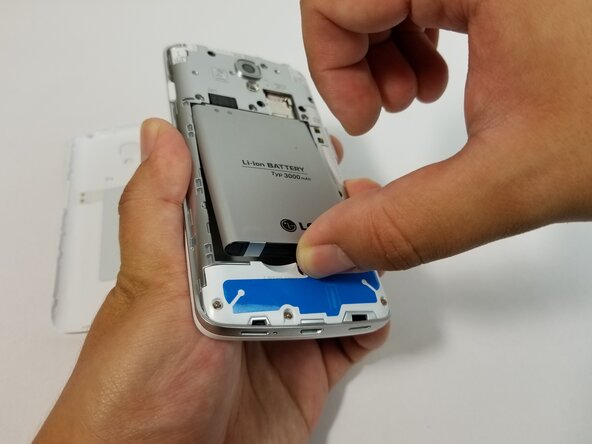
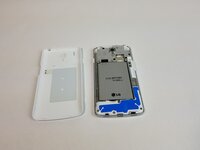
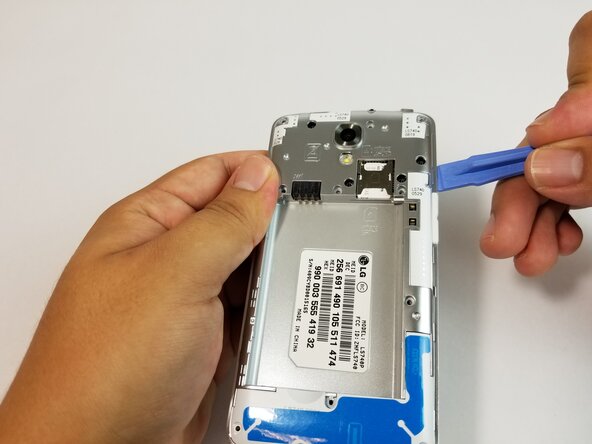
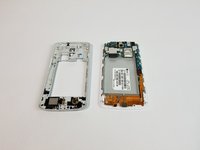
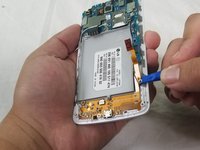
Use the plastic opening tool to remove the back housing from the frame of the phone.
-
-
-
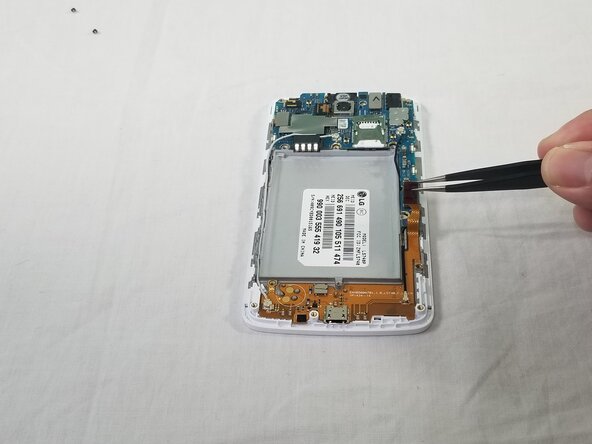
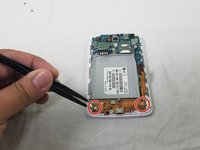
Tool used on this step:Tweezers$4.99
-
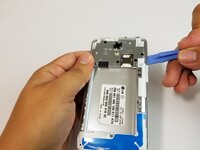
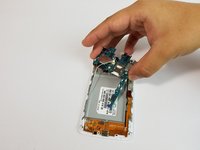
Using the precision tweezers set lift the copper tab located on the right side of the device.
-
-
-
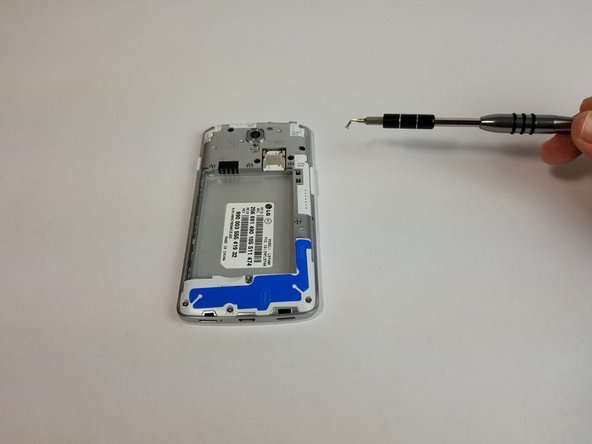
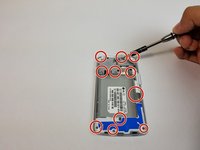
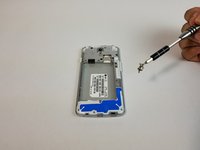
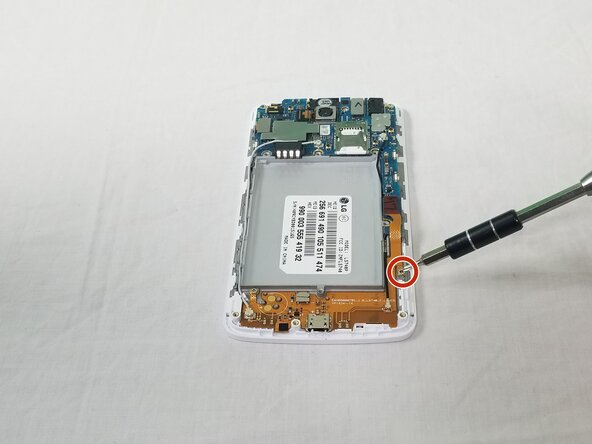
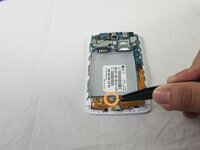
Using a JIS #000 screwdriver, remove the 1 (4mm) screw on right side under copper tab.
-
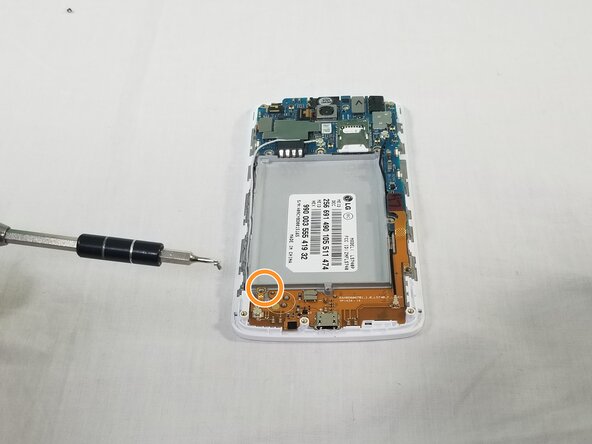
Using a JIS #000 screwdriver, remove the 1 (4mm) screw on bottom left under battery tray.
-
-
-
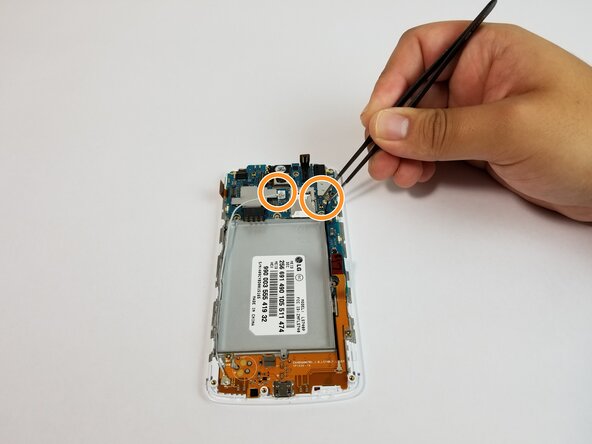
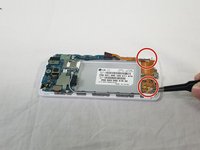
Disconnect the white and black cables as indicated using the precision tweezers set.
-
Lift indicated flap as shown.
-
-
-
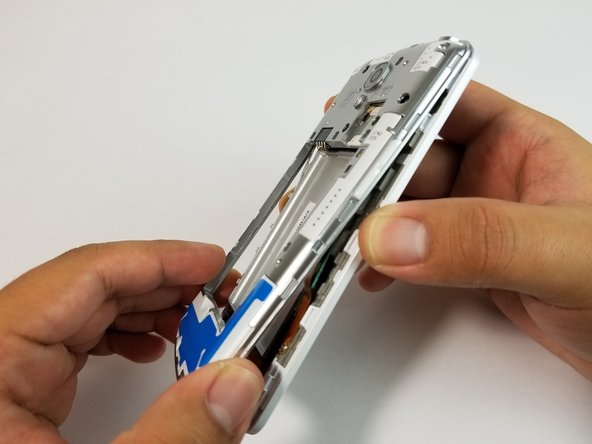
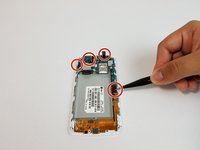
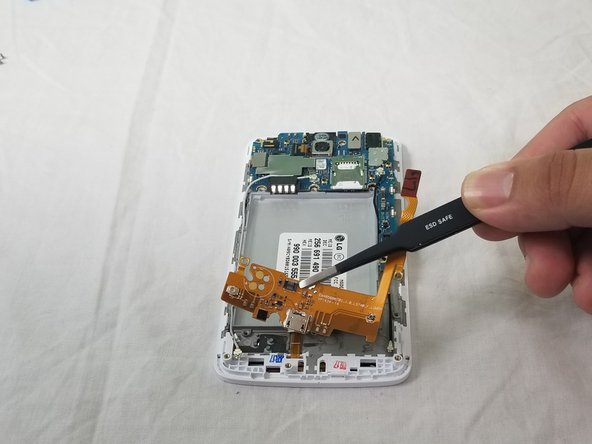
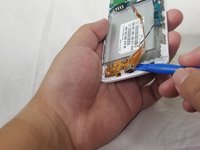
Use the plastic opening tool to carefully lift the charger assembly from the phone.
-
Start from the copper tab and continue in a clockwise direction.
-
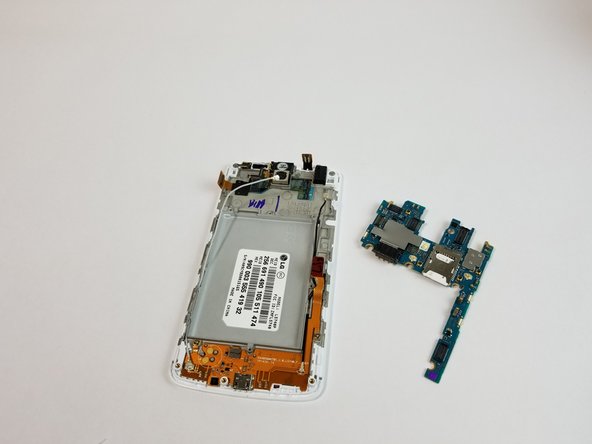
Once it is loose remove the assembly from the phone.
-
-
-
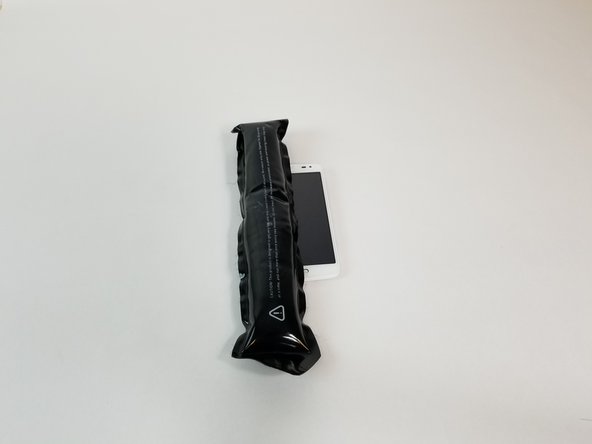
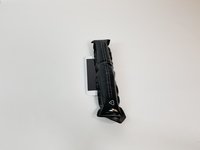
Place iOpener on right side of the screen with the phone facing up for 90 seconds.
-
If necessary, heat up the iOpener for an additional 30 seconds in the microwave.
-
Place iOpener on left side of the screen with the phone facing up for 90 seconds.
-
-
-
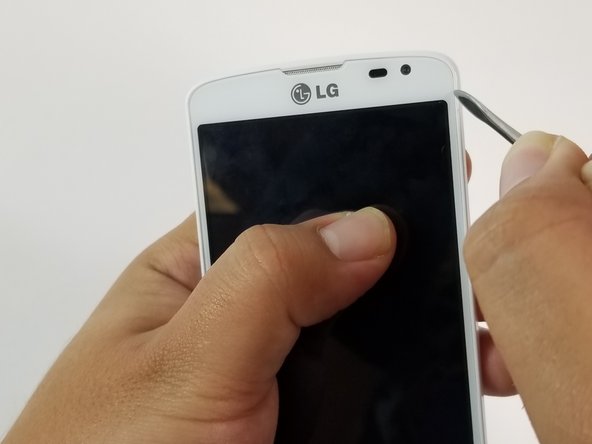
Once the phone is hot, use the small, pointy tipped metal spudger to remove the adhesive.
-
Once removed, use the large, flat tipped metal spudger to pry the screen off carefully.
-


To reassemble your device, follow these instructions in reverse order.
Cancel: I did not complete this guide.
One other person completed this guide.

Team

USF Tampa, Team S3-G3, Cannon Fall 2017 Member of USF Tampa, Team S3-G3, Cannon Fall 2017
USFT-CANNON-F17S3G3
3 Members
28 Guides authored