Introduction
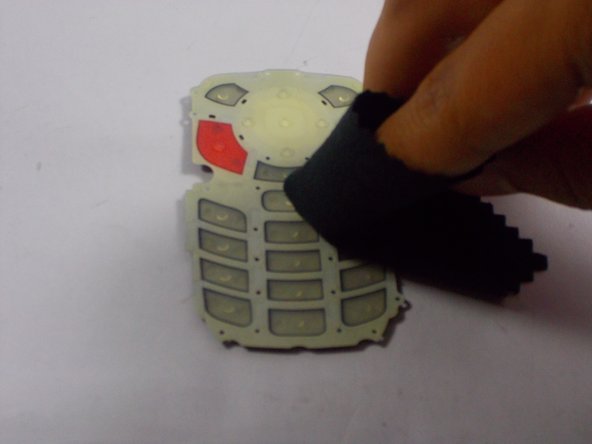
The number button pad may sometimes require cleaning or replacement. This guide describes the steps required to remove the button pad. It is a simple process, but you will need patience and a few tools.
What you need
-
-
Power off the device by holding down the red button labeled PWR.
-
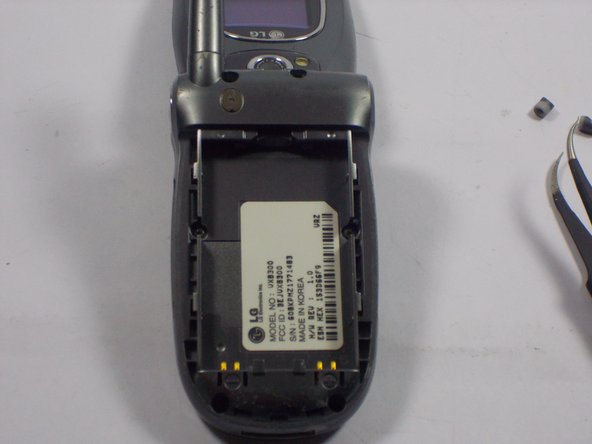
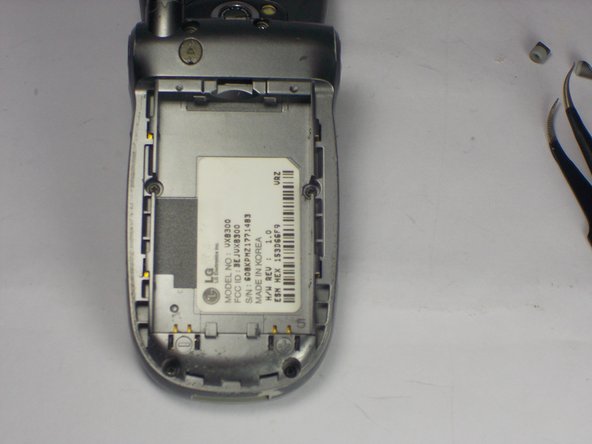
Remove the battery pack cover by pushing down on the solid lines at the top end of the cover. Slide the cover down while applying the pushing force at the top to remove the cover completely.
-
-
-
-
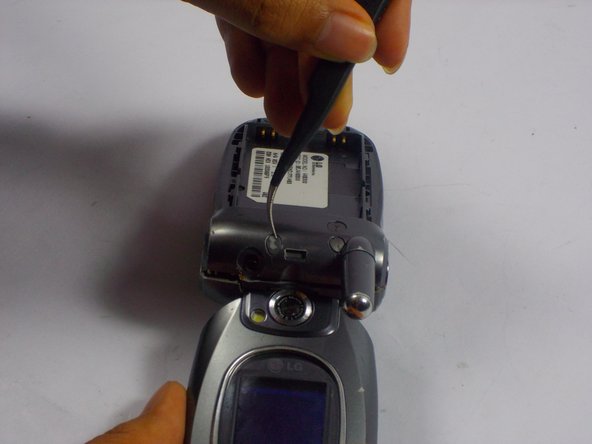
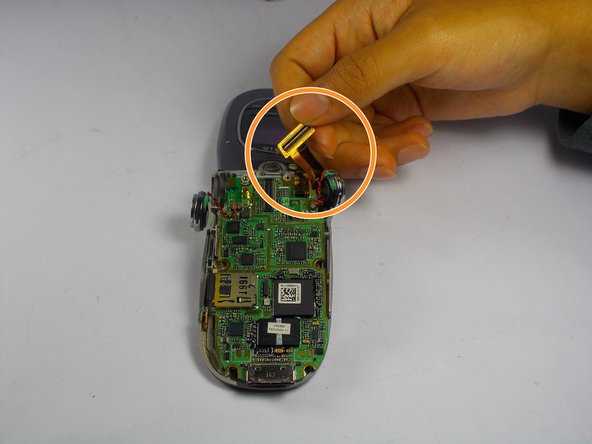
Holding the chassis firmly in one hand, then lift up on the charging port with the edge of an opening tool to separate the logic board from the front body case.
-
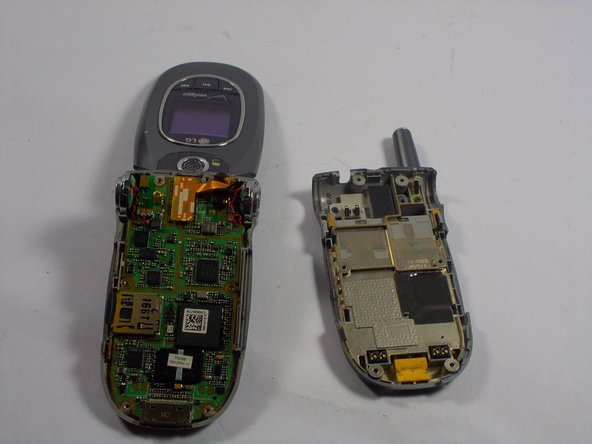
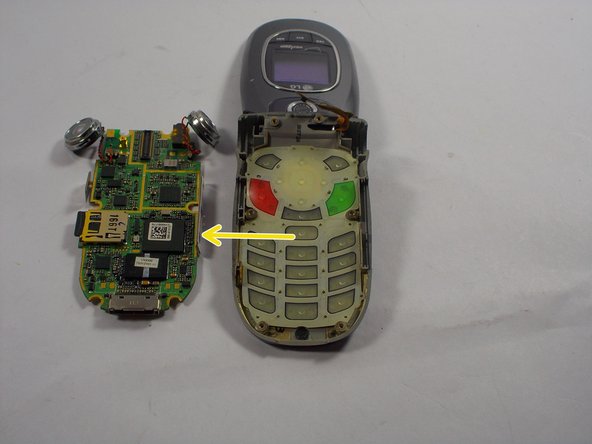
Use the spudger tool to gently lift the board out of the case. The board is secured by six holes around its perimeter and will become free when pried from the supports.
-


Follow these instructions in reverse order to reassemble the device.
Follow these instructions in reverse order to reassemble the device.
Team

UMass Dartmouth, Team 3-7, Duarte Spring 2015 Member of UMass Dartmouth, Team 3-7, Duarte Spring 2015
UMASSD-DUARTE-S15S3G7
3 Members
10 Guides authored