Free Shipping on Domestic Orders $75+

LG VX5200 Face Plate Replacement

What you need

    1. LG VX5200 Face Plate Replacement, Battery: step 1, image 1 of 2 LG VX5200 Face Plate Replacement, Battery: step 1, image 2 of 2
      • Turn the phone on its back.

      Ask FixBot

      Add Comment

    2. LG VX5200 Face Plate Replacement: step 2, image 1 of 2 LG VX5200 Face Plate Replacement: step 2, image 2 of 2
      • Orient the phone as shown.

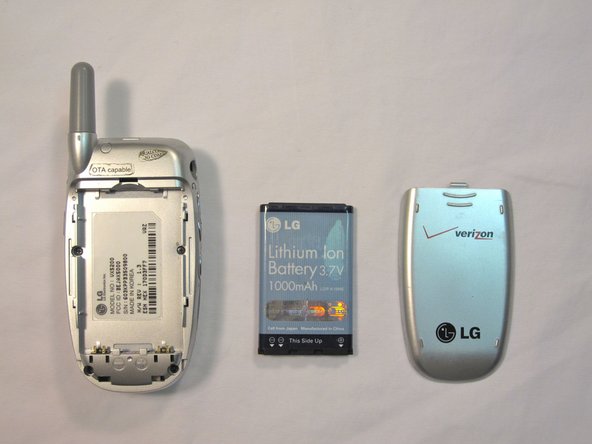
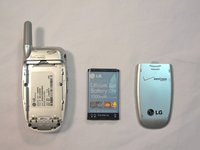
      • Remove the battery cover by pushing upward with your thumb.

      Ask FixBot

      Add Comment

    3. LG VX5200 Face Plate Replacement: step 3, image 1 of 2 LG VX5200 Face Plate Replacement: step 3, image 2 of 2
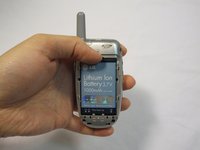
      • Place your fingernail at the top of the battery and pry the battery out towards you.

      Ask FixBot

      Add Comment

    1. LG VX5200 Face Plate Replacement, Face Plate: step 4, image 1 of 3 LG VX5200 Face Plate Replacement, Face Plate: step 4, image 2 of 3 LG VX5200 Face Plate Replacement, Face Plate: step 4, image 3 of 3
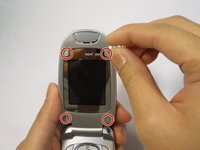
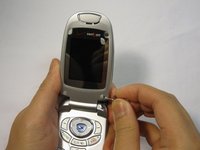
      • Flip the phone open.

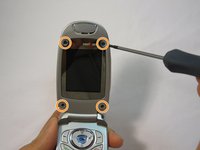
      • Remove the four rubber plugs, located at the corners of the LCD screen, with a push-pin.

      • Use a Phillips #00 screwdriver to remove the four screws located underneath the rubber plugs.

      Ask FixBot

      Add Comment

    2. LG VX5200 Face Plate Replacement: step 5, image 1 of 3 LG VX5200 Face Plate Replacement: step 5, image 2 of 3 LG VX5200 Face Plate Replacement: step 5, image 3 of 3
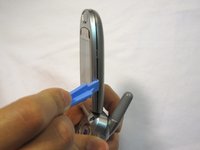
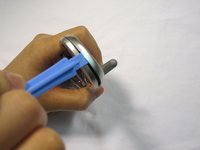
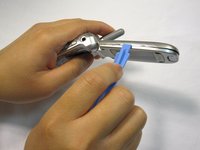
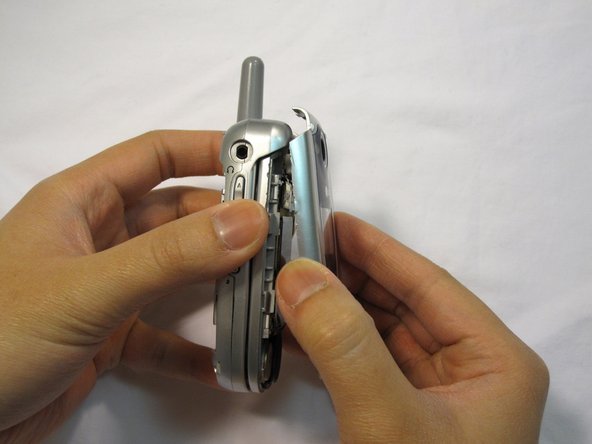
      • Insert the opening tool in the seam of the top portion of the flip phone.

      • Gently pry the seam open.

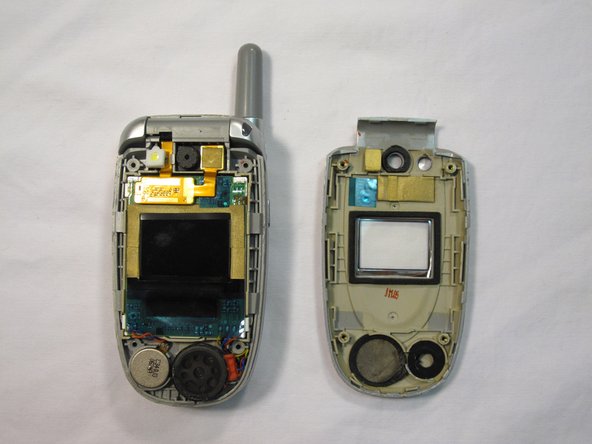
      • Move the opening tool around the perimeter of the seam and gently take the front LCD face plate out.

      Ask FixBot

      Add Comment

    3. LG VX5200 Face Plate Replacement: step 6, image 1 of 3 LG VX5200 Face Plate Replacement: step 6, image 2 of 3 LG VX5200 Face Plate Replacement: step 6, image 3 of 3
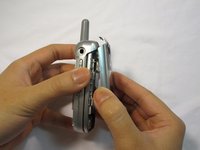
      • Close the flip phone.

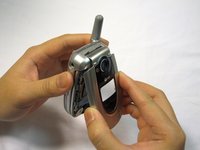
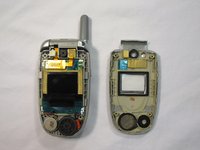
      • Hold the base of the phone and gently remove the faceplate.

      • Place the phone and the faceplate on a clean, flat surface.

      Ask FixBot

      Add Comment

Conclusion

To reassemble your device, follow these instructions in reverse order.

Cancel: I did not complete this guide.

One other person completed this guide.

Douglas Blaalid

Member since: 01/13/10

282 Reputation

8 Guides authored

Team

Cal Poly, Team 4-13, Forte Winter 2010 Member of Cal Poly, Team 4-13, Forte Winter 2010

CPSU-FORTE-W10S4G13

5 Members

71 Guides authored

0 Guide Comments

Add Comment

View Statistics:

Past 24 Hours: 1

Past 7 Days: 7

Past 30 Days: 27

All Time: 2,429