Free Shipping on Domestic Orders $75+

LG VX4500 screen replacement (duplicate)

Archived Guide
This guide is retained solely for historical purposes. Use the updated version of the guide to perform your repair.

What you need

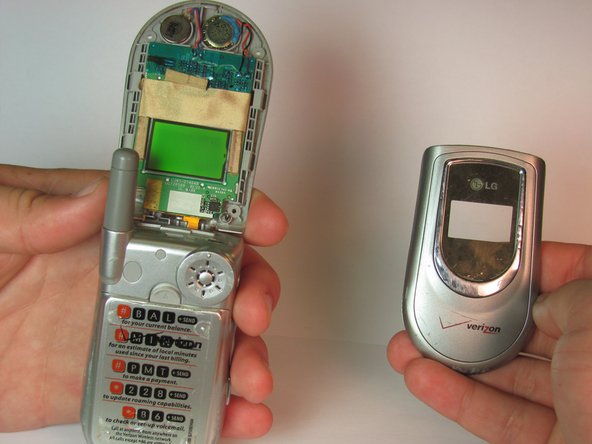
    1. LG VX4500 screen replacement (duplicate), Speaker: step 1, image 1 of 2 LG VX4500 screen replacement (duplicate), Speaker: step 1, image 2 of 2
      • Remove grey rubber caps from the four corners of the internal screen.

      • Remove the four 1.3 mm screws, which are directly underneath the grey caps, with a Phillips head screwdriver.

      Ask FixBot

      Add Comment

    2. LG VX4500 screen replacement (duplicate): step 2, image 1 of 3 LG VX4500 screen replacement (duplicate): step 2, image 2 of 3 LG VX4500 screen replacement (duplicate): step 2, image 3 of 3
      • Run a pry bar along the seem of the edge of the phone to separate the top screen casing.

      • Work the bar around the edge until the entire top section with the LG logo is removed.

      Ask FixBot

      Add Comment

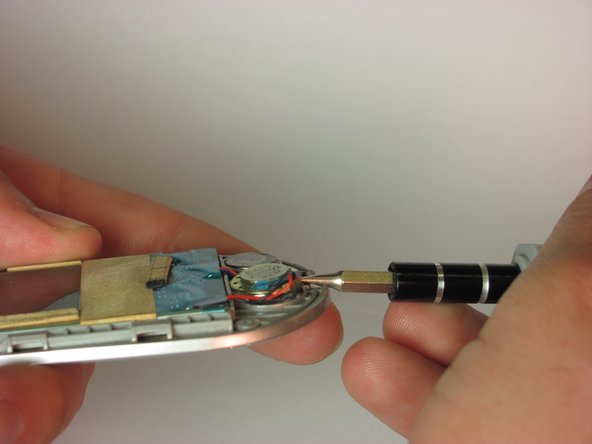
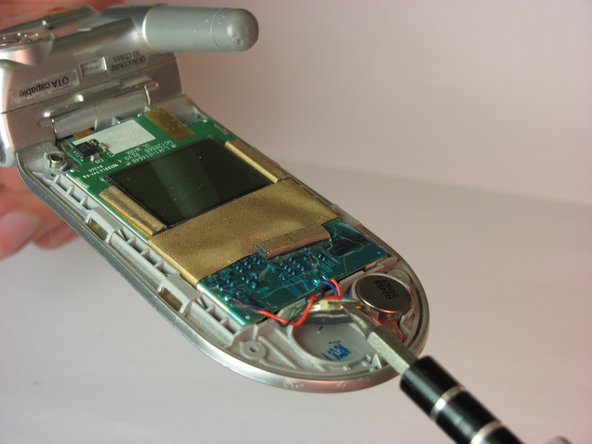
    3. LG VX4500 screen replacement (duplicate): step 3, image 1 of 3 LG VX4500 screen replacement (duplicate): step 3, image 2 of 3 LG VX4500 screen replacement (duplicate): step 3, image 3 of 3
      • With a flathead screwdriver, lift the speaker from the device.

      Ask FixBot

      Add Comment

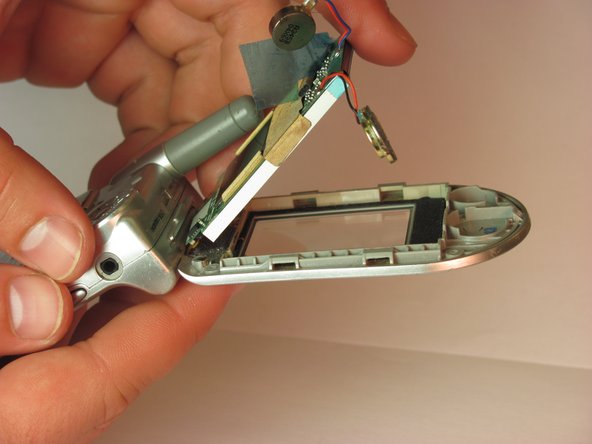
    1. LG VX4500 screen replacement (duplicate), Internal and External Screen: step 4, image 1 of 3 LG VX4500 screen replacement (duplicate), Internal and External Screen: step 4, image 2 of 3 LG VX4500 screen replacement (duplicate), Internal and External Screen: step 4, image 3 of 3
      • Ensure that the metal capacitor next to the speaker is removed in the same way that the speaker was removed.

      • Gently lift the entire circuit board assembly up.

      • Note: the entire assembly is still connected to the phone.

      Ask FixBot

      Add Comment

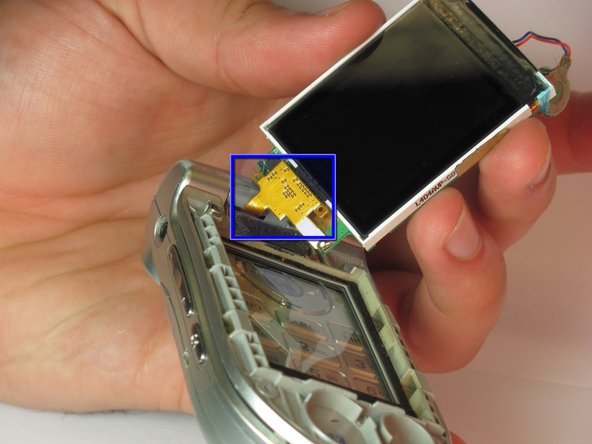
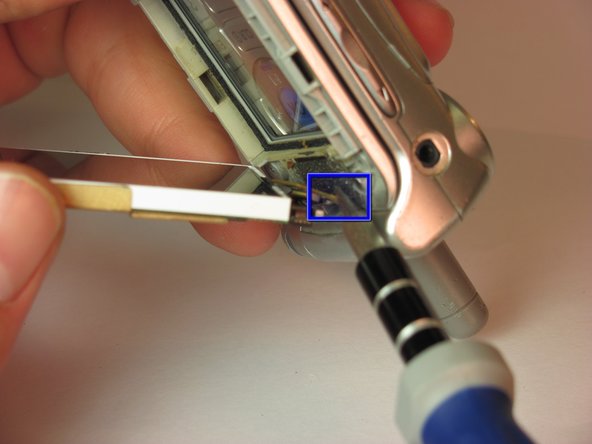
    2. LG VX4500 screen replacement (duplicate): step 5, image 1 of 2 LG VX4500 screen replacement (duplicate): step 5, image 2 of 2
      • Desolder the contact point shown.

      • Gently pry the entire gold connector away from the screen with a spudger

      Ask FixBot

      Add Comment

Conclusion

To reassemble your device, follow these instructions in reverse order.

Cancel: I did not complete this guide.

iDeleted

Member since: 07/07/10

2,101 Reputation

39 Guides authored

0 Guide Comments

Add Comment

View Statistics:

Past 24 Hours: 1

Past 7 Days: 3

Past 30 Days: 8

All Time: 352