Introduction
If your device isn’t properly taking photos or showing images, the camera may be the underlying issue. Use this guide to replace the front-facing camera in your phone.
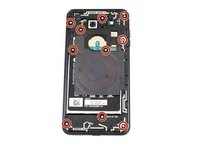
What you need
-
-
Use a pair of iOpeners by heating them in a microwave and placing the hot pads on the edges of the phone.
-
Allow to sit for 1-2 minutes to heat up the adhesive.
 Ask FixBot
-
-
-
Insert an Opening Tool into the seam between the rear glass and side of the phone.
-
Pry the glass off just enough to insert an Opening Pick.
-
Slide the Opening Tool around the edges of the device, placing Opening Picks regularly.
-
-
-
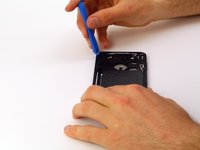
Once all edges of the device are lifted free, use a Suction Handle to gently pull the rear glass off the device.
-
-
-
-
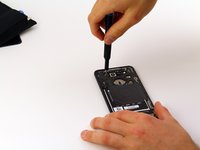
Gently push down on the small black tab with a Spudger to release the protective board.
-
Slide an Opening Tool between the phone and the protective board and slide along the edges of the phone to unclip it.
-
Carefully wiggle the board back and forth while gently pulling to unclip the last attachment point.
-
-
-
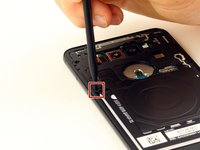
Slide an Opening Tool between the lower protective board and the phone to unclip.
-
Slide the tool along the remaining edges of the protective board until it pops off.
-
-
-
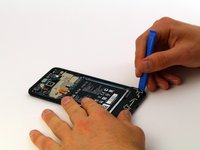
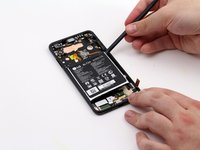
Gently pry each visible ribbon cable away from the motherboard to disconnect them.
-
-
-
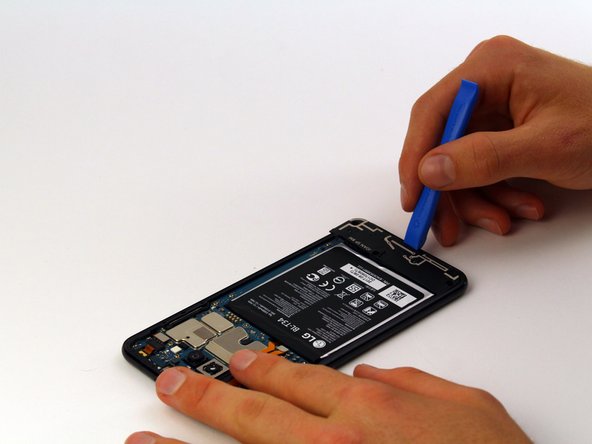
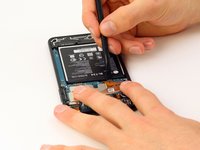
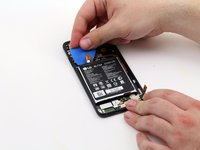
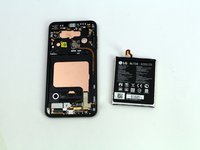
Use a Spudger to get between the battery and the phone and pry each edge of the battery away from the board.
-
Insert Opening Picks if needed to keep the battery elevated.
-
-
-
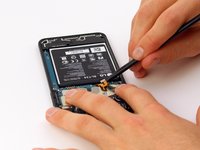
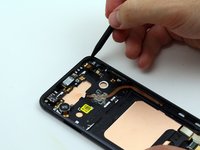
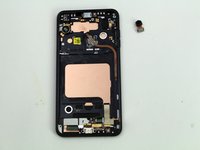
Use a Spudger to pry away the front-facing camera from the board.
-


To reassemble your device, follow these instructions in reverse order.
Team

Cal Poly, Team S1-G3, Maness Spring 2019 Member of Cal Poly, Team S1-G3, Maness Spring 2019
CPSU-MANESS-S19S1G3
4 Members
10 Guides authored