
LG Tribute HD Display Replacement

Aalia Mohammed and 4 other contributors
Last updated on Aug 3, 2018
Views: 3.6K
View statistics:
- Past 24 Hours:
- 2
- Past 7 Days:
- 24
- Past 30 Days:
- 71
- All Time:
- 3,613
Comments: 5
5 guide comments.
Go to guide commentsCompleted: 6 7
6 people have marked this guide "completed." Will you be next?
7 people have marked this guide "completed." Including you — great job!
Favorites: 3 4
3 people have favorited (and subscribed to) this guide. Will you be next?
4 people have favorited (and subscribed to) this guide — including you!
Introduction
Go to step 1 ↓This guide will teach you how to properly replace the LCD screen and touch digitizer with frame. Precaution should be taken if handling a cracked screen to avoid cuts from broken glass. This repair may be needed if the screen is unresponsive to touch or the screen has been damaged or cracked.
What you need


-
-
-
Insert a fingernail, or plastic opening tool, into the cutout on the back cover and pry outward to remove.
 Ask FixBot
-
-
-
Pull the battery out of the phone.
-
Remove the SD Card by sliding the card out as shown.
-
-
-
-
-
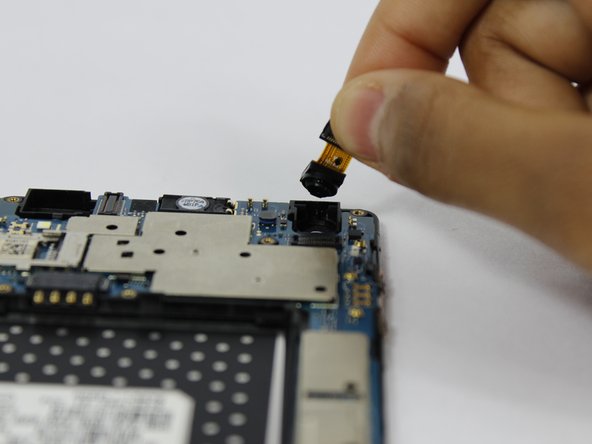
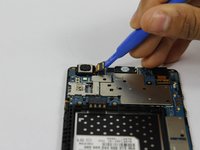
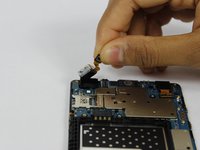
Use a plastic opening tool to disconnect the front and rear cameras from the motherboard.
-
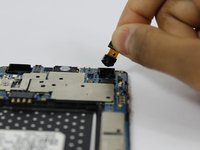
Remove the cameras from the phone.
-
-
-
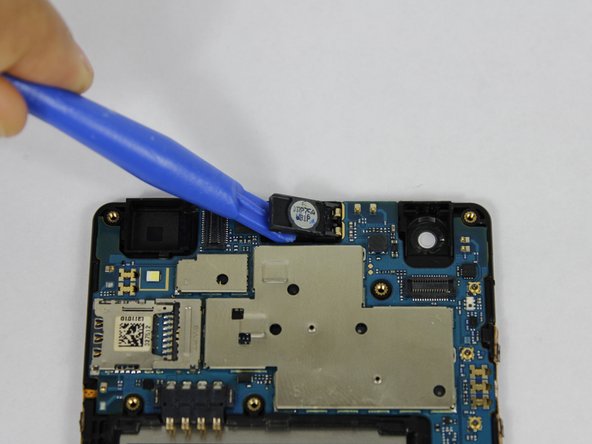
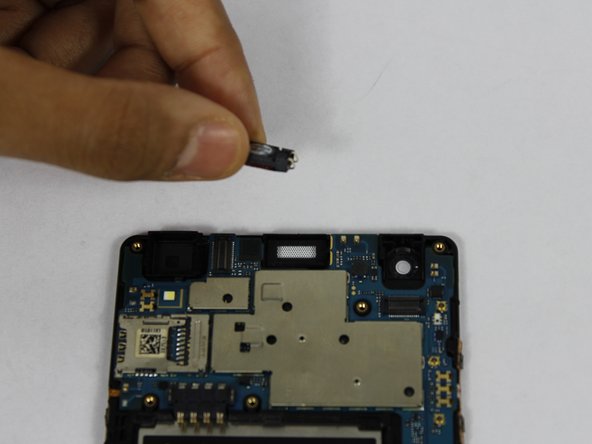
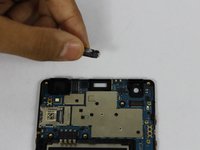
Using a plastic opening tool, pry up the front facing speaker and remove it from the phone.
-
-
-
-
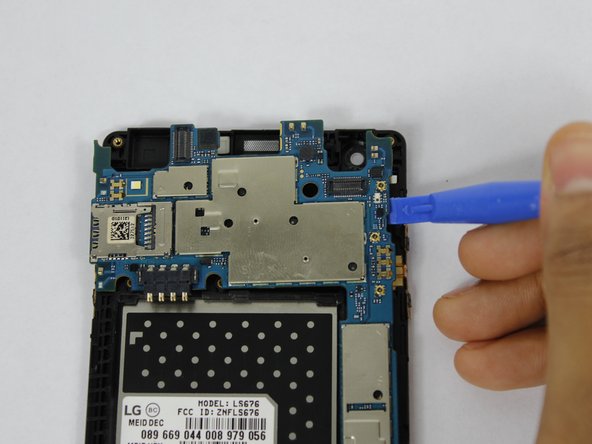
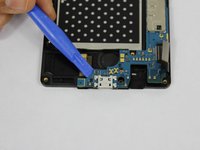
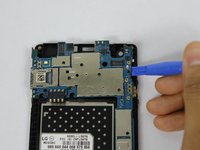
Use a plastic opening tool to pry up the motherboard form the display housing.
-
Remove the motherboard from the phone.
-


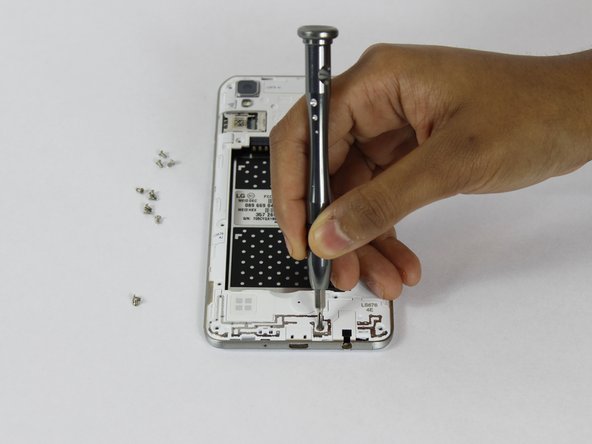
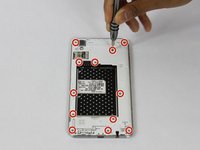
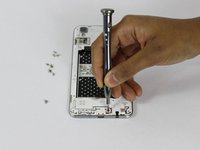

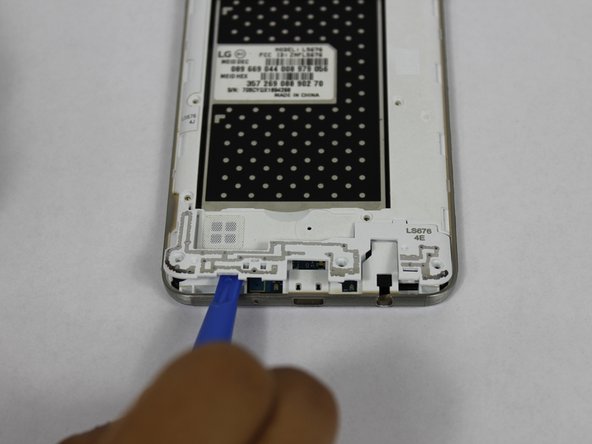
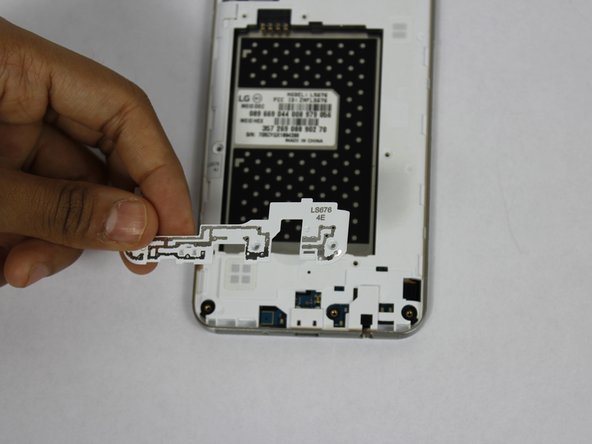
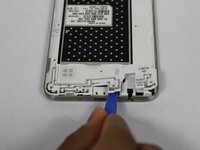
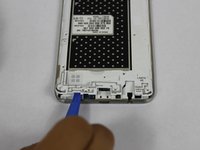
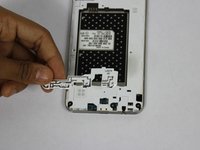

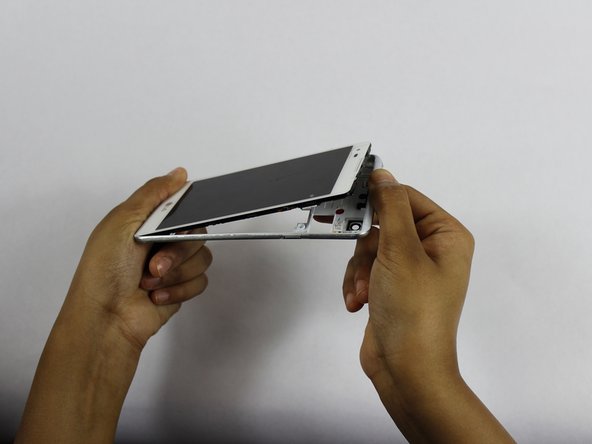

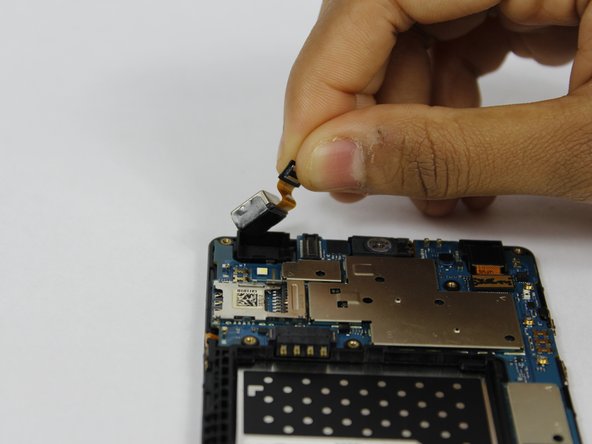




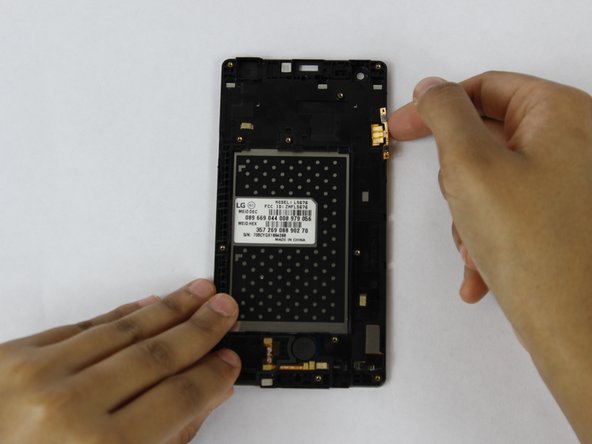
To reassemble your device, follow these instructions in reverse order.
Cancel: I did not complete this guide.
6 other people completed this guide.

Team

USF Tampa, Team S1-G3, Nance Spring 2018 Member of USF Tampa, Team S1-G3, Nance Spring 2018
USFT-NANCE-S18S1G3
4 Members
120 Guides authored
5 Guide Comments
Just a note that the flex cables are stuck pretty well to the case. I didn’t rip them but I used a little heat from a hair dryer to soften the glue a bit.
I somewhat agree with christophergosnell on this one but I did manage to lift up the ribbon cables using both my fingernails and a small, then, flat head screwdriver at just the right points. there is also a ribbon cable near the bottom of the phone that I had to transplant that is shown but you don’t include a picture of you even attempting to remove it. I didn’t pay attention what it connected to but I just made sure it went in the same spot on the new screen assembly. Other then that a pretty decent guide.
Many thanks to the previous comments! The guide is very helpful but could use more detail. I missed the ribbon at the bottom and couldn’t figure out why my speaker wasn’t working. I spent two hours taking the speaker in and out and re-bending the contacts to improve the connection until I checked the comments here and noticed the other ribbon. It was hard to get off so I used a heat gun on low just long enough to soften the glue and then I was finally able to get it off. This solved the speaker problem and all is working well.
I also used a blow dryer for heat , and small jewellers screwdriver to transfer the ribbons. I also used a magnifying glass
I have reassembled my phone, and it works! Success!. Yes, the disassembly was going smooth, until the ribbon transfer. That's when I stopped, read the comments about using a hair dryer for heat etc. It also helps to have the tools shown in the pic, or very small jewellers screwdriver set like in eyeglasses repair kits.
