Introduction
If your phone's selfie camera is failing to take pictures, it may be time to replace the front camera. This guide will take you step by step on how to replace the camera of your LG Stylo 3 Plus in about 5 minutes.
What you need
-
-
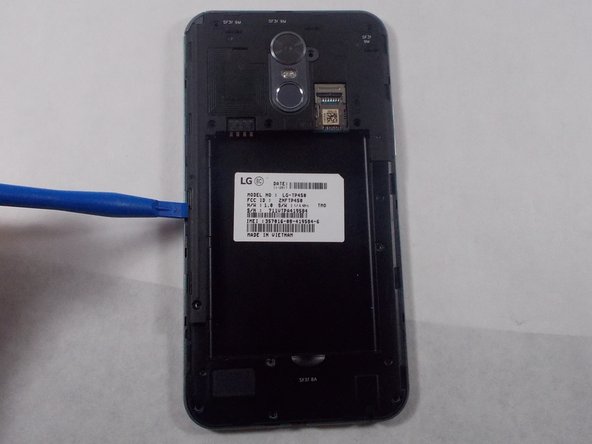
Place the phone face down.
-
Insert a fingernail or a plastic opening tool into the gap on the side of the phone.
-
Carefully slide your finger or the tool throughout the edge of the phone to ease the back case off.
 Ask FixBot
-
-
-
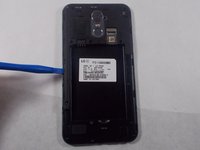
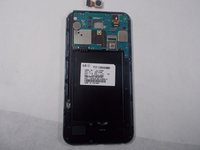
Place the back cover off to the side.
-
Insert the opening tool into the small gap below the battery.
-
Carefully pop the battery out to prevent damage.
-
-
-
-
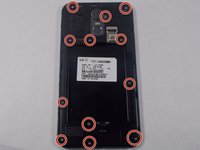
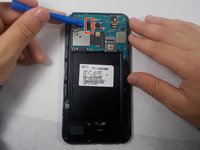
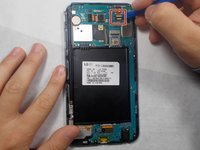
Remove the twelve 4mm screws using the Phillips #000 screwdriver.
-
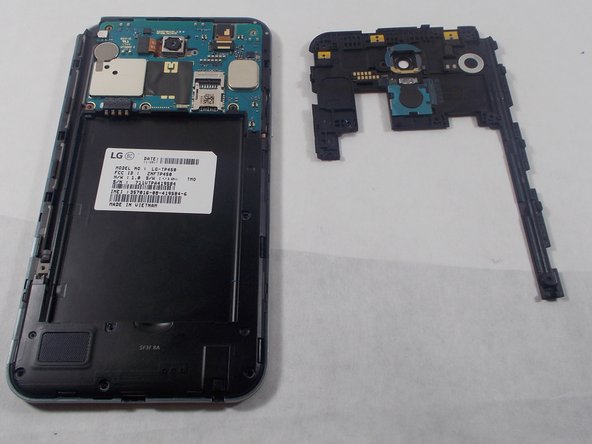
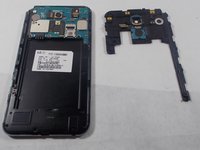
Use the plastic opening tool to remove the inner case.
-
Carefully remove the inner case.
-
-
Tool used on this step:Tweezers$4.99
-
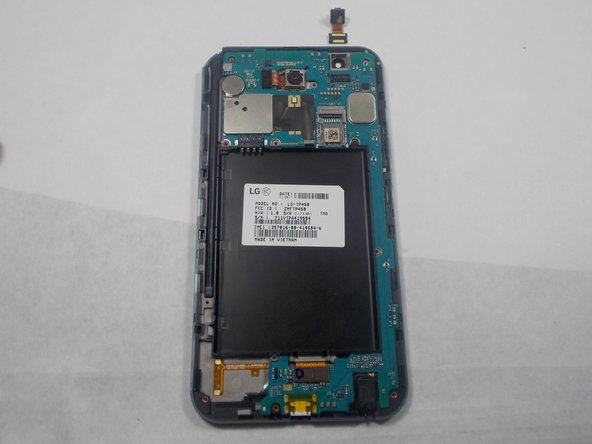
Use your fingernail or the plastic opening tool to flip the flex cable.
-
Use the precision tweezers to carefully grasp and pull out the camera.
-
-
Tool used on this step:Tweezers$4.99
-
Carefully flip open the flex cable box with the plastic opening tool.
-
Using precision tweezers, carefully lift the front camera off the device.
-


To reassemble your device, follow these instructions in reverse order.
Cancel: I did not complete this guide.
One other person completed this guide.

Team

UMass Dartmouth, Team S2-G6, Peak Fall 2018 Member of UMass Dartmouth, Team S2-G6, Peak Fall 2018
UMASSD-PEAK-F18S2G6
3 Members
20 Guides authored