Introduction
If the rear-facing camera is taking photos that are blurry, replacing the camera may fix that issue. Use this guide to replace the rear-facing camera.
What you need
-
-
-
Use a plastic opening tool to seperate the back panel from the device.
-
Remove the back panel.
 Ask FixBot
-
-
-
-
-
Place your thumb along the bottom of the battery and pry upwards to remove.
-
-
-
-
-
-
Press down on the SIM eject tab with a fingernail (or iFixit opening tool), and slide the SIM card out.
-
-
-
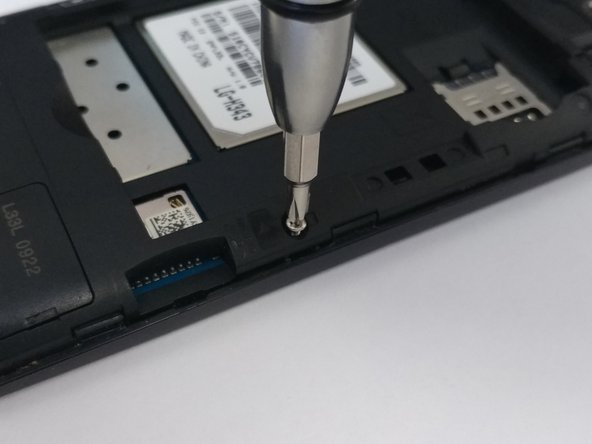
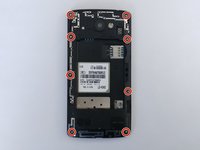
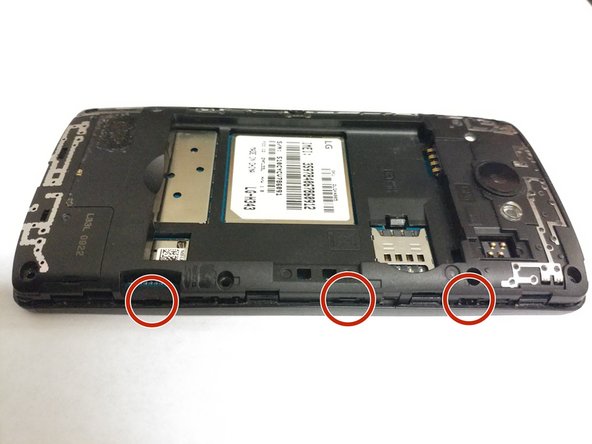
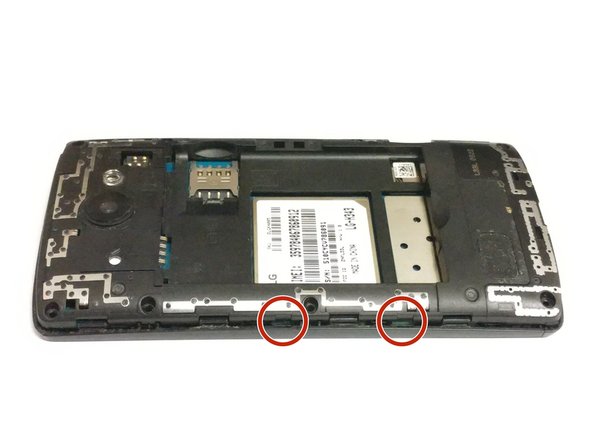
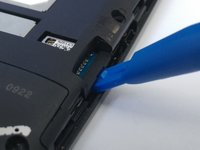
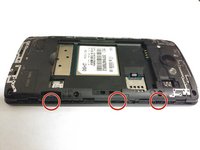
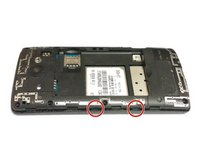
Use an opening tool on the marked locations to lift the edges up. There should be a small click when lifting these edges up.
-
-




To reassemble your device, follow these instructions in reverse order.

Team

University of North Texas, Team S4-G6, Thompson Spring 2018 Member of University of North Texas, Team S4-G6, Thompson Spring 2018
UNT-THOMPSON-S18S4G6
4 Members
84 Guides authored
