
LG Rebel Rear Camera Replacement

Emma Johnson and one other contributor
Last updated on May 25, 2018
Views: 976
View statistics:
- Past 24 Hours:
- 2
- Past 7 Days:
- 14
- Past 30 Days:
- 71
- All Time:
- 976
Comments: 0
No one has left comments on this guide. Will you be first?
Go to guide commentsCompleted: 1 2
1 person has marked this guide "completed." Will you be next?
2 people have marked this guide "completed." Including you — great job!
Favorites: 0 1
No one has favorited (and subscribed to) this guide. Will you be the first?
1 person has favorited (and subscribed to) this guide — and that's you!
Slice and Dice
The steps in this guide should be split up and made into a series of prerequisite guides.
Introduction
Go to step 1 ↓This is a guide to replace a broken or damaged rear camera on the LG Rebel. This could be important if the camera became foggy or cracked. Be careful, as these are small parts and could be sharp if broken.
What you need
Tools
-
-
Spudger4.9


-
-
-
Turn the phone on its side and locate the small groove.
-
Use the plastic opening tool to take the back cover off of the phone.
 Ask FixBot
-
-
-
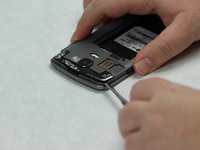
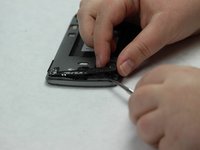
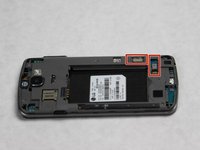
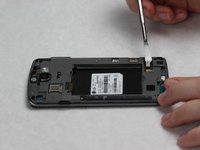
Locate the small groove on the back of the phone near the bottom.
-
Use the metal spudger to pop open the black plastic covering.
-
Remove black plastic covering.
-
-
-
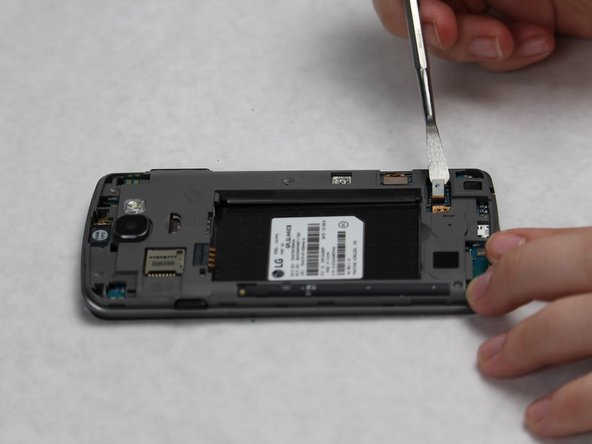
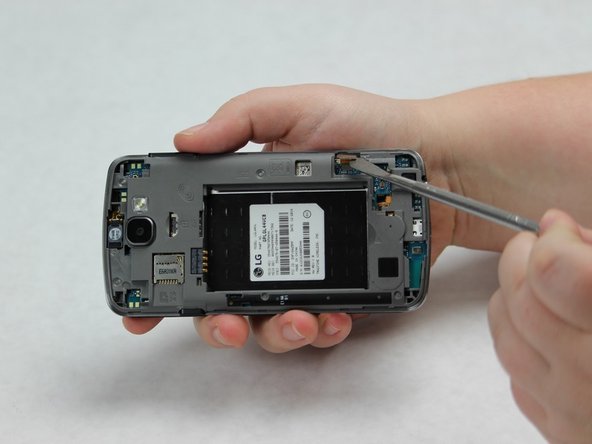
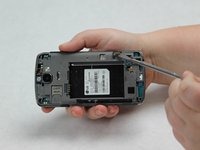
Use the metal spudger to pop up the black plastic covering near top of phone.
-
Remove the black plastic covering.
-
-
-
Locate the connective pieces on the back of the phone.
-
Use the metal spudger to disconnect both of the connective pieces from the back.
-
-
-
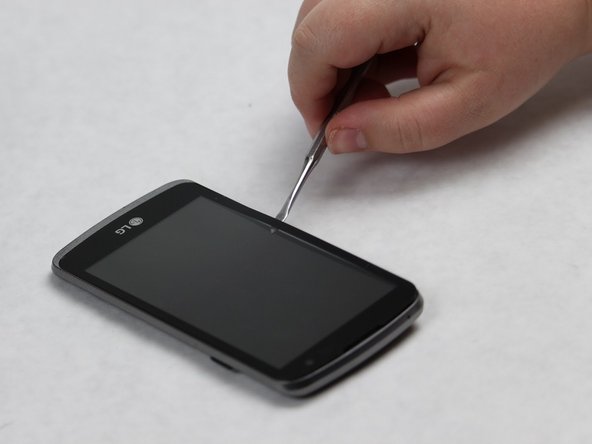
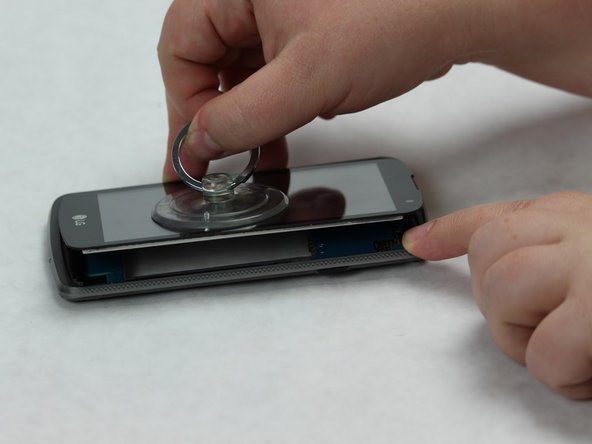
Flip the phone over so the screen is facing up.
-
Slide the metal spudger around the perimeter of the phone until the entire seal has been broken.
-
Use the small suction cup to remove the screen.
-
-
-
Locate the black bumper at the bottom of the front of the phone.
-
Use the metal spudger to slide the bumper out.
-
-
-
-
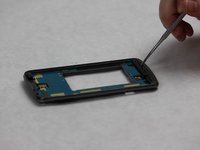
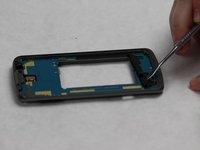
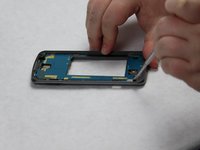
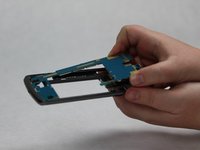
Use the metal spudger to carefully loosen the motherboard from the body of the phone.
-
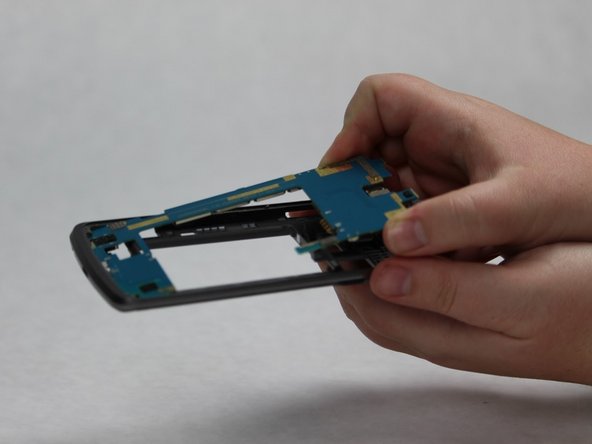
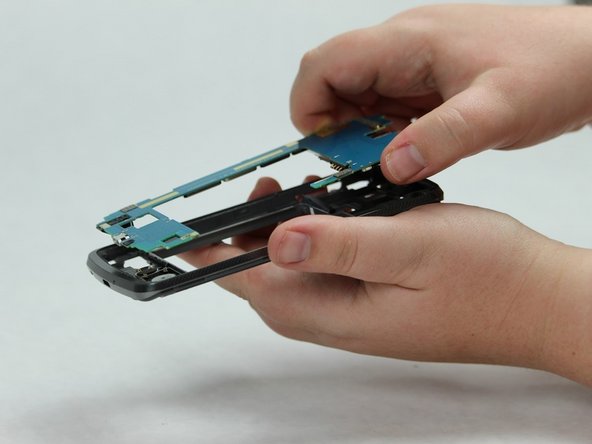
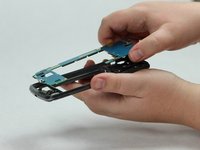
Slowly slide the motherboard out of the body of the phone.
-
Remove the motherboard.
-
-
-
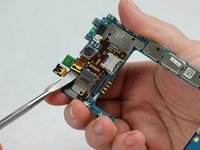
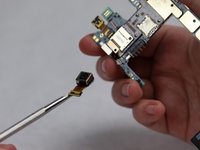
Locate the rear camera on the motherboard.
-
Use the metal spudger to disconnect the connective piece at the base of the camera.
-
Remove the camera.
-
-









To reassemble your device, follow these instructions in reverse order.
Cancel: I did not complete this guide.
One other person completed this guide.

Team

Sam Houston State, Team S16-G2, Nardone Spring 2018 Member of Sam Houston State, Team S16-G2, Nardone Spring 2018
SHSU-NARDONE-S18S16G2
5 Members
60 Guides authored
