Free Shipping on Domestic Orders $75+

LG Muziq LX570 Display Panel Replacement

What you need

  1. LG Muziq LX570 Display Panel Replacement, Front Case: step 1, image 1 of 2 LG Muziq LX570 Display Panel Replacement, Front Case: step 1, image 2 of 2
    • Use a spudger to remove the two screw covers below display.

    • Use a screw driver to remove the four Phillips #00 (3.3mm) screws at corners of the display.

    Ask FixBot
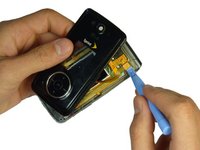
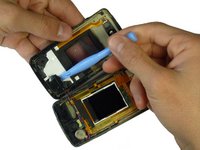
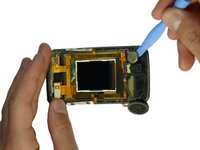
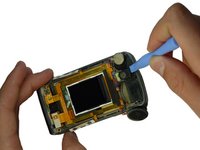
  2. LG Muziq LX570 Display Panel Replacement: step 2, image 1 of 3 LG Muziq LX570 Display Panel Replacement: step 2, image 2 of 3 LG Muziq LX570 Display Panel Replacement: step 2, image 3 of 3
    • Caution: Wires and ribbon connect the front case to the main body. Exhibit care when separating front case from the main body as to not break the connections.

    • Note: Side buttons may fall out when removing the front case. Do not misplace them.

    • Note: Each side button will only fit in the side that it came from.

    • Insert a spudger between the black and grey casings and gently spread them apart.

    • Work around the device gradually, opening the gap further.

    Ask FixBot
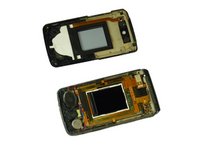
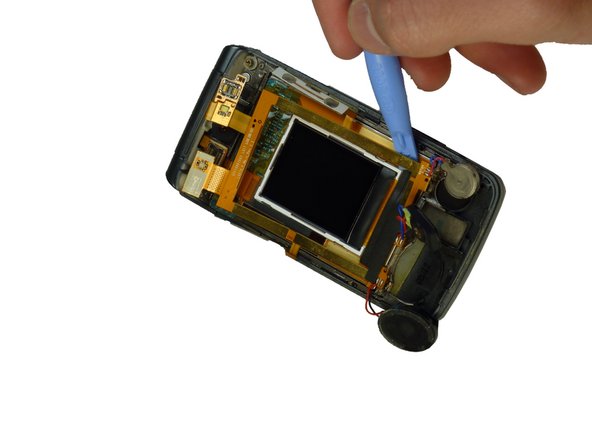
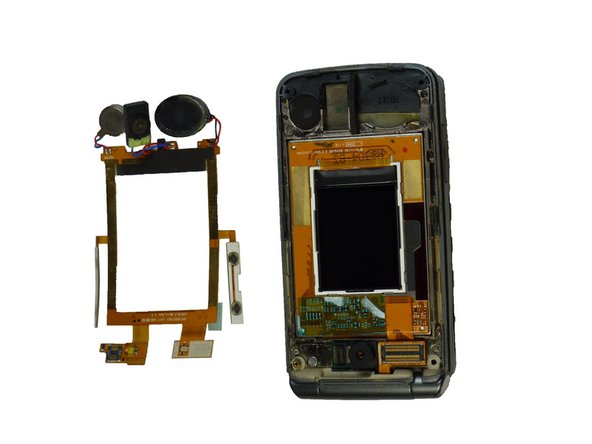
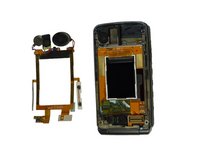
  3. LG Muziq LX570 Display Panel Replacement: step 3, image 1 of 3 LG Muziq LX570 Display Panel Replacement: step 3, image 2 of 3 LG Muziq LX570 Display Panel Replacement: step 3, image 3 of 3
    • Caution: The wires and ribbon connector can break easily. Exhibit care when removing them.

    • Use the spudger and lift upward to disconnect the ribbon from the main part of the phone.

    • Carefully remove any parts stuck to the front case such as speakers.

    Ask FixBot
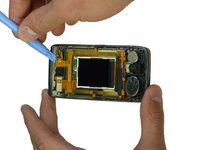
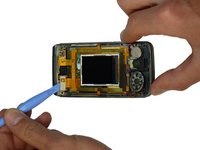
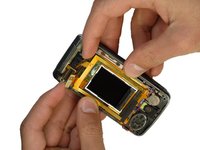
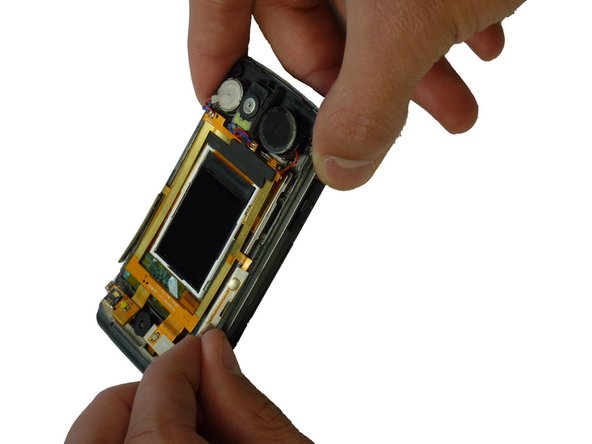
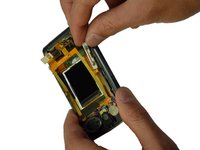
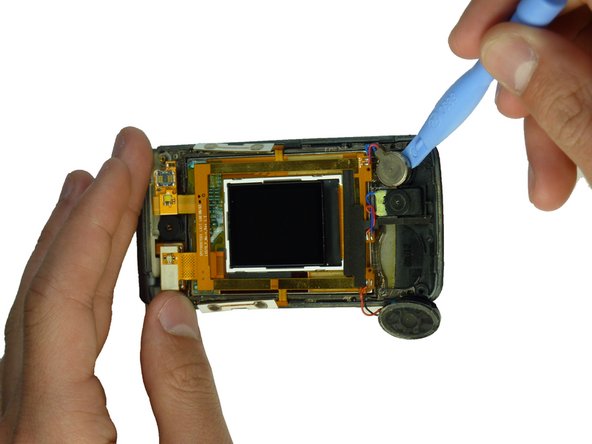
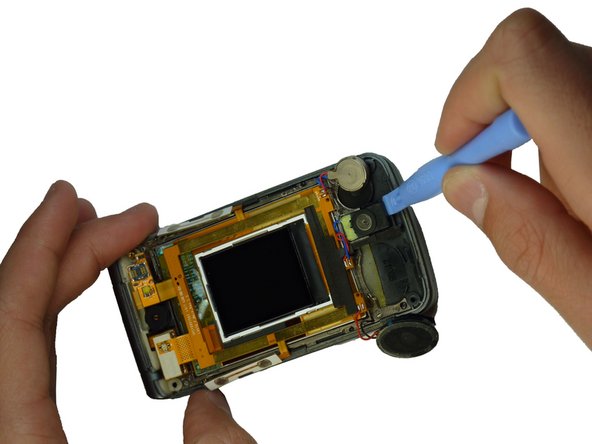
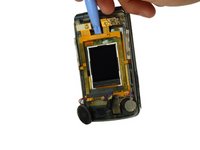
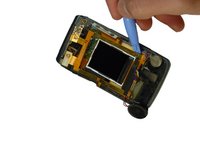
  4. LG Muziq LX570 Display Panel Replacement, Display Panel: step 4, image 1 of 3 LG Muziq LX570 Display Panel Replacement, Display Panel: step 4, image 2 of 3 LG Muziq LX570 Display Panel Replacement, Display Panel: step 4, image 3 of 3
    • Use the spudger to unclip the two upper wiring connections.

    Ask FixBot
  5. LG Muziq LX570 Display Panel Replacement: step 5, image 1 of 2 LG Muziq LX570 Display Panel Replacement: step 5, image 2 of 2
    • Caution: The side buttons are attached to the ribbon around the display screen. Do not separate the side buttons from the ribbon when removing.

    • Gently lift the side buttons from the phone casing.

    Ask FixBot
  6. LG Muziq LX570 Display Panel Replacement: step 6, image 1 of 3 LG Muziq LX570 Display Panel Replacement: step 6, image 2 of 3 LG Muziq LX570 Display Panel Replacement: step 6, image 3 of 3
    • Caution: The wiring on the ribbon connector is delicate. Do not excessively pull on the wires.

    • Use the spudger to remove the three components connected to the ribbon.

    Ask FixBot
  7. LG Muziq LX570 Display Panel Replacement: step 7, image 1 of 3 LG Muziq LX570 Display Panel Replacement: step 7, image 2 of 3 LG Muziq LX570 Display Panel Replacement: step 7, image 3 of 3
    • Caution: The ribbon contains important wiring and is glued to the phone. Be careful when removing the ribbon.

    • Use the spudger to gently remove the ribbon from the phone.

    Ask FixBot
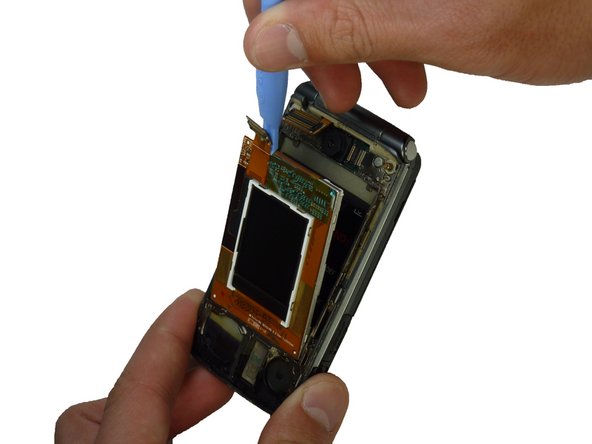
  8. LG Muziq LX570 Display Panel Replacement: step 8, image 1 of 3 LG Muziq LX570 Display Panel Replacement: step 8, image 2 of 3 LG Muziq LX570 Display Panel Replacement: step 8, image 3 of 3
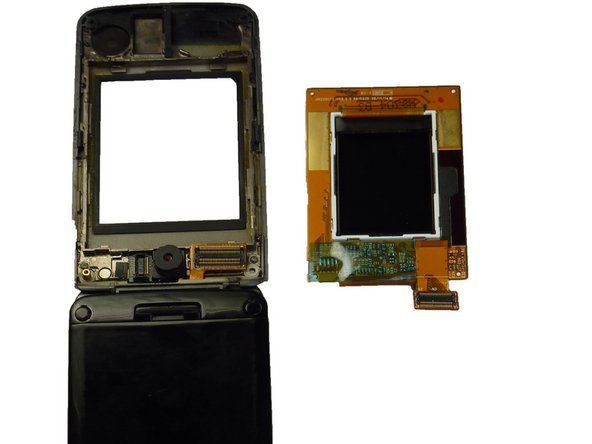
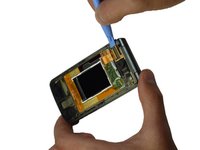
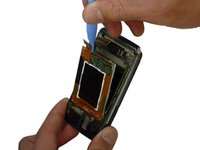
    • Use the spudger to lift the upper tab in the top left corner of the display.

    • Continue lifting until the display panels lift out of their setting and can be removed.

    Ask FixBot
Conclusion

To reassemble your device, follow these instructions in reverse order.

Braden Burk

Member since: 01/22/12

1 Reputation

5 Guides authored

Team

Cal Poly, Team 3-29, Amido Winter 2012 Member of Cal Poly, Team 3-29, Amido Winter 2012

CPSU-AMIDO-W12S3G29

4 Members

14 Guides authored

0 Guide Comments

Add Comment

View Statistics:

Past 24 Hours: 1

Past 7 Days: 3

Past 30 Days: 39

All Time: 1,273