Introduction
Before beginning the process of display assembly replacement, set aside an area for all the screws that will be taken out and set aside as replacing the display assembly is the final part that is left over once all other components have been removed.
What you need
-
-
-
Use a plastic opening tool to pry open your phone case. Flip the phone over and start by sliding your tool between the two sides of your phone case. Work the tool towards the bottom of the phone case, gently prying the case open. There is a clip that will pop open after applying gentle but consistent pressure.
-
Make sure to release the clip on the top left corner of the phone case carefully. This is usually the most difficult clip to release.
 Ask FixBot
-
-
-
After removing the outer phone case, you will need two Phillips head bits. One J0 and one J000 size.
-
There are 11 silver screws for which you have to use J0 head bits, and 1 small black screw for which you have to use a J000 head bit.
-
-
-
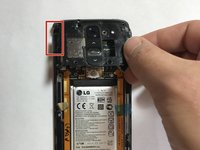
There is a clip on the upper left side of the upper panel. Use the plastic opening tool to pry the clip off of the phone.
-
There are ribbons that need to be removed as well. Be sure to carefully pry them off of the board
-
-
-
The bottom inside panel should pry back easily after you take out the screws. Again, if the panel does not pull off easily, you may have missed a screw.
-
-
-
-
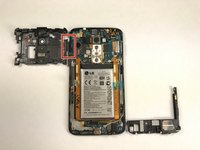
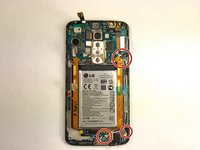
There are several clips and circuits that need to be released. They are circled in the images above. Be careful not to break any of the attached ribbon or wires. (circle ribbons etc.)
-
-
-
There are several clips and circuits that need to be released. They are circled in the images above. Be careful not to break any of the attached ribbon or wires.
-
-
-
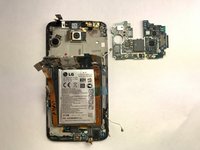
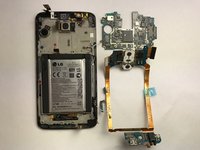
After you have disconnected all of the ribbon and antennae connections, you can remove the board. Gently pry the board up from the bottom of the case and slide it back out.
-
Make sure to remove all ribbon connectors from the board prior to removing the board.
-
-
-
-
-
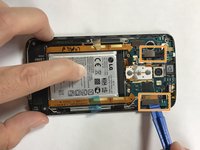
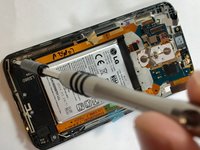
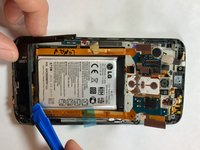
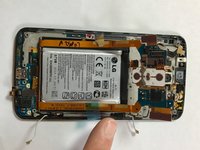
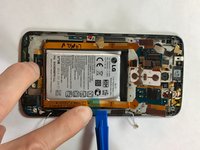
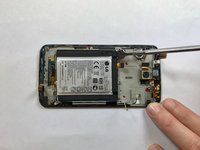
Start at the top left of the battery and slide your nylon spudger under the battery. There is a layer of adhesive that keeps the battery in the case. Use steady, firm pressure to pull the battery up.
-
-
-
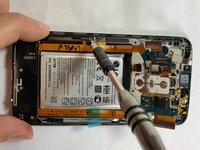
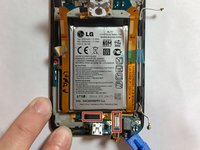
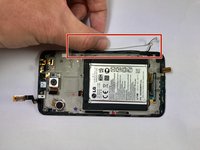
Removed the cables by pulling them out, they are held in by black tape.
-
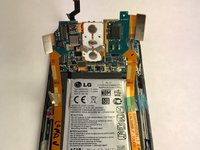
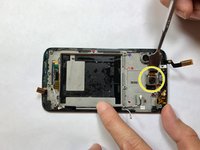
The vibe motor is held in by a strong adhesive, use a slim tool to get underneath and remove.
-
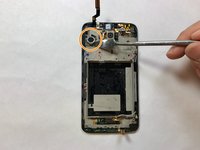
The camera can be removed effortlessly by using a slim plastic tool to lift it out of the assembly, start under the ribbon cable to pry out.
-
-
-
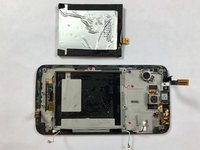
Once all components have been removed the display assembly with be the only part left, the final step is to replace this part.
-
-


To reassemble your device, follow these instructions in reverse order.
Cancel: I did not complete this guide.
6 other people completed this guide.
Team

USF Tampa, Team 5-2, Lacy Fall 2016 Member of USF Tampa, Team 5-2, Lacy Fall 2016
USFT-LACY-F16S5G2
4 Members
35 Guides authored