Introduction
The LG Cinebeam's (Model# PH150B) speakers are responsible for the projector's sound. If your projector's speakers don't produce any sound, you must replace them.
Before replacing the speakers, make sure they are actually broken by making sure the audio is all the way up and the issue isn't with the media you are playing. (Try watching the media on another device and see if the audio works or not.)
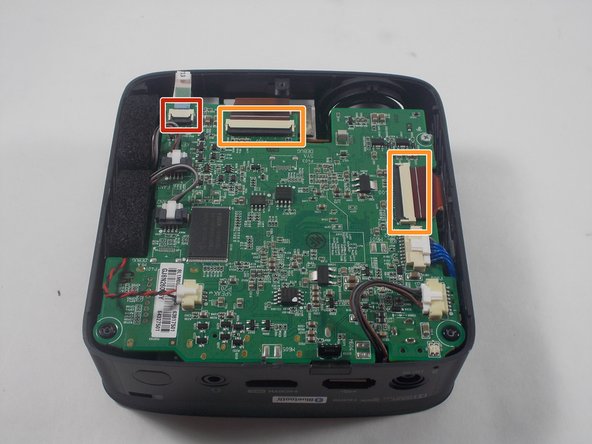
You will have to remove the motherboard to access the speakers. While removing it, make sure to use caution while replacing the ribbon cables as they could rip.
Before beginning, make sure to power off the projector completely and disconnect from any external power source.
What you need
-
-
Remove three 6 mm screws on the bottom plate with a Phillips #00 screwdriver.
-
-
-
-
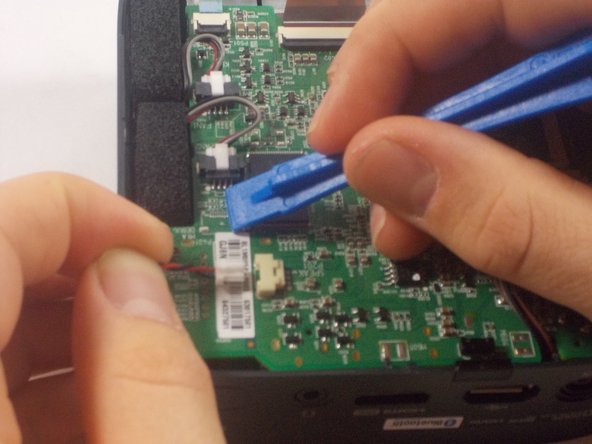
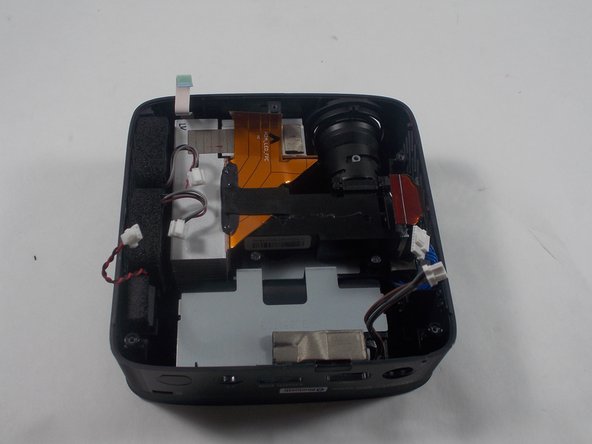
Using an iFixit opening tool, press down the lever on the top of the minilock connector for the speaker and pull the plug out gently.
-
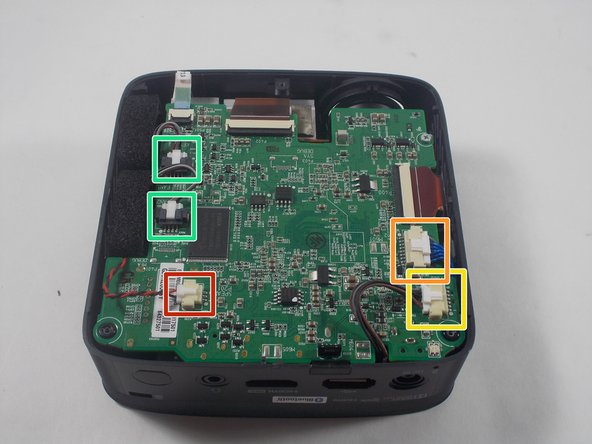
Repeat this process to remove the WiFi/Bluetooth card connector.
-
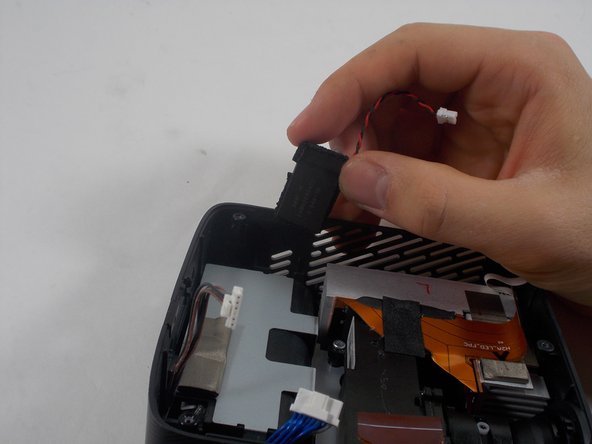
Remove the battery connector.
-
Remove the fan connectors.
-


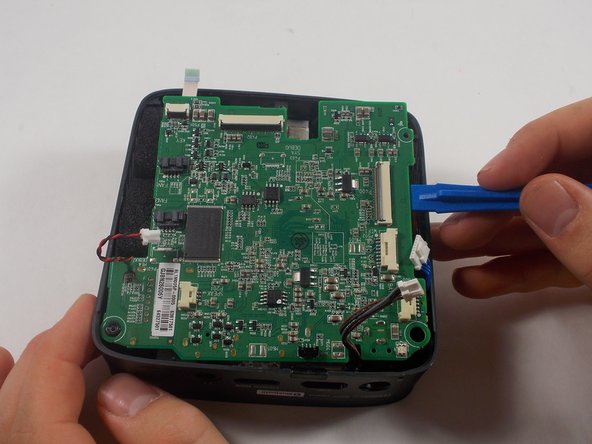

To reassemble your device, follow these instructions in reverse order.
To reassemble your device, follow these instructions in reverse order.

Team

UMass Dartmouth, Team 1-5, Botvin Spring 2022 Member of UMass Dartmouth, Team 1-5, Botvin Spring 2022
UMASSD-BOTVIN-S22S1G5
3 Members
6 Guides authored