Replace LCD screen

Archived Guide
This guide is retained solely for historical purposes. Use the updated version of the guide to perform your repair.

What you need

  1. Replace LCD screen, Battery: step 1, image 1 of 3 Replace LCD screen, Battery: step 1, image 2 of 3 Replace LCD screen, Battery: step 1, image 3 of 3
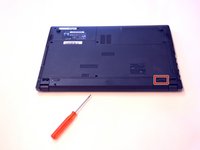
    • Open the latch on the right side that secures the battery in place.

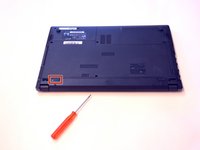
    • Open the latch on the left side that secures the battery in place.

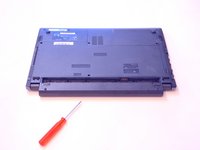
    • Now remove the battery.

  2. Replace LCD screen, LCD screen: step 2, image 1 of 3 Replace LCD screen, LCD screen: step 2, image 2 of 3 Replace LCD screen, LCD screen: step 2, image 3 of 3
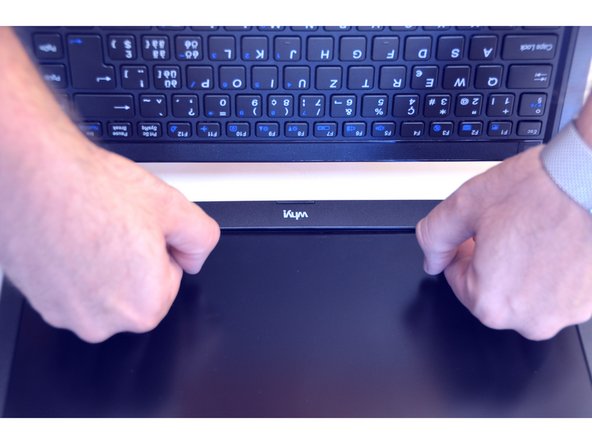
    • Carefully slide the nail between the frame and the glass of the screen.

    • First clip off the mounting points of the LCD screen frame.

  3. Replace LCD screen: step 3, image 1 of 3 Replace LCD screen: step 3, image 2 of 3 Replace LCD screen: step 3, image 3 of 3
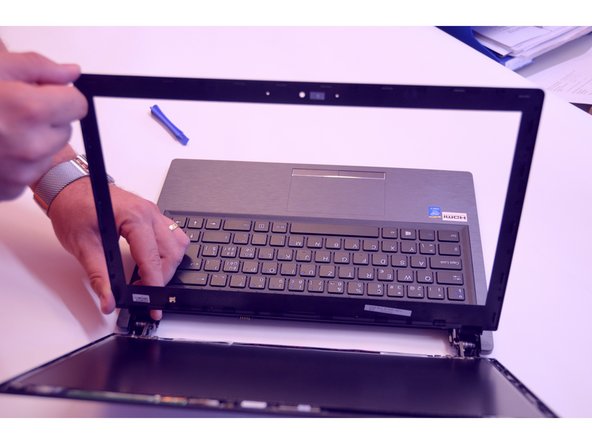
    • Free the LCD screen frame completely.

    • Locate and loosen the two upper mounting screws of the LCD screen.

    • Locate and loosen the two lower mounting screws of the LCD screen.

  4. Replace LCD screen: step 4, image 1 of 3 Replace LCD screen: step 4, image 2 of 3 Replace LCD screen: step 4, image 3 of 3
    • Carefully place the LCD screen on the keyboard.

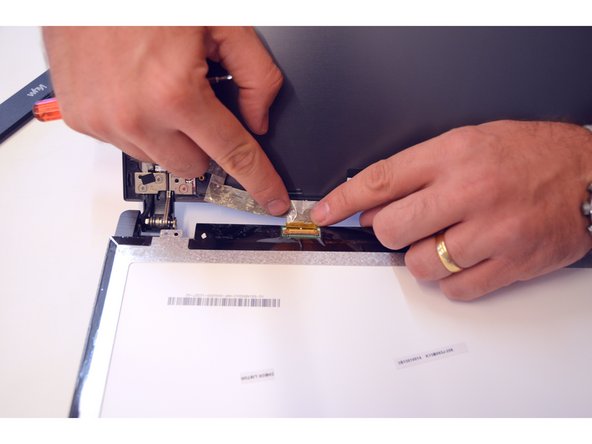
    • Locate the plug of the LCD screen.

    • Free the fixing cable.

  5. Replace LCD screen: step 5, image 1 of 2 Replace LCD screen: step 5, image 2 of 2
    • Disconnect the cable from its plug.

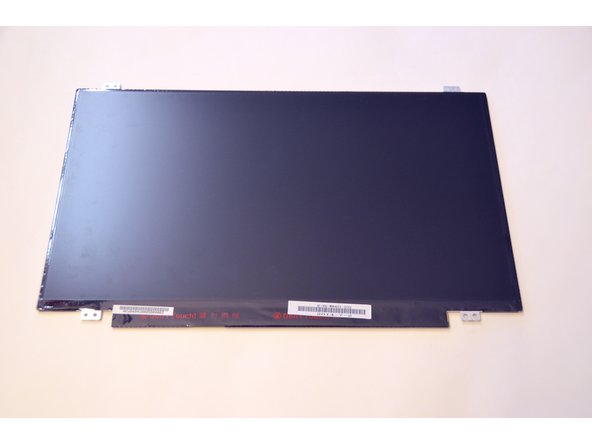
    • Then lift out the LCD screen.

Conclusion

To assemble the device again, proceed in reverse order.

Special thanks to these translators:

de en

100%

irlanda is helping us fix the world! Want to contribute?
Start translating ›

Felice Suglia

Member since: 06/15/13

31,100 Reputation

264 Guides authored

0 Comments

Add Comment

View Statistics:

Past 24 Hours: 1

Past 7 Days: 1

Past 30 Days: 1

All Time: 572