Free Shipping on Domestic Orders $75+

Kurio Touch 4S Screen Replacement

What you need

    1. Kurio Touch 4S Screen Replacement, Screen: step 1, image 1 of 1
      • Make sure to open the back cover easily using the plastic opening tool

      Ask FixBot

      Add Comment

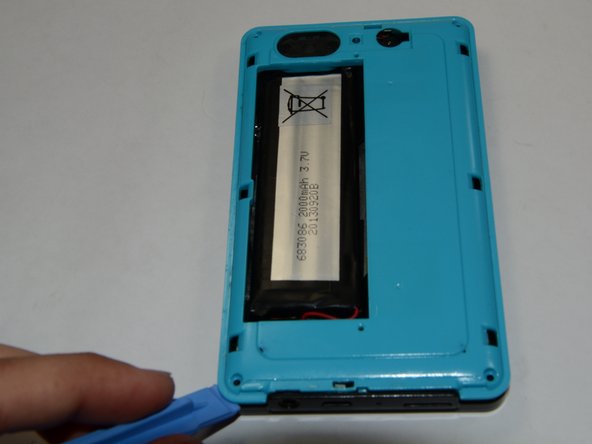
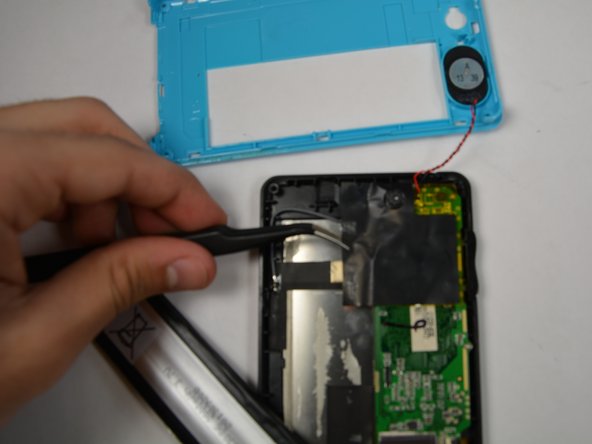
    2. Kurio Touch 4S Screen Replacement: step 2, image 1 of 3 Kurio Touch 4S Screen Replacement: step 2, image 2 of 3 Kurio Touch 4S Screen Replacement: step 2, image 3 of 3
      • Remove back cover by prying away from the Kurio.

      • The easiest place to remove the cover is from the bottom and top; try to open it from right to left sides.

      Ask FixBot

      Add Comment

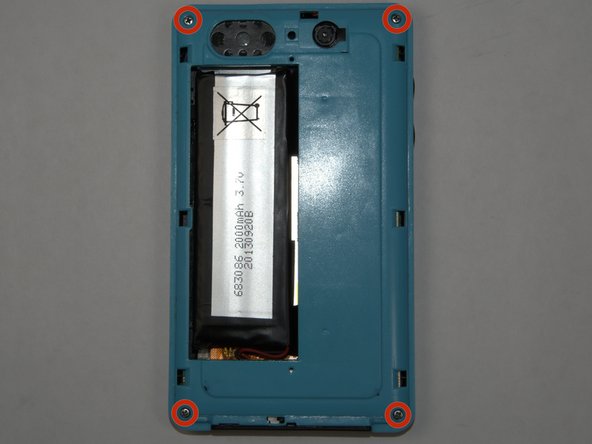
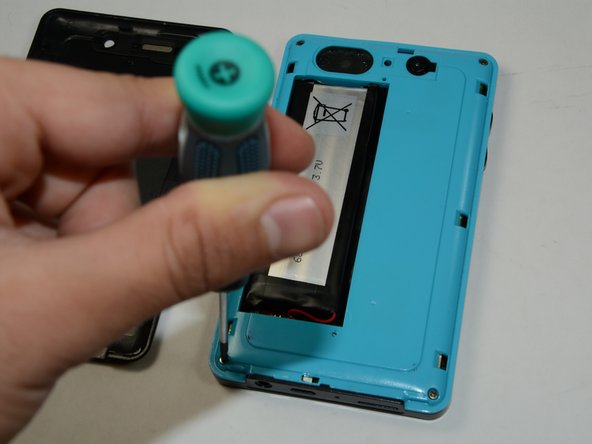
    3. Kurio Touch 4S Screen Replacement: step 3, image 1 of 2 Kurio Touch 4S Screen Replacement: step 3, image 2 of 2
      • To remove the battery, make sure the four 5mm Philips screws on each side of your device is open using the Philips#1 Screwdriver.

      Ask FixBot

      Add Comment

    4. Kurio Touch 4S Screen Replacement: step 4, image 1 of 1
      • After you remove your four 5mm Phillips screws, use your plastic opening tool to help you open the plastic cover of your device.

      • All these screws are identical so don't worry if you get them out of order.

      Ask FixBot

      Add Comment

    5. Kurio Touch 4S Screen Replacement: step 5, image 1 of 1
      • Remove the plastic cover that is covering the camera area.

      Ask FixBot

      Add Comment

    6. Kurio Touch 4S Screen Replacement: step 6, image 1 of 1
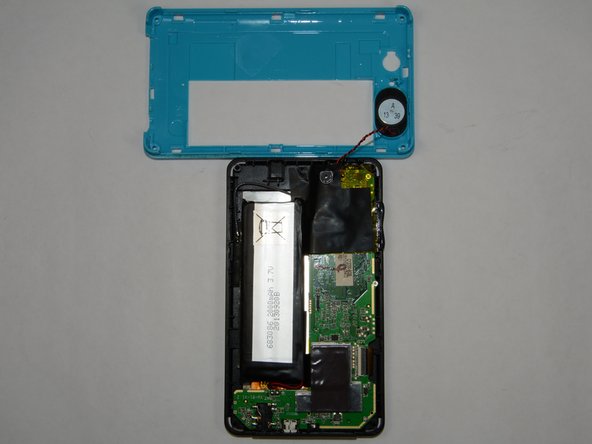
      • Separate the two halves of your Kurio Touch 4S and lay them besides each other.

      Ask FixBot

      Add Comment

    7. Kurio Touch 4S Screen Replacement: step 7, image 1 of 1
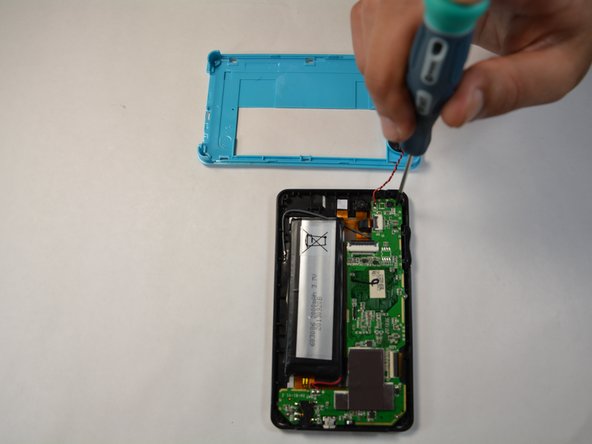
      • Use Phillips # 1 screw to open the 4 screws on the motherboard.

      • Open the screws gently and do not apply too much force as you could damage the motherboard.

      Ask FixBot

      Add Comment

    8. Kurio Touch 4S Screen Replacement: step 8, image 1 of 1
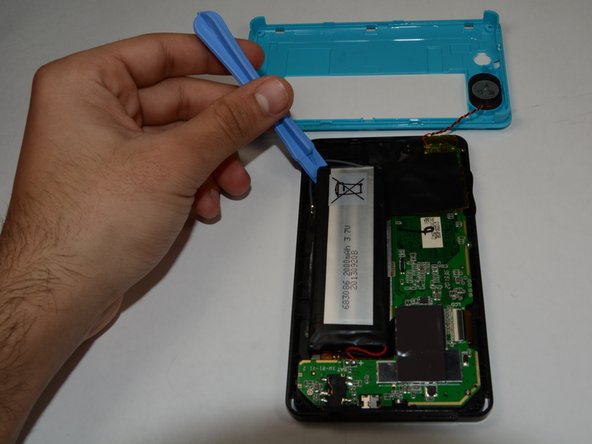
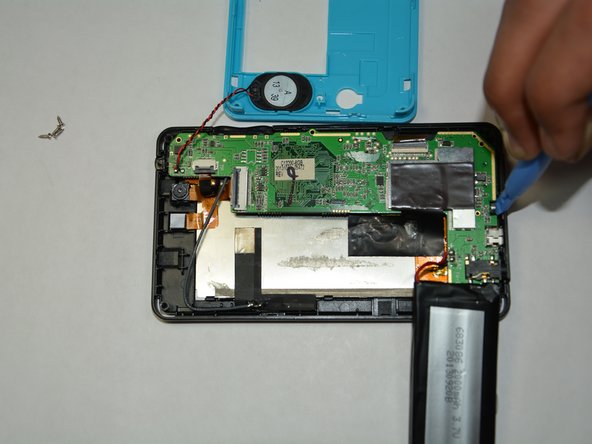
      • Use the plastic opener to remove the battery.

      Ask FixBot

      Add Comment

    9. Kurio Touch 4S Screen Replacement: step 9, image 1 of 1
      Tool used on this step:
      Tweezers
      $4.99
      Buy
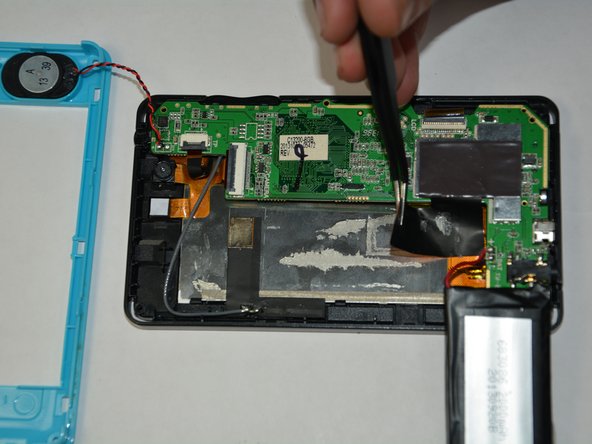
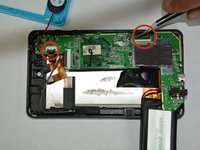
      • Use tweezers to remove the black tape that is attached to the motherboard.

      Ask FixBot

      Add Comment

    10. Kurio Touch 4S Screen Replacement: step 10, image 1 of 2 Kurio Touch 4S Screen Replacement: step 10, image 2 of 2
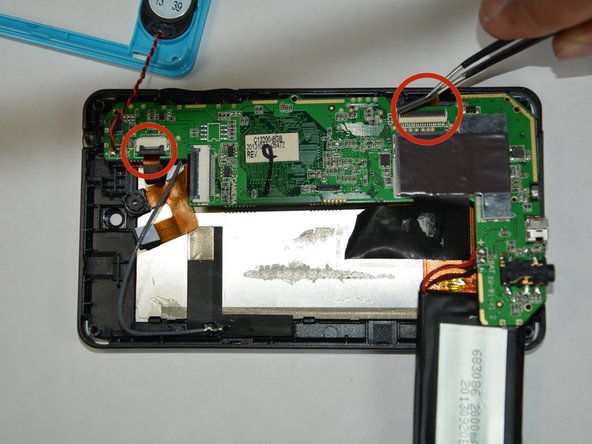
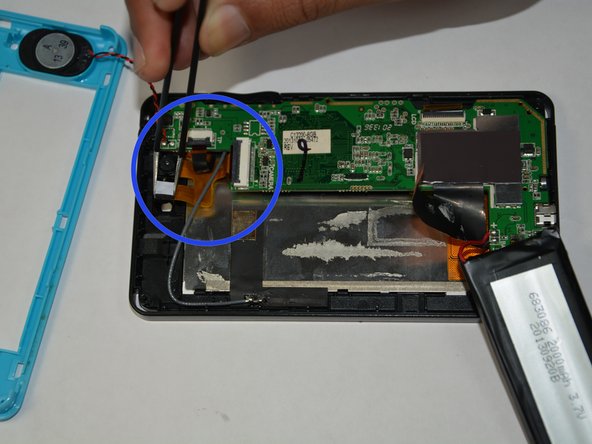
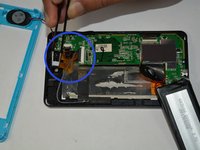
      • Detach all the wire that are connected to the motherboard.

      • Also remove the camera module and other components that are attached to the motherboard.

      • For more information on soldering Click here

      Ask FixBot

      Add Comment

    11. Kurio Touch 4S Screen Replacement: step 11, image 1 of 1
      • Remove the motherboard with the help of plastic opener.

      • Detach the power plug before you remove the motherboard.

      Ask FixBot

      Add Comment

    12. Kurio Touch 4S Screen Replacement: step 12, image 1 of 1
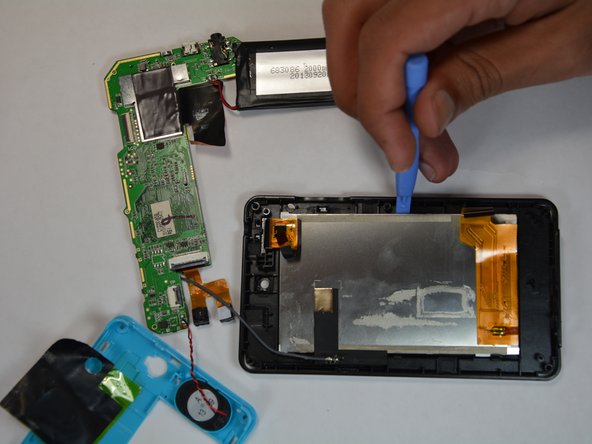
      • Use the Plastic opener to remove the screen.

      • Do not apply too much pressure as the front cover could be damaged.

      Ask FixBot

      Add Comment

    13. Kurio Touch 4S Screen Replacement: step 13, image 1 of 1
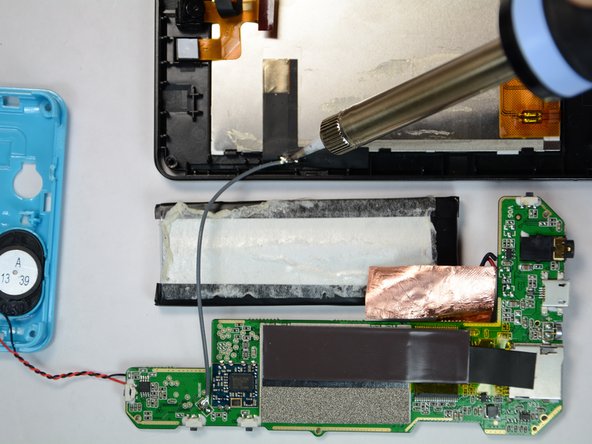
      • Use the soldering tool to remove the wire that is attached to the screen & the motherboard.

      Ask FixBot

      Add Comment

    14. Kurio Touch 4S Screen Replacement: step 14, image 1 of 1
      • Use tweezers to remove the screen from your Kurio Toich 4S.

      Ask FixBot

      Add Comment

Conclusion

To reassemble your device, follow these instructions in reverse order.

Cancel: I did not complete this guide.

3 other people completed this guide.

Ali

Member since: 01/21/15

184 Reputation

1 Guide authored

Team

USF Tampa, Team 6-5, Brown Winter 2015 Member of USF Tampa, Team 6-5, Brown Winter 2015

USFT-BROWN-W15S6G5

3 Members

10 Guides authored

0 Guide Comments

Add Comment

View Statistics:

Past 24 Hours: 0

Past 7 Days: 3

Past 30 Days: 19

All Time: 1,698