Free Shipping on Domestic Orders $75+

What you need

This teardown is not a repair guide. To repair your Krups Type309, use our service manual.

    1. Krups Type 309, Krups Type 309: step 1, image 1 of 1
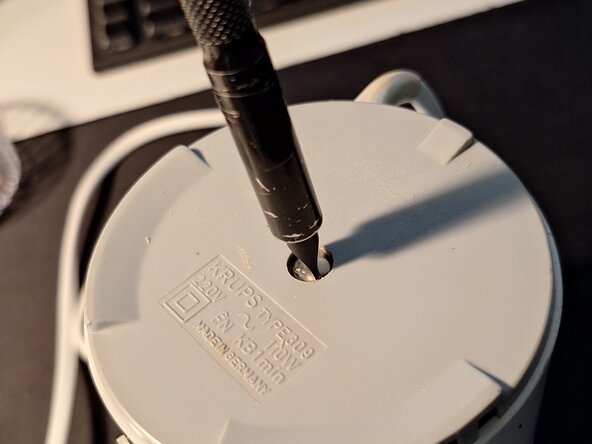
      • Remove the sticker on the bottom.

      • Release the screw under the sticker.

      • Remove the cover.

      Ask FixBot

      Add Comment

    2. Krups Type 309: step 2, image 1 of 3 Krups Type 309: step 2, image 2 of 3 Krups Type 309: step 2, image 3 of 3
      • Carefully pry the metal bracket out of its housing using a screwdriver.

      Ask FixBot

      Add Comment

    3. Krups Type 309: step 3, image 1 of 2 Krups Type 309: step 3, image 2 of 2
      • Carefully unplug the rubber bumper.

      Ask FixBot

      Add Comment

    4. Krups Type 309: step 4, image 1 of 2 Krups Type 309: step 4, image 2 of 2
      • Pull the power cable out of its routing in the housing.

      • Unscrew the short cable for the lid interlock.

      Ask FixBot

      Add Comment

    5. Krups Type 309: step 5, image 1 of 3 Krups Type 309: step 5, image 2 of 3 Krups Type 309: step 5, image 3 of 3
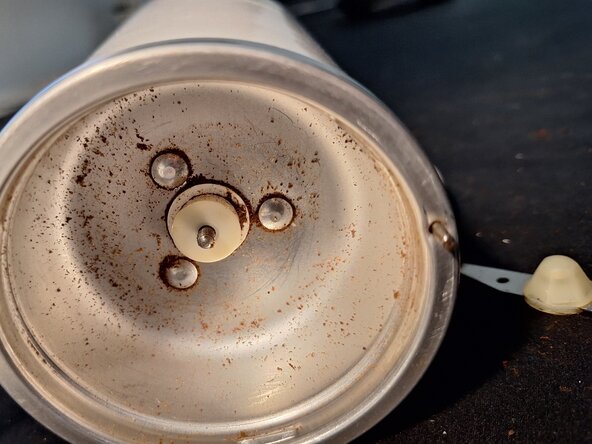
      • Carefully hold the blade in place with a pair of pliers.

      • Use a screwdriver from underneath to loosen the blade.

      • Unscrew the blade and washer by hand.

      Ask FixBot

      Add Comment

    6. Krups Type 309: step 6, image 1 of 2 Krups Type 309: step 6, image 2 of 2
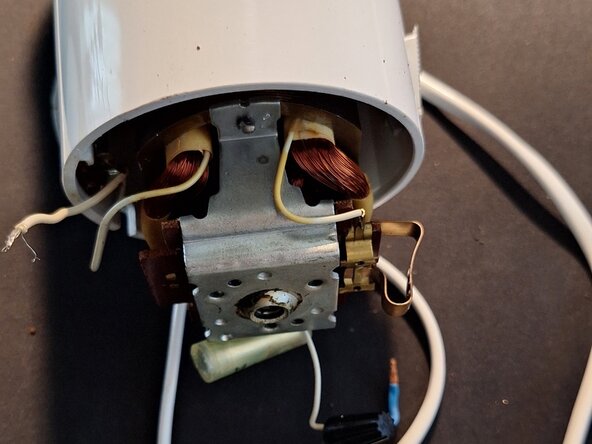
      • Carefully pull the motor out.

      • Be careful with the cables while doing so.

      Ask FixBot

      Add Comment

    7. Krups Type 309: step 7, image 1 of 1
      • Finished

      Ask FixBot

      Add Comment

Jost

Member since: 12/10/25

145 Reputation

1 Guide authored

0 Guide Comments

Add Comment

View Statistics:

Past 24 Hours: 1

Past 7 Days: 15

Past 30 Days: 55

All Time: 429