Introduction
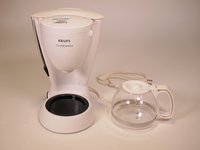
If you need to disassemble your Krups CafeExpress FMA110 for repair or spare parts, follow this disassembly guide. Repairs could include a burnt-out heating element, faulty wire connection, ripped tubing, burnt-out thermal fuses, broken temperature switch, etc.
Be sure the device is unplugged before you begin disassembly to avoid burning or electrocuting yourself, which can cause serious injury.
Steps 4 and 6 require pulling silicon tubing off of the device. The tubing can rip easily, so be careful. The opening tools can help with these steps.
What you need
-
-
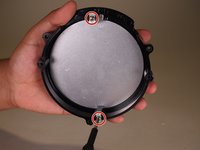
Using the Phillips #1 screwdriver, remove the four 13.8 mm screws on the bottom of the device.
-
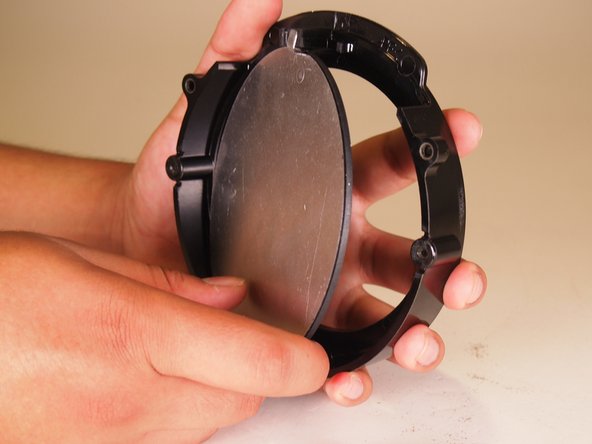
Remove the metal plate.
 Ask FixBot
-
-
-
Using the Phillips #1 screwdriver, remove the two 16.7 mm screws to release the power cable.
-
-
-
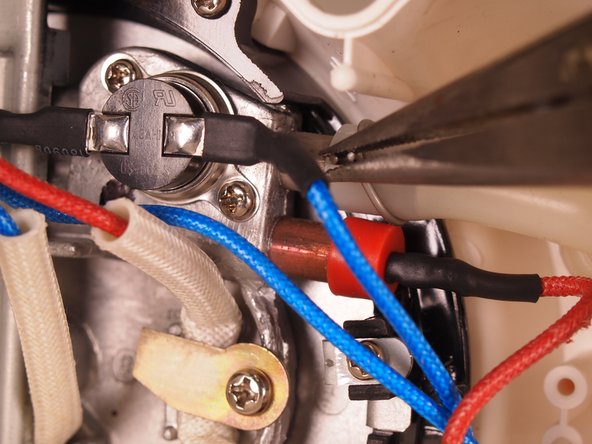
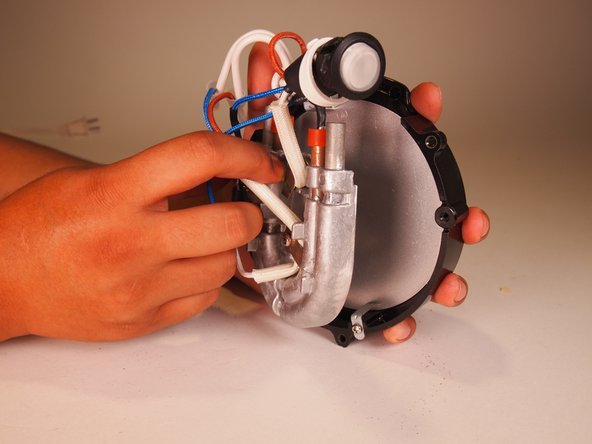
Pinch the clamps around the thinner part of the silicon tubing and slide them towards the corner of the tube.
-
-
-
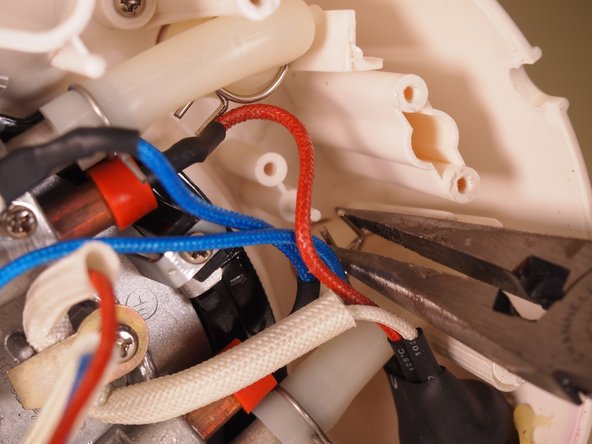
Pinch the clamps around the thicker part of the silicon tubing and slide them towards the corner of the tube.
-
-
-
-
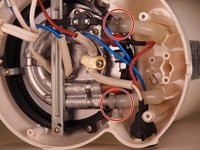
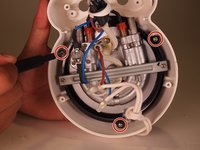
Using the Phillips #1 screwdriver, remove the three 13.8 mm screws towards the back of the base.
-
-
-
Loosen the white ring from the switch and squeeze it to slide it through the opening in the base.
-
-
-
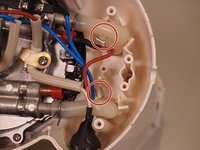
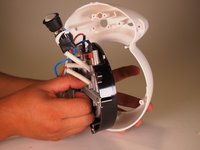
Using the Phillips #1 screwdriver, remove the three 15.8 mm screws to release the inner components from the plastic base.
-
-
-
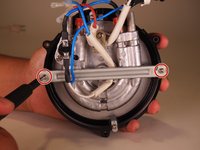
Using the Phillips #1 screwdriver, remove the two 11.5 mm screws on either side of the horizontal metal bracket.
-
-
-
Remove the horizontal bracket to separate the heating element and wires from the hot plate.
-
-
-
Using the Phillips #1 screwdriver, remove the two 7.6 mm screws and remove the thermal switch.
-
-
-
Using the Phillips #1 screwdriver, remove the two 9.9 mm screws from the hot plate.
-
Separate the hot plate from its frame.
-


To reassemble your device, follow these instructions in reverse order.

Team

Tufts University School of Engineering, Team 1-8, Bell Fall 2021 Member of Tufts University School of Engineering, Team 1-8, Bell Fall 2021
TUFTS-BELL-F21S1G8
2 Members
4 Guides authored