
Kitchen Faucet Replacement

Bongsu Kim and one other contributor
Last updated on Dec 10, 2020
Views: 2.9K
View statistics:
- Past 24 Hours:
- 7
- Past 7 Days:
- 56
- Past 30 Days:
- 262
- All Time:
- 2,854
Comments: 1
1 guide comment.
Go to guide commentsCompleted: 2 3
2 people have marked this guide "completed." Will you be next?
3 people have marked this guide "completed." Including you — great job!
Favorites: 0 1
No one has favorited (and subscribed to) this guide. Will you be the first?
1 person has favorited (and subscribed to) this guide — and that's you!
Introduction
Go to step 1 ↓Use this guide to replace a kitchen faucet (single-hole faucet and pull-down spray).
A simple problem of a kitchen faucet can be fixed by replacing a part or a couple of parts.
- A faucet that leaks from its neck.
- A broken kitchen faucet pull-out spray head.
- How to fix a leaky faucet.
- How to clean a Kitchen Aerator.
However, if the faucet has multiple problems, such as leakage, a squeaky handle, rust, or low water pressure, it might need to be replaced. If the replacement is done by a plumber, including removing an old faucet and installing a new one, it could cost at least $150, but the labor fee can be saved by replacing the faucet yourself.
What you need
Tools


-
-
-
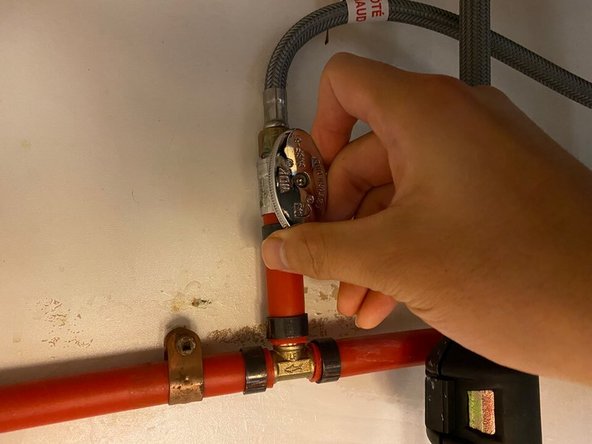
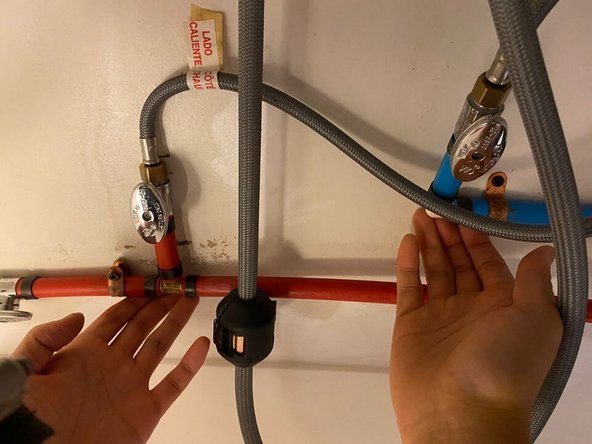
Rotate the hot and cold water valve knobs under the sink clockwise to turn off the water.
-
Turn on the faucet to relieve the pressure and any remaining water for about one minute.
 Ask FixBot
-
-
-
Place a bucket underneath the valves to catch dripping water.
-
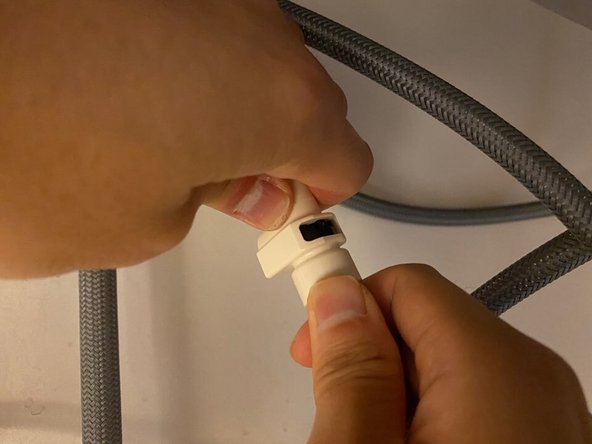
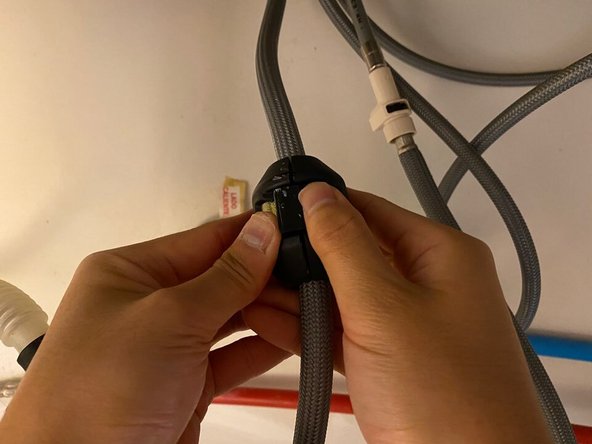
Turn the hot and cold supply line nuts clockwise until the water supply lines come out.
-
-
-
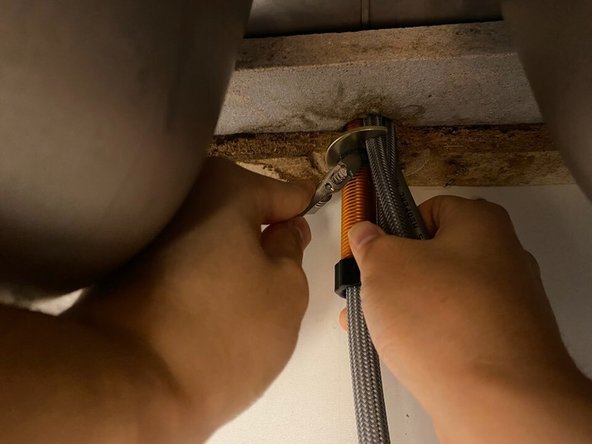
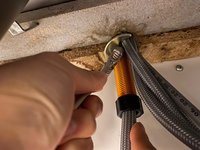
Loosen and remove the nuts underneath the sink by using an adjustable wrench.
-
Remove the mounting bracket.
-
-
-
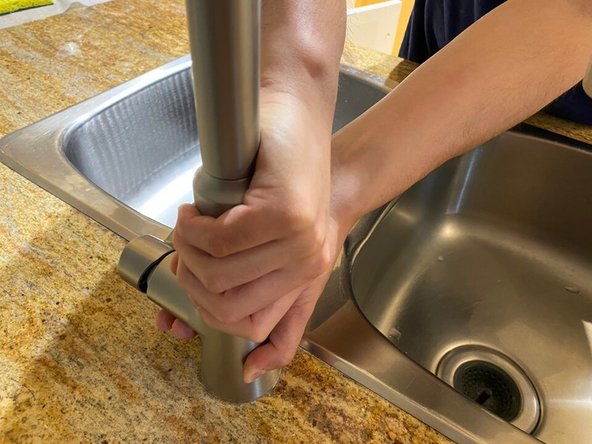
Use your hands to pull the faucet out of the sink.
-
Clean away any grime or sealant with a cleaning spray and towel.
-
-
-
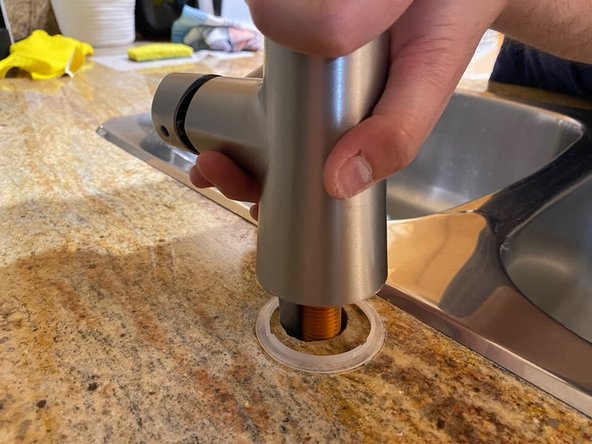
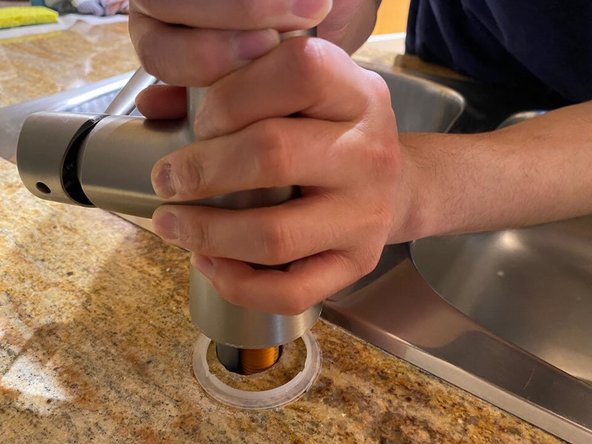
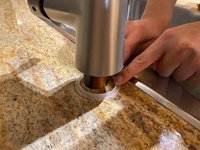
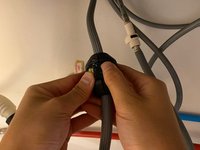
Place the trim ring on the faucet hole.
-
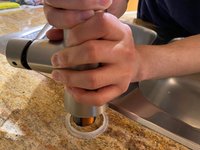
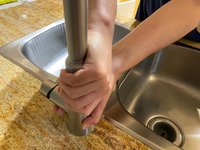
Feed the faucet into the faucet hole and position it.
-
-
-
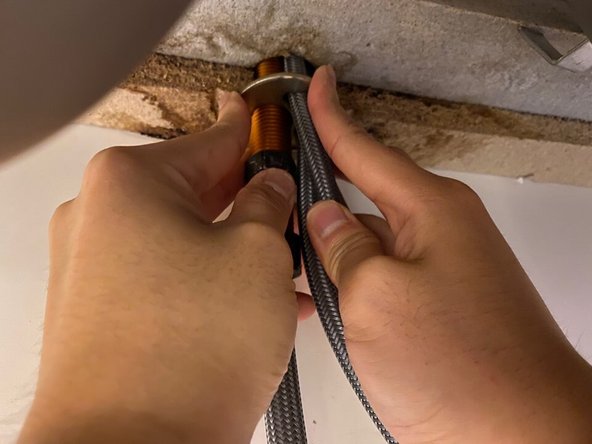
Underneath the sink, put the mounting bracket back in place, and turn the nuts to tighten them.
-
-
-
-
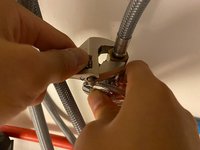
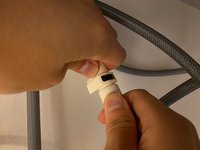
Hook the water supply lines up by turning the hot and cold supply line nuts counter clockwise.
-
-
-
Rotate the hot and cold water valve knobs counter clockwise to turn on the water under the sink.
-
Once it is all done, check if there are any leaks.
-
-









Cancel: I did not complete this guide.
2 other people completed this guide.

Team

York University, Team S3-G47, Melo-Thaiss Fall 2020 Member of York University, Team S3-G47, Melo-Thaiss Fall 2020
YORK-MELO-THAISS-F20S3G47
1 Member
12 Guides authored
1 Guide Comment
Great guide on kitchen faucet replacement! I was able to follow the steps and successfully replace my old faucet with a new one. The pictures and detailed instructions made the process much easier. Thank you for sharing this useful information!
