Introduction
My Kindle 4 had a motherboard issue and did not start even after I changed the battery. Fortunately, I found a second Kindle 4 with screen damage to salvage a working motherboard and change it.
Although removing a damaged screen from a Kindle 4 is pretty difficult, changing the motherboard proves much easier. Every single part of the device is glued, but the glue is sensitive to heat and will not be such a bother.
What you need
-
-
Follow the Screen Replacement tutorial up to Step 4
-
Open the back cover
-
Remove the front cover
-
Disconnect the battery
-
-
-
Disconnect all flex cables from the board
-
There are 4 connectors to unclip:
-
Right buttons
-
Left buttons
-
Screen
-
Battery
-
-
-
Unscrew the board from the back
-
3 Torx screws on this side
-
-
-
-
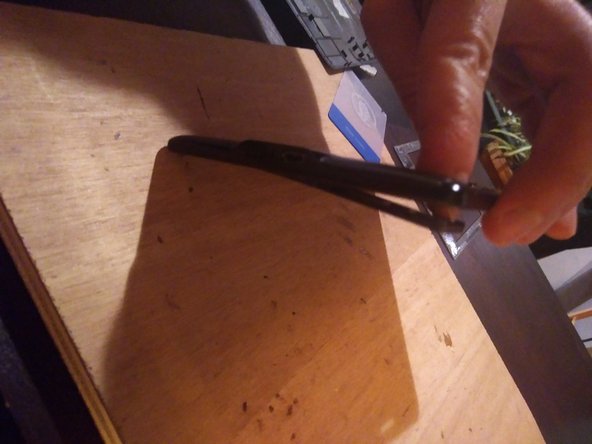
Heat the plastic piece to help unglue it
-
Turn the device and push the piece out through the casing
-
-
-
Unscrew board from the front side
-
That’s another set of 2 screws !
-
-
-
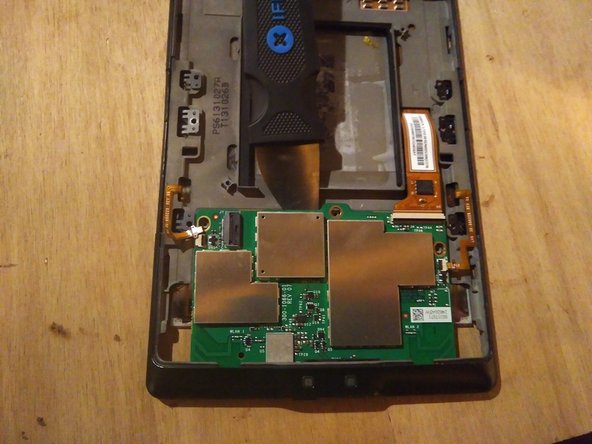
The board has no more screws left, but it is still glued to the casing
-
Use some more heat to weaken the glue
-
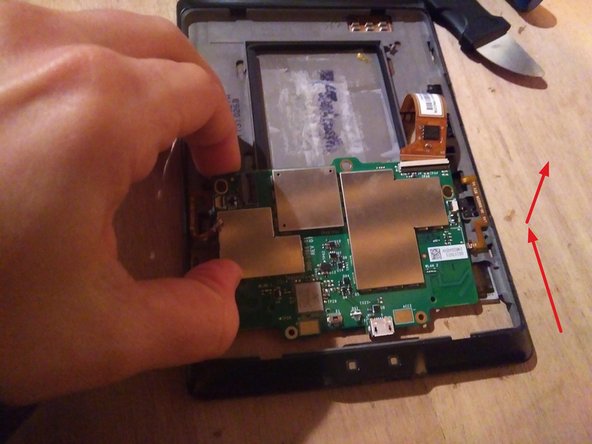
Lever the board to unglue
-
Then, remove it by sliding it out
-
-
-
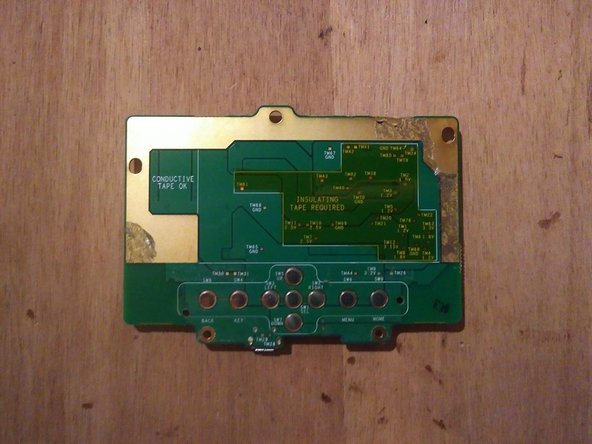
Here is what it looks like with EMC shields removed
-
Don’t try to remove the shields on your new board, they are directly soldered, and you risk damaging the whole PCB.
-
-
-
If you have another device from which you extract the new motherboard, run steps 1 to 7 again
-
Place the new motherboard
-
Before closing it back, test the device
-
Replug all connectors, connect the battery last
-
The LED should blink green upon battery reconnexion
-
Try turning the device on
-
-
-
Unplug the battery again
-
Rescrew the board
-
Replug the battery
-
Reassemble the plastic piece holding the buttons, the front cover, and the back cover
-


Amazon apparently discontinued service for this model: the service will expect double authentication, which apparently is not implemented in the Kindle firmware.
However, you can still use your Kindle 4 with USB : it is recognized as mass storage, and you can load ebooks in PDF or MOBI format in memory.
Check out the open-source software Caliber to convert your files in a vintage Kindle-friendly format.
