Introduction
To install a new keyboard into your Kindle 2 requires you to completely disassemble your device, but with this guide it should be fairly simple.
What you need
-
-
-
Lay the Kindle face down on a soft cloth to protect its screen.
-
Wedge the plastic opening tool in the small opening between the grey plastic and the metal casing.
-
Move the plastic opening tool across the opening while pressing down to separate the grey plastic from the metal casing.
-
Slide the gray plastic top piece away from the Kindle's metal casing.
-
Once the gray plastic top piece is detached from the metal back cover, remove it.
 Ask FixBot
-
-
-
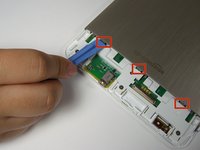
Use a Phillips #00 screwdriver to remove the two 4 mm screws from the metal casing.
-
-
-
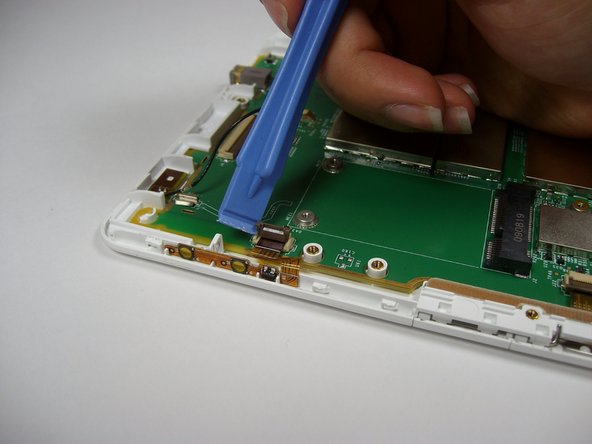
Use the plastic opening tool to push down and pry towards the metal casing to release each of the three clips that hold the metal case in place.
-
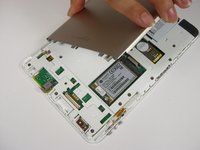
Remove the metal casing.
-
-
-
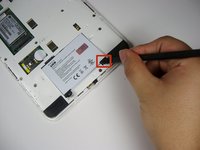
Use a Phillips #00 screwdriver to remove the two 3 mm screws that hold the battery in place.
-
-
-
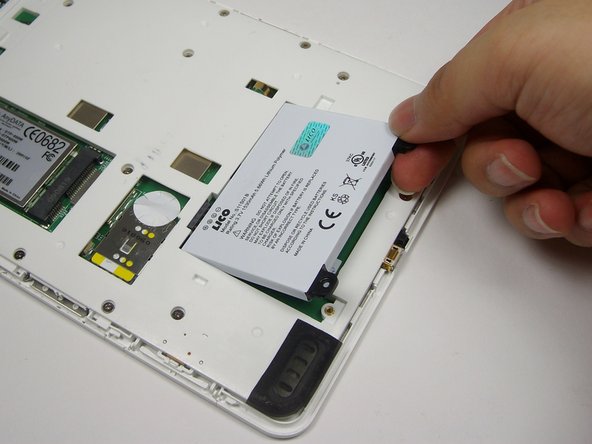
Pry upward under the black tab with the spudger to dislodge the battery.
-
Use your fingers to lift the battery out of the device.
-
-
-
-
-
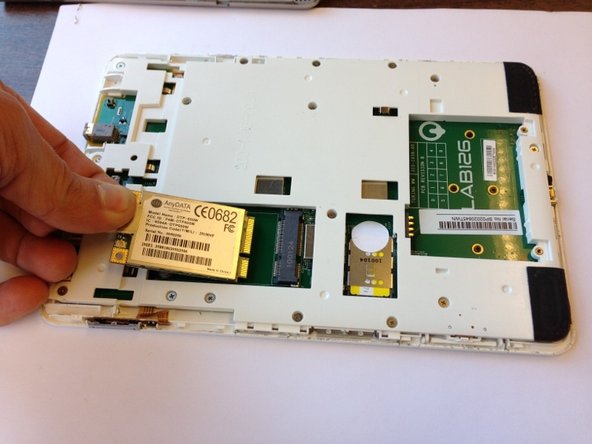
Use a Phillips #00 screwdriver to remove the two 2mm screws from the wireless card.
-
-
-
-
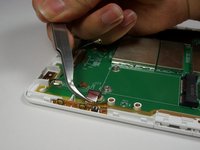
Use the plastic opening tool to wedge underneath the connection and gently pop off the wire cap.
-
-
-
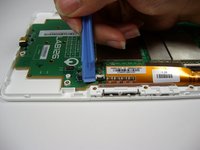
Use your fingers to lift the left end of the wireless card.
-
Pull the card out of the slot.
-
-
-
-
-
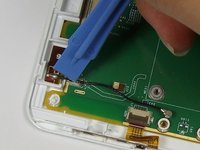
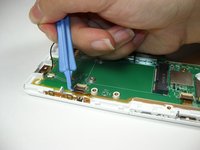
Use the plastic opening tool to push each side of the crimp away from each other. This will open the crimp holding the wire.
-
Use your fingers to lift the wire out of the crimp when there is enough separation between the sides of the crimp.
-
-
Tool used on this step:Tweezers$4.99
-
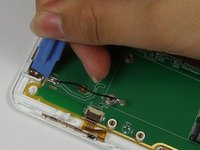
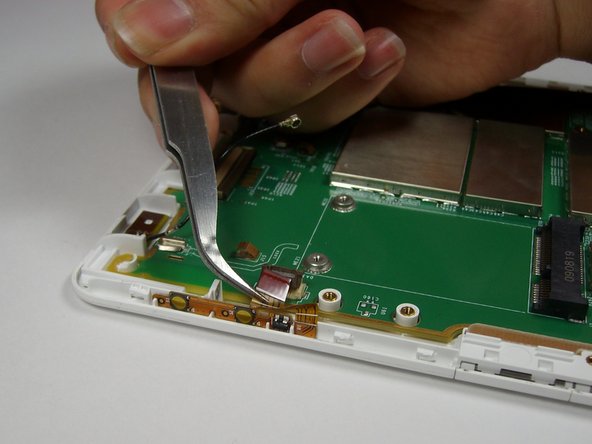
Wedge the opening tool underneath the plastic ribbon and gently pull up to lift the brown connector flap.
-
Squeeze the plastic ribbon gently with the tweezers and pull away from the connector to remove it.
-
-
-
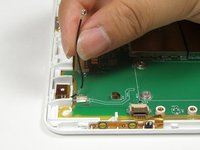
Locate the next brown connector three inches to the right of the previous connector and repeat Step 10 to remove the plastic ribbon.
-
-
-
Rotate the device 180 degrees and locate a smaller brown connector on the left side of the device.
-
Repeat Step 10.
-
-
-
Push your finger down on the last plastic ribbon.
-
Slide your finger away from the connector to remove the last ribbon.
-
-
-
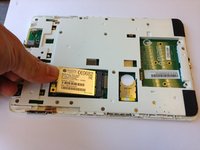
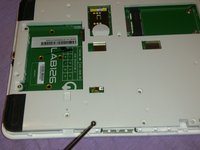
Use a Phillips #00 screwdriver to remove the four 4 mm screws from the motherboard located around the LAB126 logo.
-
-
-
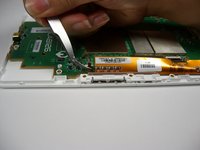
Grab the bottom corner of the motherboard and safely remove it from the Kindle.
-
-
-
-
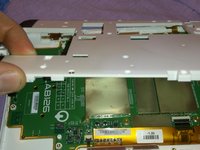
Grab the bottom left corner of the keyboard.
-
Peel the keyboard off the device.
-
-


To reassemble your device, follow these instructions in reverse order.
Cancel: I did not complete this guide.
One other person completed this guide.
Team

Cal Poly, Team 12-32, Amido Spring 2013 Member of Cal Poly, Team 12-32, Amido Spring 2013
CPSU-AMIDO-S13S12G32
4 Members
14 Guides authored