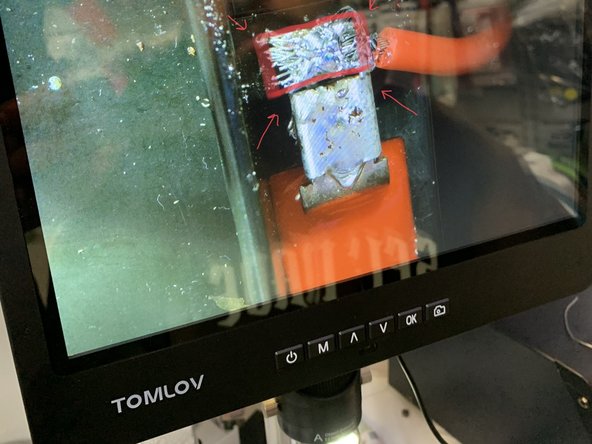
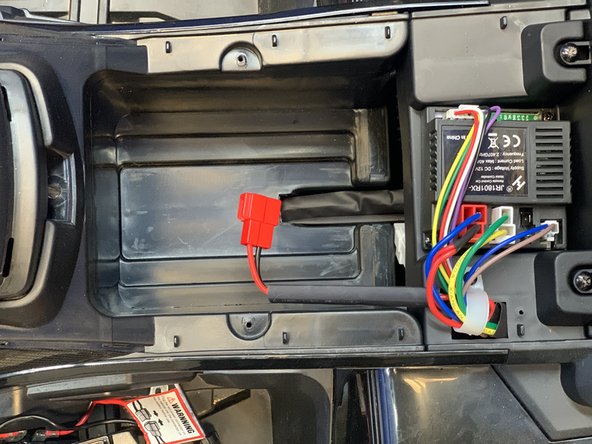
Kid Motorz Xtreme Quad 12V Vehicle Battery Repair

What you need

  1. Kid Motorz Xtreme Quad 12V Vehicle Battery Repair, Kid Motorz Xtreme Quad 12V Vehicle Battery Repair: step 1, image 1 of 1
    • Remove the screw at the back of the seat.

    • Remove the seat from the device.

  2. Kid Motorz Xtreme Quad 12V Vehicle Battery Repair: step 2, image 1 of 1
    • Remove the two screws along the bracket.

    • Remove the bracket.

  3. Kid Motorz Xtreme Quad 12V Vehicle Battery Repair: step 3, image 1 of 1
    • Disconnect battery by gently pushing the tabs inwards and carefully unplugging it.

  4. Kid Motorz Xtreme Quad 12V Vehicle Battery Repair: step 4, image 1 of 2 Kid Motorz Xtreme Quad 12V Vehicle Battery Repair: step 4, image 2 of 2
    • Remove the battery terminals and the battery.

  5. Kid Motorz Xtreme Quad 12V Vehicle Battery Repair: step 5, image 1 of 1
    • Put safety gloves on before beginning to solder.

    • Take your solder and place it carefully on the terminal points of the battery (negative and positive).

  6. Kid Motorz Xtreme Quad 12V Vehicle Battery Repair: step 6, image 1 of 1
    • Apply heat to the solder.

  7. Kid Motorz Xtreme Quad 12V Vehicle Battery Repair: step 7, image 1 of 2 Kid Motorz Xtreme Quad 12V Vehicle Battery Repair: step 7, image 2 of 2
    • Position the wire onto the end piece and apply heat to the solder.

  8. Kid Motorz Xtreme Quad 12V Vehicle Battery Repair: step 8, image 1 of 2 Kid Motorz Xtreme Quad 12V Vehicle Battery Repair: step 8, image 2 of 2
    • Put the battery back into its compartment.

    • Plug the battery back in.

  9. Kid Motorz Xtreme Quad 12V Vehicle Battery Repair: step 9, image 1 of 1
    • Place the bracket back into its slot.

    • Screw the bracket screws back into place.

  10. Kid Motorz Xtreme Quad 12V Vehicle Battery Repair: step 10, image 1 of 1
    • Place the seat back onto the device.

    • Screw the seat screw back into place.

  11. Kid Motorz Xtreme Quad 12V Vehicle Battery Repair: step 11, image 1 of 1
    • Congratulations you are now ready to ride again!

Conclusion

The goal of this guide is to repair a battery terminal through solder and after completing the guide you should be able to apply what you learned to other projects and similar electronics

One other person completed this guide.

Yanal

Member since: 02/20/23

243 Reputation

1 Guide authored

0 Comments

Add Comment

View Statistics:

Past 24 Hours: 0

Past 7 Days: 2

Past 30 Days: 16

All Time: 135