
Keyboard replacement

Archived Guide
This guide is retained solely for historical purposes. Use the updated version of the guide to perform your repair.

What you need

  1. Keyboard replacement, Battery: step 1, image 1 of 3 Keyboard replacement, Battery: step 1, image 2 of 3 Keyboard replacement, Battery: step 1, image 3 of 3
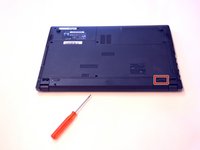
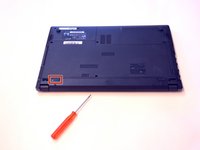
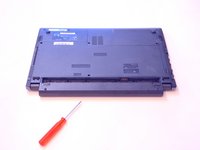
    • Open the latch on the right side that secures the battery in place.

    • Open the latch on the left side that secures the battery in place.

    • Now remove the battery.

  2. Keyboard replacement, Keyboard: step 2, image 1 of 3 Keyboard replacement, Keyboard: step 2, image 2 of 3 Keyboard replacement, Keyboard: step 2, image 3 of 3
    • Gently press on the first clips to remove the cover strip with the ON / OFF button.

    • Gently press on the second clips to remove the cover strip with the ON / OFF button.

    • And so on.

  3. Keyboard replacement: step 3, image 1 of 3 Keyboard replacement: step 3, image 2 of 3 Keyboard replacement: step 3, image 3 of 3
    • Then flip the laptop over and free the cover strip.

    • The four keyboard fixing screws are now visible.

    • Now loosen these fixing screws.

  4. Keyboard replacement: step 4, image 1 of 3 Keyboard replacement: step 4, image 2 of 3 Keyboard replacement: step 4, image 3 of 3
    • Now release the keyboard slowly.

    • Now turn them over.

    • Now release the keyboard cable.

  5. Keyboard replacement: step 5, image 1 of 1
    • Once the plug cable is disconnected, carefully lift the keyboard out.

Conclusion

To put the device back together follow the steps in reverse order.

Special thanks to these translators:

de en

100%

These translators are helping us fix the world! Want to contribute?
Start translating ›

Felice Suglia

Member since: 06/15/13

31,100 Reputation

264 Guides authored

0 Comments

Add Comment

View Statistics:

Past 24 Hours: 1

Past 7 Days: 7

Past 30 Days: 10

All Time: 223