Free Shipping on Domestic Orders $75+

Keurig K40 Open/Close Sensor Replacement

What you need

    1. Keurig K40 Open/Close Sensor Replacement, Top Water Pump: step 1, image 1 of 1
      • Begin by removing the top cover from the device.

      • Remove the cover by gently rocking it back and forth with an emphasis on lowering the left side underneath an internal peg.

      Ask FixBot

      Add Comment

    2. Keurig K40 Open/Close Sensor Replacement: step 2, image 1 of 1
      • Unscrew both 1.5mm screws located on the water pump.

      Ask FixBot

      Add Comment

    3. Keurig K40 Open/Close Sensor Replacement: step 3, image 1 of 2 Keurig K40 Open/Close Sensor Replacement: step 3, image 2 of 2
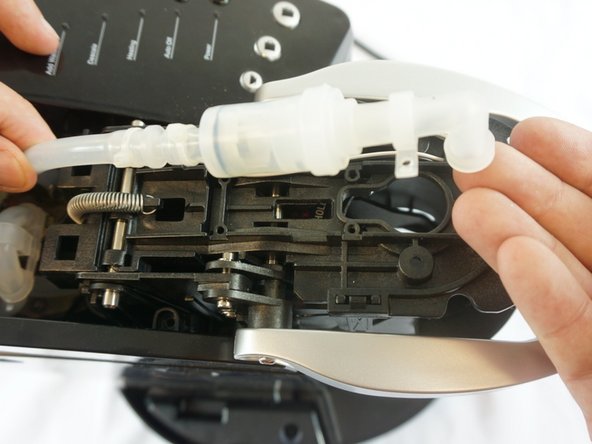
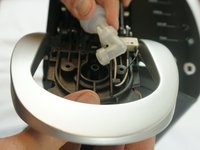
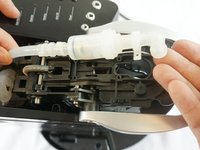
      • Keeping one hand firmly placed on the device, tug upwards on the water pump until it is separated from the device.

      • The water pump and pipe should now be loose and easy to move as shown.

      Ask FixBot

      Add Comment

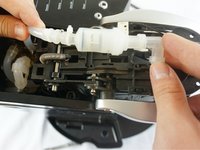
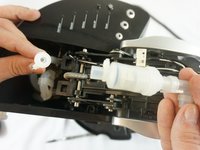
    4. Keurig K40 Open/Close Sensor Replacement: step 4, image 1 of 2 Keurig K40 Open/Close Sensor Replacement: step 4, image 2 of 2
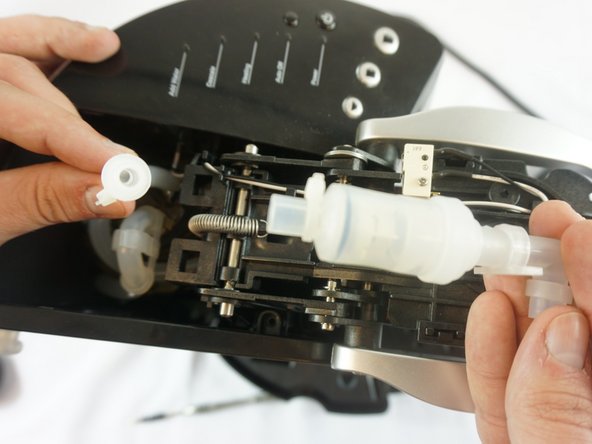
      • Pull on the point where the pipe meets the water pump.

      • The pipe will come loose and the water filter will be free and ready to be replaced.

      Ask FixBot

      Add Comment

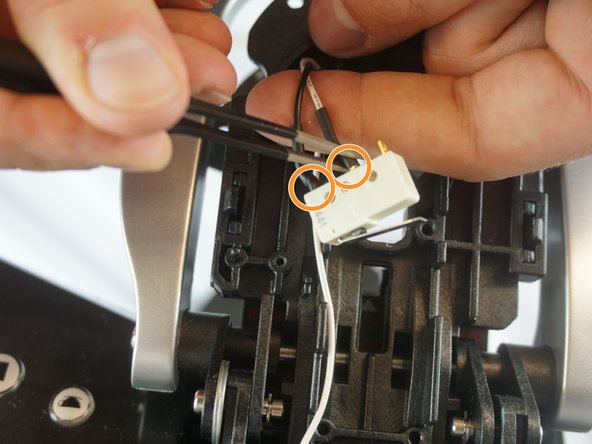
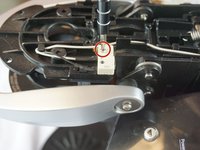
    1. Keurig K40 Open/Close Sensor Replacement, Open/Closed Sensor: step 5, image 1 of 2 Keurig K40 Open/Close Sensor Replacement, Open/Closed Sensor: step 5, image 2 of 2
      • Using a #2 Philips head screwdriver remove the 1.2mm screw holding the sensor in place.

      • Locate where the connections are soldered to the sensor

      Ask FixBot

      Add Comment

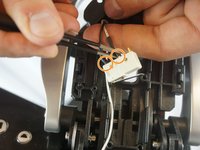
    2. Keurig K40 Open/Close Sensor Replacement: step 6, image 1 of 1
      • Melt the solder that is connected to the sensor.

      • Be careful to avoid any rubber and try to only contact the metal making the connection.

      Ask FixBot

      Add Comment

    3. Keurig K40 Open/Close Sensor Replacement: step 7, image 1 of 1
      • Put the replacement sensor back on the post that holds it and begin to solder the two metal connections back to the sensor.

      • Be careful not to touch the end of the soldering iron.

      Ask FixBot

      Add Comment

Conclusion

To reassemble your device, follow these instructions in reverse order.

Cancel: I did not complete this guide.

One other person completed this guide.

jonathan

Member since: 02/08/16

816 Reputation

2 Guides authored

Team

USF Tampa, Team 6-1, Eyestone Spring 2016 Member of USF Tampa, Team 6-1, Eyestone Spring 2016

USFT-EYESTONE-S16S6G1

3 Members

15 Guides authored

1 Guide Comment

Where can I get the open/closed sensor? I called Keurig and they told me they don’t handle them.

John Fictum - Reply Share

Add Comment

View Statistics:

Past 24 Hours: 1

Past 7 Days: 10

Past 30 Days: 45

All Time: 4,572