Replace Kärcher RC3000 brush motor. replacement

  1. Replace Kärcher RC3000 brush motor. replacement, Replace brush motor.: step 1, image 1 of 1
    • Remove both batteries.

    • Tools: Wide slotted screwdriver or better 20 Torx.

  2. Replace Kärcher RC3000 brush motor. replacement: step 2, image 1 of 1
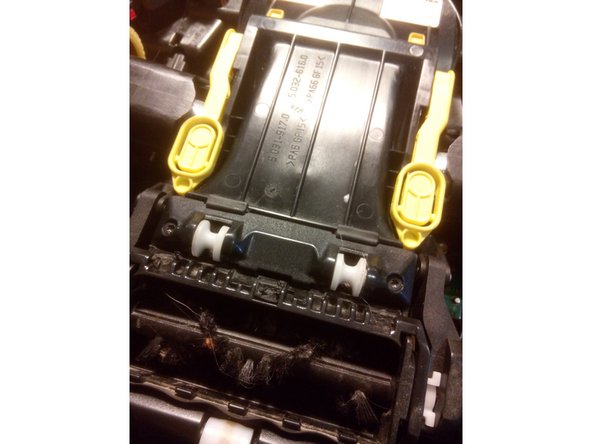
    • Remove protective rubber collision protection and cover.

  3. Replace Kärcher RC3000 brush motor. replacement: step 3, image 1 of 2 Replace Kärcher RC3000 brush motor. replacement: step 3, image 2 of 2
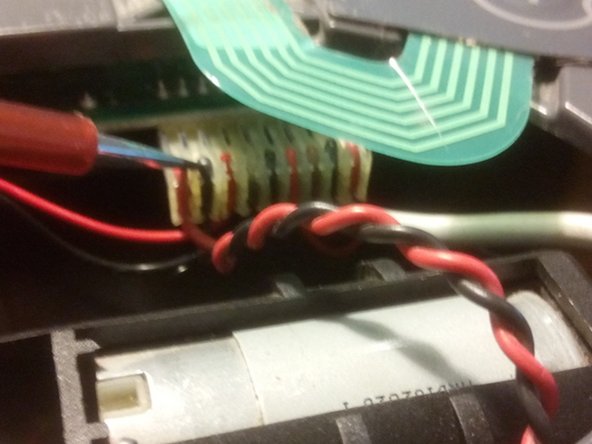
    • Unplug the on/off switch.

    • Unplug the connector for the charging contacts.

  4. Replace Kärcher RC3000 brush motor. replacement: step 4, image 1 of 3 Replace Kärcher RC3000 brush motor. replacement: step 4, image 2 of 3 Replace Kärcher RC3000 brush motor. replacement: step 4, image 3 of 3
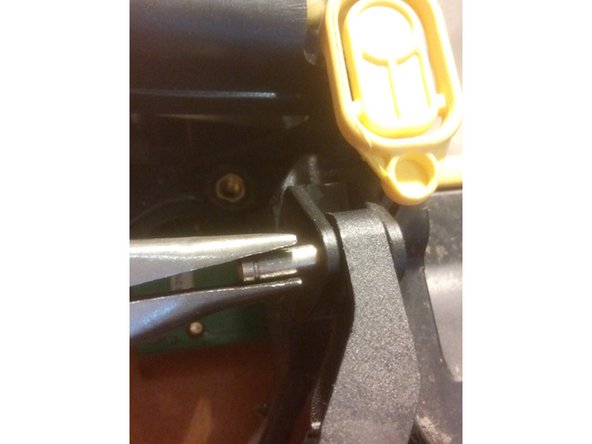
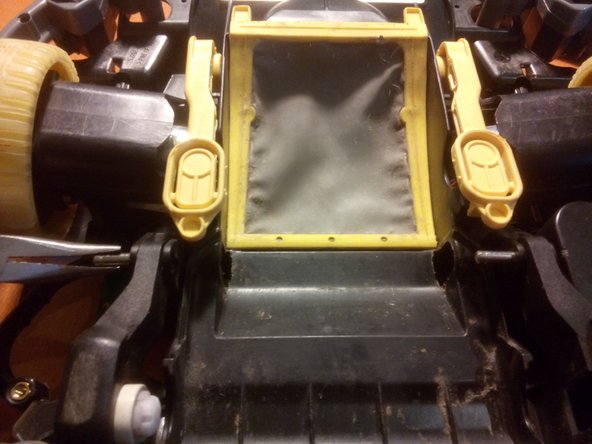
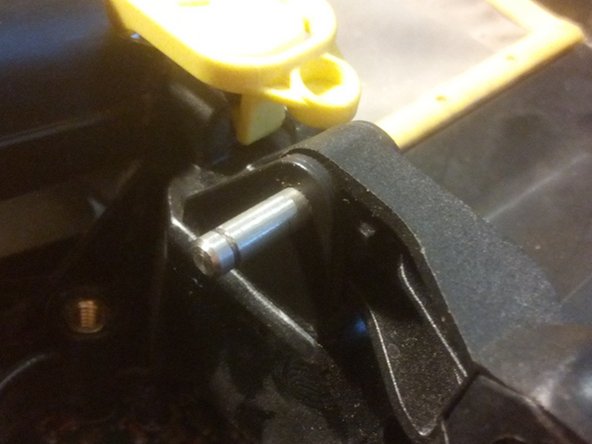
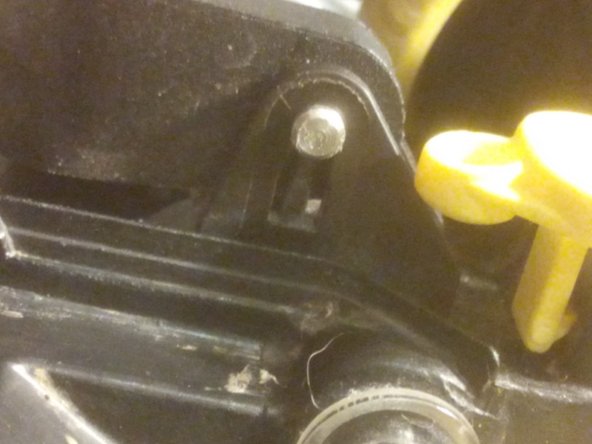
    • remove pins. Caution, risk of injury for the inexperienced.

  5. Replace Kärcher RC3000 brush motor. replacement: step 5, image 1 of 1
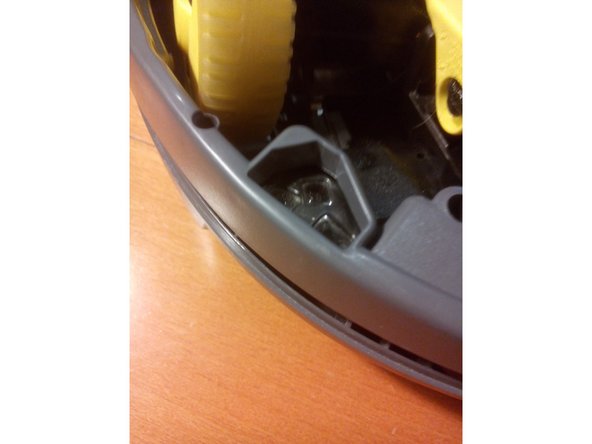
    • Detach outer upper case (do not remove yet!). To do this, loosen 4 screws. With slotted screwdriver or 8 Torx.

  6. Replace Kärcher RC3000 brush motor. replacement: step 6, image 1 of 1
    • rotate device. Hold both frames. Be careful, the screws will fall out. 4 left?

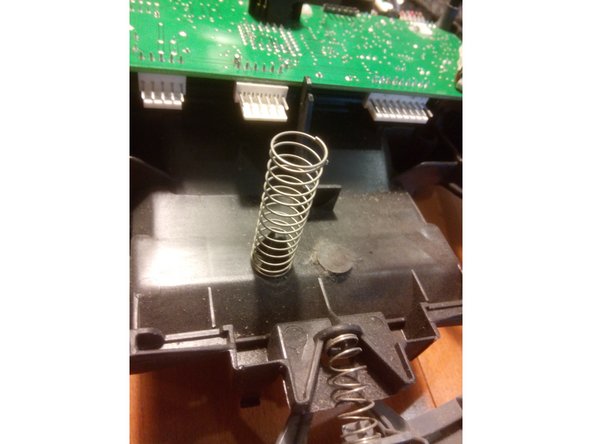
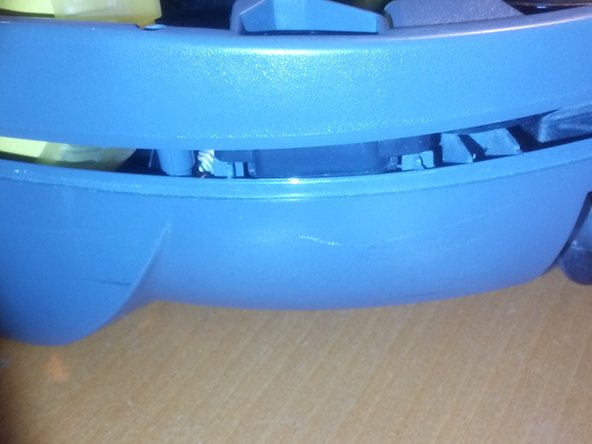
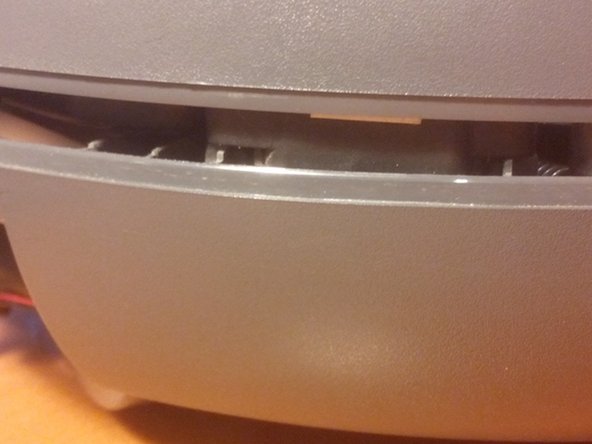
    • Now carefully remove the upper cover without pressing the lower part down. Then the springs remain mounted!

  7. Replace Kärcher RC3000 brush motor. replacement: step 7, image 1 of 2 Replace Kärcher RC3000 brush motor. replacement: step 7, image 2 of 2
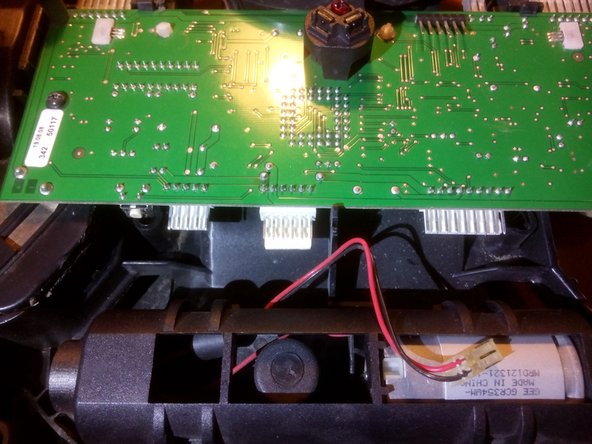
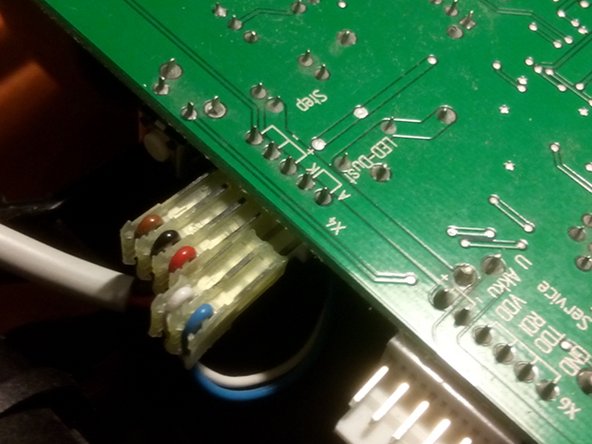
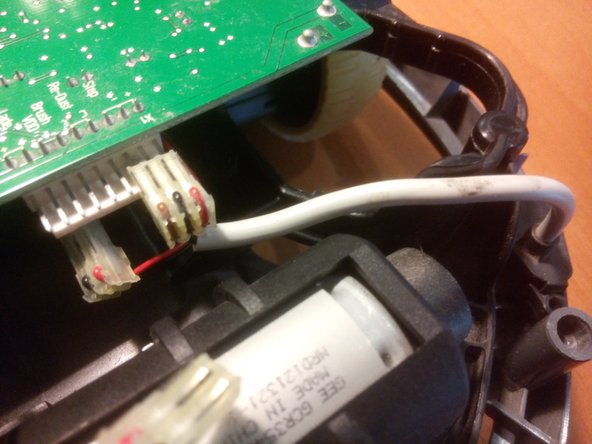
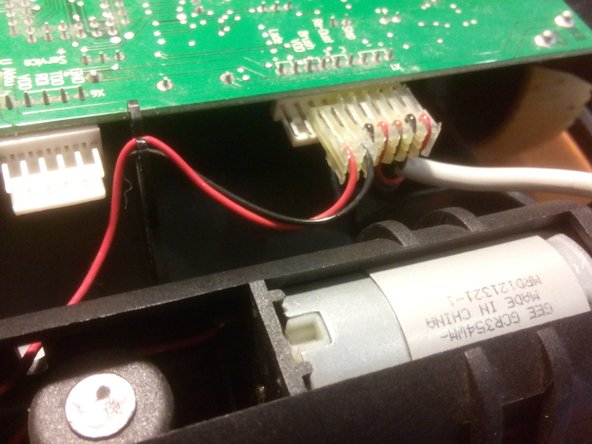
    • Disconnect the brush motor connector.

    • ..and the others on the site too.

  8. Replace Kärcher RC3000 brush motor. replacement: step 8, image 1 of 2 Replace Kärcher RC3000 brush motor. replacement: step 8, image 2 of 2
    • Remove brush motor.

    • Congratulations, mountain party

  9. Replace Kärcher RC3000 brush motor. replacement: step 9, image 1 of 1
    • Install new brush motor.

  10. Replace Kärcher RC3000 brush motor. replacement: step 10, image 1 of 3 Replace Kärcher RC3000 brush motor. replacement: step 10, image 2 of 3 Replace Kärcher RC3000 brush motor. replacement: step 10, image 3 of 3
    • plug in.

  11. Replace Kärcher RC3000 brush motor. replacement: step 11, image 1 of 3 Replace Kärcher RC3000 brush motor. replacement: step 11, image 2 of 3 Replace Kärcher RC3000 brush motor. replacement: step 11, image 3 of 3
    • ...put on more plugs.

  12. Replace Kärcher RC3000 brush motor. replacement: step 12, image 1 of 3 Replace Kärcher RC3000 brush motor. replacement: step 12, image 2 of 3 Replace Kärcher RC3000 brush motor. replacement: step 12, image 3 of 3
    • Check the sensors for correct seating

    • Put the top lid on. Make sure that the cover is assembled without using force!

    • rotate device. Hold the two frame parts together well.

    • Do the sensors sit well in the frame?

  13. Replace Kärcher RC3000 brush motor. replacement: step 13, image 1 of 2 Replace Kärcher RC3000 brush motor. replacement: step 13, image 2 of 2
    • The pins that must hold the spring must dip into the opposite frame part.

    • Only then can the frame be screwed on on this side.

    • The same on the other side.

    • Also install the remaining two screws. When tightening, ensure that the frames are evenly spaced apart.

  14. Replace Kärcher RC3000 brush motor. replacement: step 14, image 1 of 2 Replace Kärcher RC3000 brush motor. replacement: step 14, image 2 of 2
    • Reinsert the pins for the brush from the correct side.

  15. Replace Kärcher RC3000 brush motor. replacement: step 15, image 1 of 2 Replace Kärcher RC3000 brush motor. replacement: step 15, image 2 of 2
    • Insert pins to the end.

  16. Replace Kärcher RC3000 brush motor. replacement: step 16, image 1 of 2 Replace Kärcher RC3000 brush motor. replacement: step 16, image 2 of 2
    • Install brush

    • attach the cover

    • rotate device

  17. Replace Kärcher RC3000 brush motor. replacement: step 17, image 1 of 2 Replace Kärcher RC3000 brush motor. replacement: step 17, image 2 of 2
    • Plug in the connector for the charging contacts

    • Plug for the on/off switch..

  18. Replace Kärcher RC3000 brush motor. replacement: step 18, image 1 of 2 Replace Kärcher RC3000 brush motor. replacement: step 18, image 2 of 2
    • Mount the yellow cover

    • Mount the bumper

    • Install batteries

    • Testing

Conclusion

To reassemble your device, follow these instructions in reverse order.

Special thanks to these translators:

de en

100%

HelloMacOS is helping us fix the world! Want to contribute?
Start translating ›

Michael Kappich

Member since: 12/11/16

101 Reputation

1 Guide authored

One Comment

Danke - hat super geklappt! Vorsicht bei den weißen, dünnen Plastikstiften die den Bürstenmotor vorne noch begrenzen - brechen gerne ab.

thenotoriousflow - Reply

Add Comment

View Statistics:

Past 24 Hours: 1

Past 7 Days: 3

Past 30 Days: 13

All Time: 905