Introduction
This guide will go over a fix for an overheating screen on a June smart oven. My model is a 2nd generation so yours may vary slightly.
What you need
-
-
-
Theres one large black screw on each side of the handle. Set the handle aside for now.
 Ask FixBot
-
-
-
Place these aside in a safe place, they will easily fall out while you continue the disassembly.
-
-
-
There are 5 silver phillips screws holding in the base. The one in the middle is quite deep, you will need a longer screwdriver to reach that one.
-
All of these are the same size, they are also the same size as other silver screws throughout the guide.
-
-
-
The white and black wires essentially just slot onto pegs. Get a good grip on the side to pull them free.
-
The green cable is screwed into the chassis. Should be the same sized screw as all the ones in the base.
-
-
-
The 2 blue connectors are for the wifi antenna, gently lift them with a spudger.
-
The green connector can be a bit difficult to remove. Press down on the latch on top with your finger and gently pry with a spudger from each side. Do not pull on the wires, they are quite thin.
-
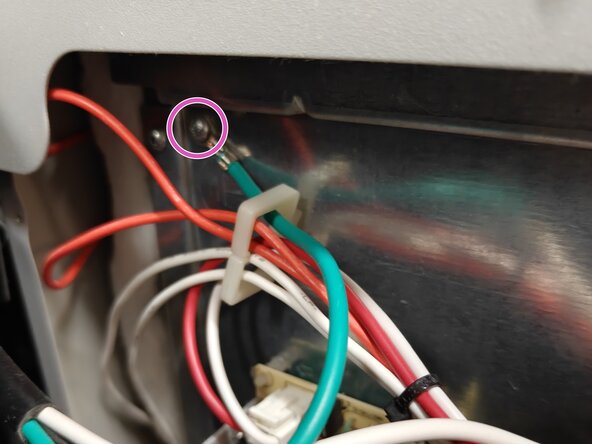
The orange is another ground wire with the same sized screw as the case screws.
-
-
-
-
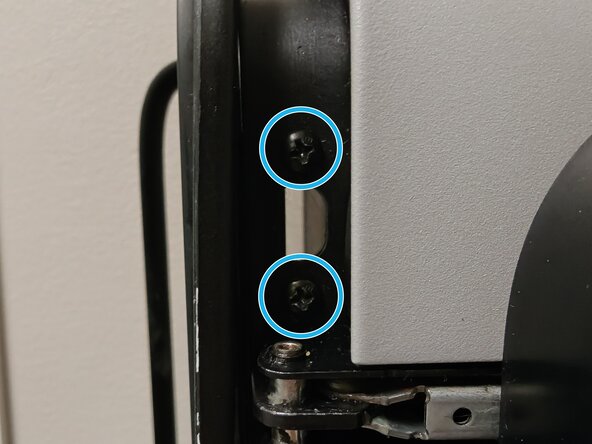
2 sets of 2 screws by each hinge. These have rounded heads, make sure to separate them from the screws you remove in step 7.
-
-
-
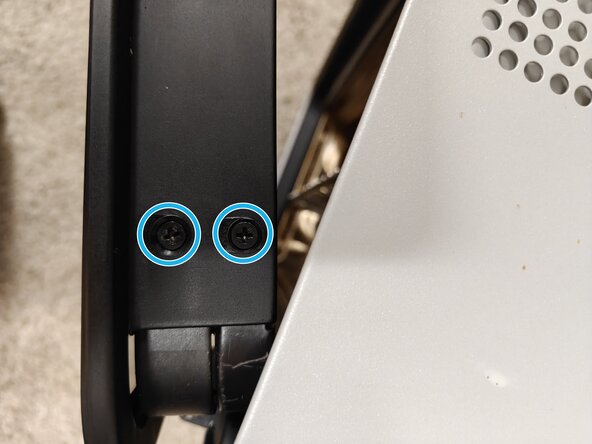
2 sets of 2 screws each side. I believe they are the same length but make sure just in case. These have flat tops, separate from the round topped screws from step 6.
-
Once these are removed you should be able to bend the hinge slightly and remove the full front glass & screen assembly. Make sure the cables for the screen dont snag on anything while you do this.
-
-
-
You should now be able to remove the bottom bracket holding the 2 sheets of glass in. You may need to gentle wiggle it to get it loose.
-
This is a great time to clean the two glass panels.
-
-
-
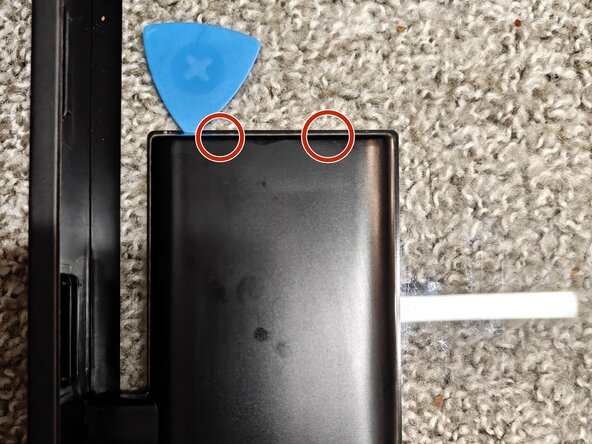
There are 2 clips on the top and bottom, located roughly where circled. Use a spudger or pick to release them.
-
-
-
Remove the connector using the same technique you did for the green connector in step 5.
-
-
-
Use a spudger to gently lift the locks on both connectors then remove the ribbon.
-
-
-
The daughter board is held in by 4 clips, press back the clips gently one side at a time to move the daughter board out of the way.
-
-
-
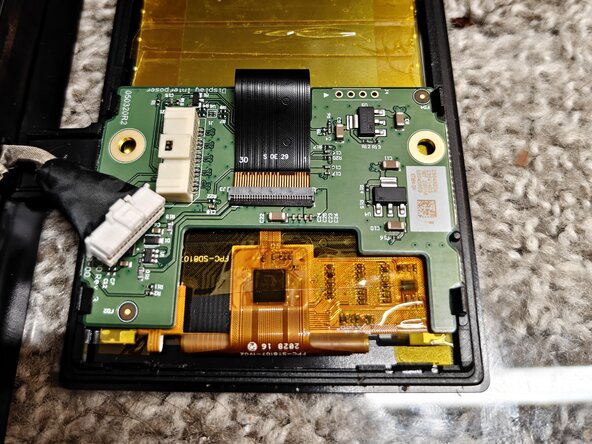
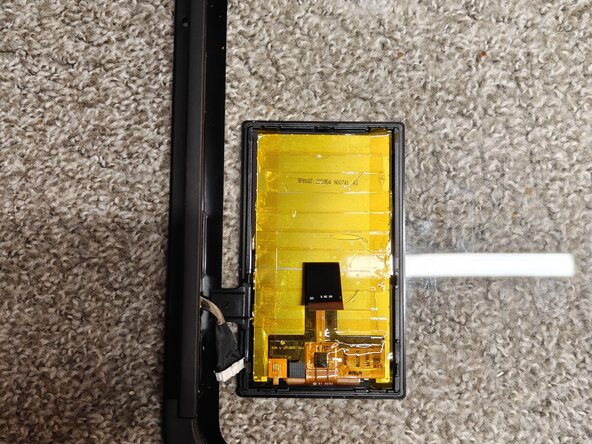
Cover the full back of the screen in kapton tape.
-
When taping down the ribbons make sure to not put kapton tape between the orange ribbon and the conductive pad below (unsure if this would cause issues but wouldnt recommend it).
-
-













To reassemble your device, follow these instructions in reverse order.
Cancel: I did not complete this guide.
One other person completed this guide.

