Introduction
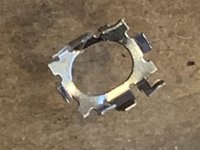
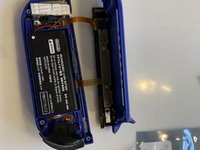
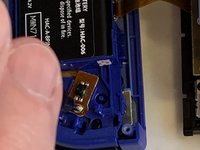
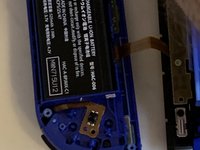
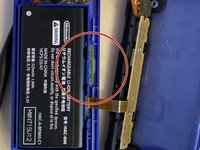
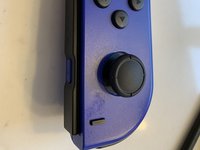
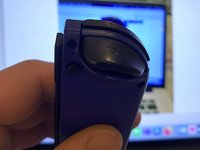
The metal cover holding the ZL switch together had broken off the switch and jammed the control
What you need
-
-
-
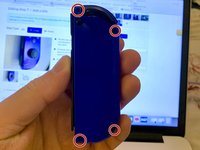
Using the Y00 Tri-Point screwdriver, remove four M1.4 x 5mm screws to loosen the hard plastic back of the Joy-Con.
 Ask FixBot
-
-
-
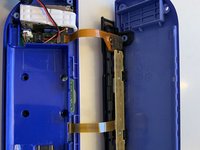
After the screws are removed, lift the cover to reveal the inside of the Joy-Con and locate the ZL button.
-
-
Tool used on this step:Tweezers$4.99
-
Use tweezers to lift the ZL button a little then pull upwards to get it back into place.
-
Once the button is back in place, place the hard cover back on the Joy-Con and screw it back on.
-
-
-
Click the button a couple times to ensure that it's back in place and working.
-
-
-
-
-
-
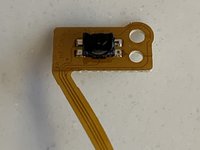
This tiny piece of metal had come off the small pcb and ribbon cable. In doing so it had jammed the switch.
-
Use the guide for un-jamming ZL switch, to remove the case screws, the top cover and the ZL switch and springs.
-
-
-
Having removed the plastic button and 2 springs you uncover the switch and holding screw.
-
Remove the holding screw.
-
-
-
Lift the battery out of the battery chassis tray.Use a plastic splitter if necessary.
-
Do not remove the sticky tape underneath as this is unnecessary. It does not effect the repair.
-
-
-
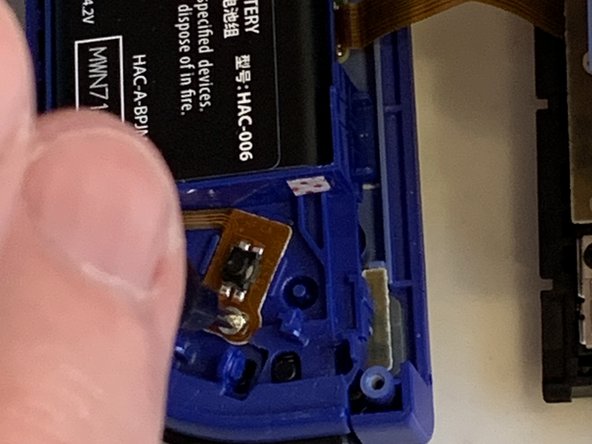
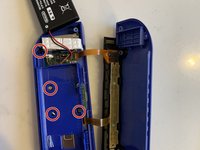
Remove the 4 screws holding down the inner battery support chassis. This exposes the switch connector to the pcb.
-
Note the bottom left screw in this picture is shorter than the others and needs to be put back in the correct aperture.
-
-
Tool used on this step:Tweezers$4.99
-
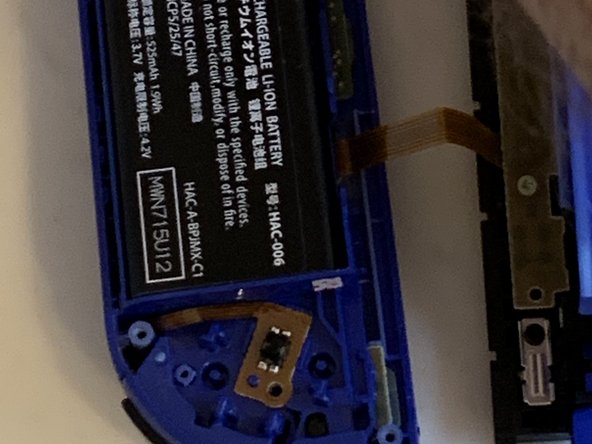
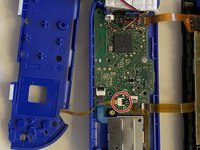
Gently pull on the ribbon cable to remove the plug from the socket.
-
Insert plug on new ribbon cable & switch.
-
You may need to push in the plug with plastic tweezers. Take care not to damage the cable.
-
-
-
Replace batters chassis tray and screw back into place. Note to put back the shorter screw into the correct hole.
-
Fold battery back into place. Gently push down to get the battery stuck back to the tape.
-
Adjust the ribbon cable to ensure it is not trapped. Place the switch over the alignment pin and screw down the retaining screw.
-
-
-
Put the two springs back on their retaining pins and push the button back into place.
-
It should click into place and when you push on the button you should hear the switch click.
-
Fold the cover back over and check there are no trapped wires before screwing back the 4 screws on the cover to complete the repair.
-
-









To reassemble your device, follow these instructions in reverse order.
Cancel: I did not complete this guide.
2 other people completed this guide.

1 Guide Comment
This doesn’t really cover the removal of the ZL/ZR Buttons.
It is good for removing the actual button on the mother board, but not for removing the plastic button on the remote.
