Introduction
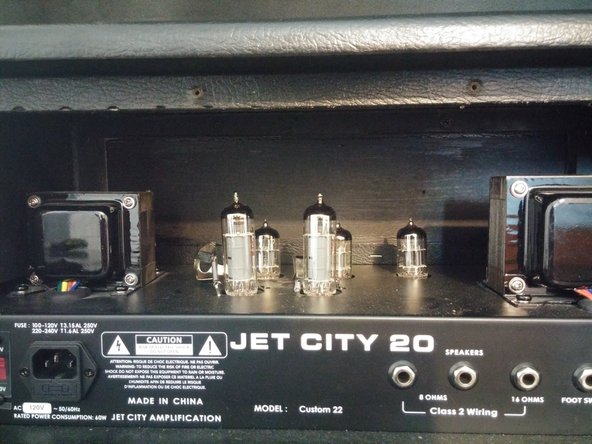
This guide shows how to replace the power amp tubes in a Jet City Custom 22 guitar amplifier.
Vacuum tubes can become faulty for a number of reasons, but most commonly it is because they have a limited life span. Damaged or old tubes can have a large impact on the overall sound of the amplifier, so changing them often can greatly improve your results.
Changing amplifier tubes is a fairly straightforward process, and the only tools required are a screwdriver and the replacement tubes.
What you need
-
-
Unplug the amplifier and let it rest for at least 15 minutes prior to beginning the repair.
-
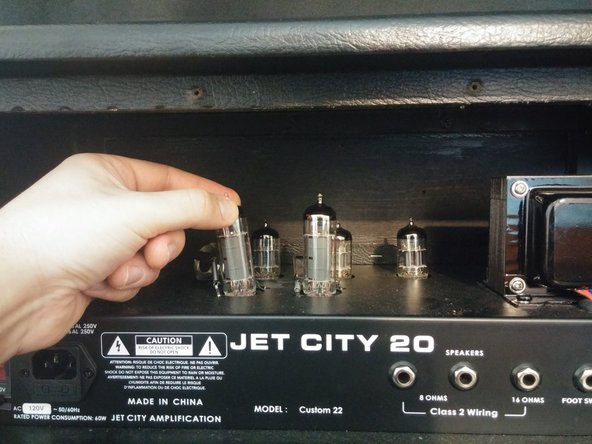
(Optional) Wash hands before touching the tubes. Oils in your skin can affect their lifespan.
-
-


Once the new tubes are in place and the back panel is attached, power the amplifier on and ensure that tubes are lit. If they are, then the amplifier is ready to go!
Team

Michigan Tech, Team S3-G10, Galliah Fall 2017 Member of Michigan Tech, Team S3-G10, Galliah Fall 2017
MTU-GALLIAH-F17S3G10
1 Member
1 Guide authored